Blog
how to assemble a pickleball net

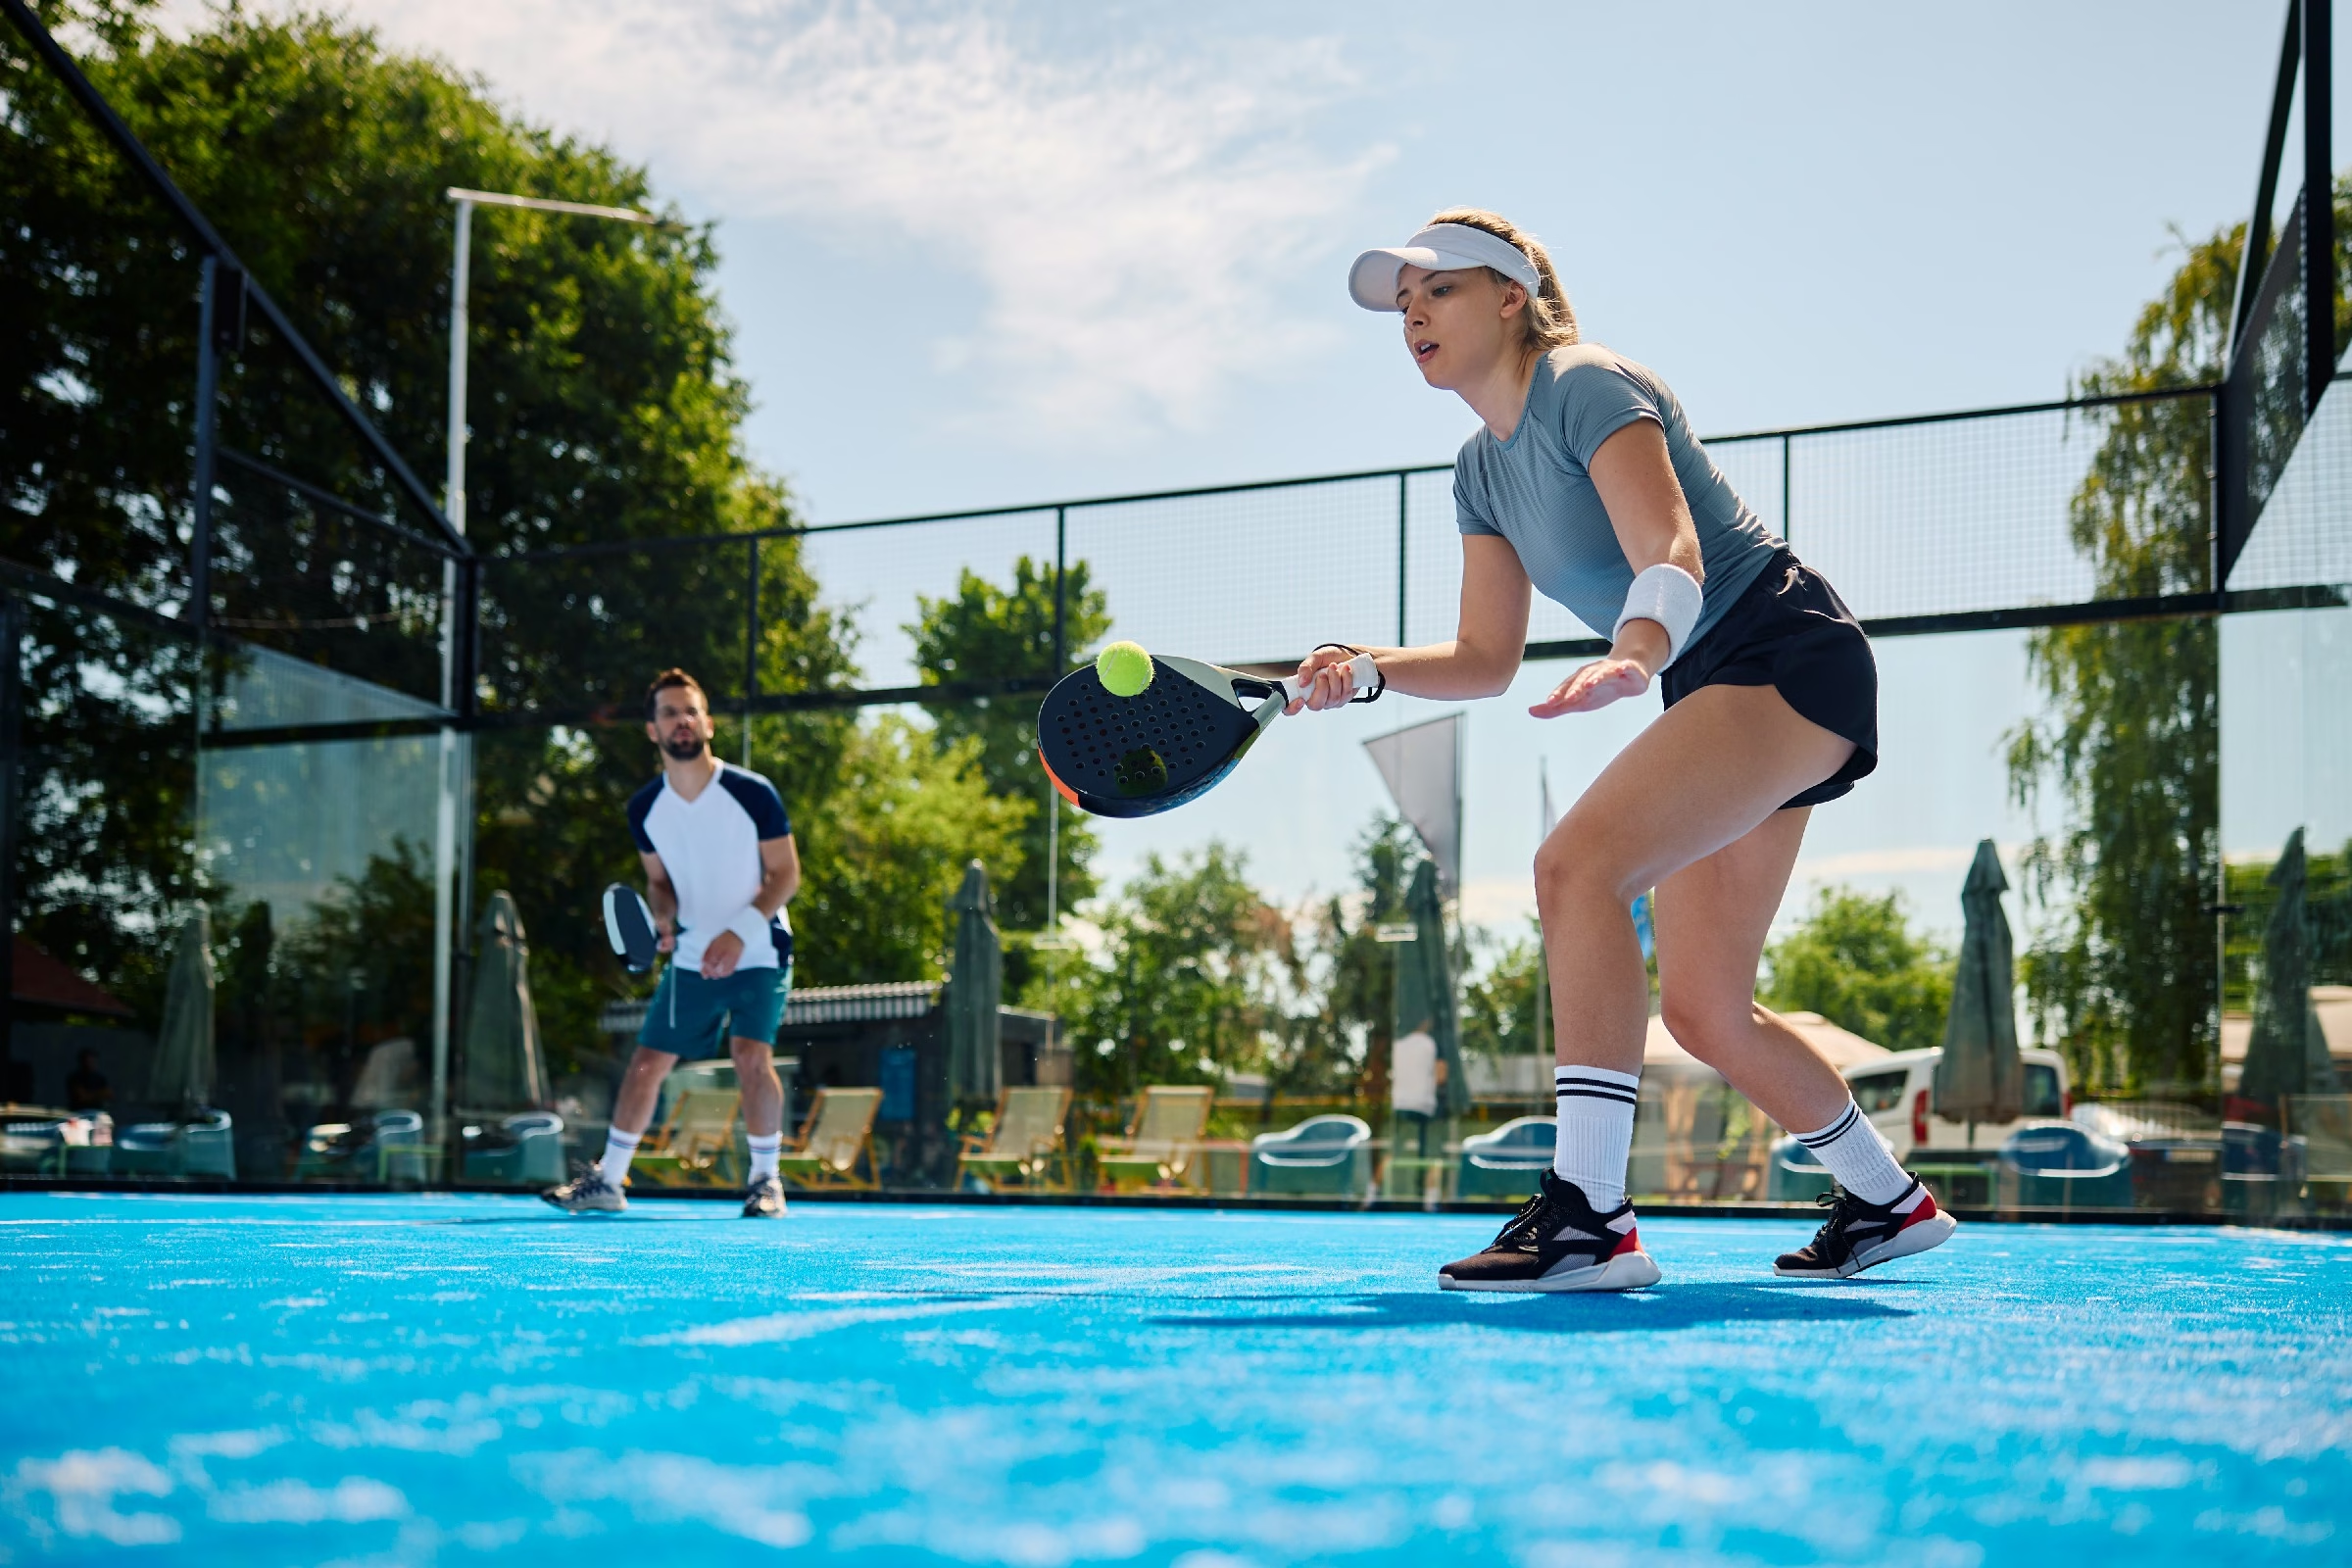
As the sun casts its golden rays on a freshly marked court, the excitement of a pickleball match begins to bubble. There’s an electrifying charm to the game that draws players of all ages to its vibrant courts, from seasoned athletes to curious newcomers. But before paddles are swung and balls are volleyed,one essential piece of equipment takes center stage: the pickleball net. Whether you’re setting up a backyard court, easing into a local tournament, or joining friends at the local park, knowing how to assemble a pickleball net is a vital skill that ensures the game can start smoothly.in this guide, we’ll demystify the process, breaking it down into simple, step-by-step instructions that will have you ready to play in no time. Grab your tools, and let’s get started on this journey to building the perfect pickleball net!
Table of Contents
- Selecting the Right Pickleball Net for Your Court
- Essential Tools and Materials for Assembly
- Step-by-Step Guide to Setting Up Your Pickleball Net
- Tips for Ensuring Stability and Durability
- Common Pitfalls to Avoid during Assembly
- Maintaining Your Pickleball Net for Long-lasting Use
- Q&A
- Wrapping Up
Selecting the Right Pickleball Net for Your Court
Choosing the ideal pickleball net involves considering several key factors that will ensure a seamless playing experience on your court. First, the height of the net is critical.official pickleball rules dictate that the net should be 36 inches high at the sidelines and 34 inches at the center. Selecting a net that adheres to these dimensions is crucial for maintaining fairness in play. Hear are some other factors to think about:
- Material: Look for nets made of durable materials, such as polyethylene or nylon, which can withstand weather conditions and frequent use.
- Width: A standard net spans 22 feet, suitable for both indoor and outdoor play. Ensure your net fits the width of your court to comply with regulations.
- Portability: If you intend to set up and down frequently, consider a lightweight net that comes with a convenient carrying bag.
In addition to construction materials and dimensions, you should evaluate the net’s frame. Some nets feature a robust steel frame for stability, while others may have a collapsible design for easy transport. A weighted base is also an essential feature to prevent the net from being toppled by wind or players inadvertently colliding with it. Here’s a simplified comparison of various net types:
| Net Type | Material | Portability | Price Range |
|---|---|---|---|
| Professional Grade | Nylon | medium | $150 – $200 |
| Recreational | Polyethylene | High | $50 – $100 |
| Lightweight | Aluminum Frame | Very High | $100 – $150 |
ensure that the net system includes simple assembly instructions and all necessary components for installation. A net that is easy to set up nor will you want to deal with complicated adjustments before starting a game. Checking for warranties or guarantees from the manufacturer may also provide peace of mind regarding the net’s longevity and performance. With the right net in place, your matches will not only be enjoyable but will also meet official standards, enhancing the overall experience for you and your fellow players.
Essential Tools and Materials for Assembly
To embark on your pickleball net assembly journey, gather the essential tools that will make the process smooth and efficient. A dependable screwdriver (either flathead or Phillips) is crucial for tightening screws and securing the net tension system. Additionally, make sure to have a measuring tape handy; precision is key in achieving a well-placed net that meets official standards. don’t overlook a rubber mallet, which can definitely help in assembling parts without damaging them, ensuring a snug fit without the risk of splintering any materials.
Aside from tools, having the right materials at your disposal will streamline the assembly process. The main component, of course, is the pickleball net itself, typically included in your kit. Check for a net tensioning system—these can come in various forms, such as ropes or elastic bungee cords, that help you maintain the correct net height and tautness. While assembling, you might also need a couple of ground stakes or base plates to properly anchor the net and keep it stable during play.
| tool/Material | Purpose |
|---|---|
| Screwdriver | Securing the net components |
| Measuring Tape | Ensuring accurate net height |
| Rubber Mallet | Assembling parts without damage |
| Ground stakes/Base Plates | Stabilizing the net during play |
Step-by-Step Guide to Setting Up Your Pickleball net
Setting up your pickleball net is a straightforward process, but following the right steps can ensure it’s done correctly for optimal gameplay. Start by laying out all your components, which typically include the net itself, poles, and any supporting accessories. This makes it easier to identify what you have and prevents confusion during assembly. Don’t forget to check your manufacturer’s instructions for specific details or parts unique to your net type.
Next,you’ll want to assemble the poles. Begin by securely inserting each pole into the designated ground sleeves, if applicable. If your net does not use sleeves, ensure the poles are stable and straight. After securing the poles, attach the net by connecting it to the top of the poles using the provided hooks or ties. Ensure the net is taut, but not overly stretched, to maintain its integrity and quality throughout usage. Trouble with net sag? Make small adjustments at the poles until you achieve the desired height and tension.
Lastly, take a moment to double-check the height of the net; it should measure 36 inches at the ends and 34 inches at the center.Use a measuring tape for accuracy. When everything is in position, and the net is secure, give it a gentle shake to make sure all connections hold firm. now you’re ready to play! Remember to store your net properly after use to prolong its lifespan. Here’s a simple table summarizing the net height requirements:
| Position | Height (inches) |
|---|---|
| End Points | 36 |
| Center | 34 |
Tips for Ensuring Stability and Durability
When assembling your pickleball net, ensuring stability is crucial for providing a fair playing experience. Begin by selecting a flat, level surface for setup. This will help avoid leaning or wobbling during play. Additionally, consider the following tips:
- Anchor Properly: Use sandbags or stakes to secure the base of the net, particularly if setting up outdoors. this prevents it from tipping over in gusty conditions.
- Check Tension: Make sure the net is taut. A sagging net can impact gameplay and might even lead to damage over time.
- Inspect Components: Before assembling, examine all parts for wear and tear. Replace any frayed cables or damaged poles to ensure maximum durability.
Another vital aspect of stability is the construction material of your pickleball net.Durable materials can withstand both weather elements and the rigors of frequent use. Selecting a net made of high-quality polyethylene or similar fabric can enhance longevity, while sturdy steel or aluminum poles will foster a more robust setup. When making your choice, consider:
| Material Type | Durability | Weather Resistance |
|---|---|---|
| Polyethylene | High | Moderate |
| Nylon | Very High | High |
| Steel | High | Very High |
| Aluminum | Moderate | High |
once your pickleball net is assembled, it’s wise to periodically maintain and check its components. Regular inspection can prevent small issues from becoming larger problems. Additionally, consider storing the net indoors during adverse weather conditions to prolong its lifespan. Embrace these practices:
- Routine Checks: Examine the net and poles monthly,especially after storms.
- Efficient Storage: When not in use, disassemble and store properly to avoid damage.
- clean Regularly: Remove dirt or debris from the net to maintain its integrity and aesthetics.
Common Pitfalls to Avoid During Assembly
When assembling a pickleball net, it’s crucial to be mindful of some common mistakes that can lead to frustration and a poorly set-up net. One frequent issue is overlooking the assembly instructions. It’s easy to jump right into putting pieces together, but carefully reading the instructions ensures that you understand each step and the specific parts involved. This will not only expedite the assembly process but also avoid potential damage to the equipment.
Another common pitfall is using the wrong tools or force. Many beginners beleive that if a part isn’t fitting easily,it needs to be forced into place. This can lead to breakage or misalignment. Instead, it’s essential to check for any additional parts or fittings that may need to be used. Make sure to have the recommended tools handy, including wrenches and pliers, and to handle all components with care to prevent wear and tear.
Lastly,neglecting to perform a final inspection before calling it done can lead to future inconveniences. After assembling the net, take a moment to double-check all connections and ensure everything is secure.A simple checklist can be helpful:
| Checkpoints | Status |
|---|---|
| Net tension | ✔️ Tight |
| College of posts | ✔️ Secure |
| Boundary lines | ✔️ Marked |
Ensuring that all of these elements are addressed can enhance your pickleball experience and extend the lifespan of your net.
maintaining Your Pickleball Net for Long-Lasting Use
To ensure your pickleball net remains in prime condition, regular inspections are essential. Begin by examining the net for any signs of wear and tear, such as frayed edges or holes. Addressing these issues early can prevent more significant damage.Additionally, check the net’s tension and adjust it as needed to maintain the correct height, which is typically 36 inches at the sidelines and 34 inches at the center.
Cleaning your pickleball net is another crucial aspect of maintenance. Use a soft cloth or sponge soaked in mild soap and water to gently wipe down the net’s surface. Be sure to avoid harsh chemicals that can weaken the material. For stubborn stains, a solution of vinegar and water may be effective, but always rinse thoroughly afterward. After cleaning, allow the net to dry completely before storing it away or using it again.
Storing your pickleball net properly can significantly extend its lifespan. When not in use, roll up the net and keep it in a dry, cool place. It’s advisable to avoid exposure to direct sunlight and moisture, as these elements can deteriorate the net’s material over time. Implementing these storage tips will not only safeguard your investment but also enhance your overall playing experience.
Q&A
Q&A: Assembling Your Pickleball Net with Ease
Q1: What tools do I need to assemble a pickleball net?
A1: Great question! Moast pickleball nets come with everything required for assembly. Generally, you should have a net, poles, and a set of tension straps. Depending on the model, you might need a mallet or a simple screwdriver, but usually, it’s all about hand assembly.
Q2: Can I assemble the pickleball net by myself, or do I need assistance?
A2: while it’s perfectly feasible to put together the net solo, having a friend can make the process smoother and more fun. Two pairs of hands can help hold the poles steady while you attach the net!
Q3: What’s the first step in setting up the pickleball net?
A3: Start by laying out all your components: the net, poles, and tension straps. familiarizing yourself with these parts will give you a clear visual before diving into assembly. Most packages come with an instruction manual,so be sure to give that a glance!
Q4: How do I correctly position the poles?
A4: Position the poles at the designated end lines of your court. Ensure they are spaced evenly, typically 22 feet apart (the standard for a pickleball court). If you’re using a portable net system,confirm that the base is stable and level before attaching the net.
Q5: How do I attach the net to the poles?
A5: Once your poles are secure, drape the net over them. There are usually clips, hooks, or sleeves included to fasten the net.Make sure it hangs evenly and adjust as needed. The top of the net should be 36 inches high at the sidelines and 34 inches in the middle for the best gameplay experience.
Q6: What should I do if the net doesn’t seem tight enough?
A6: A loose net can disrupt even the best games! Look for tension straps or adjusters included in your kit. Pull them tightly to ensure the net is taut; this is vital for good play since any sagging could affect ball bounce.
Q7: Is there a recommended maintenance tip to keep my net in good shape?
A7: Absolutely! after each use,if possible,take the time to dry off the net to prevent mildew. Store it in a cool, dry place when not in use. Regularly check for any wear or tear, and replace parts as needed to keep your net in prime playing condition.
Q8: How long should it generally take to assemble the net?
A8: The assembly time can vary, but on average, it should take about 10 to 20 minutes. With practice, you’ll be setting it up in no time! The more familiar you become with the process, the quicker it will be.
Q9: Can I set up a pickleball net on any surface?
A9: Pickleball nets can be set up on various surfaces,whether it’s concrete,grass,or a wooden court. Just ensure that the area is level and free of obstacles to maintain quality gameplay. If using them outdoors, check weather conditions to avoid too much wind or rain, which can impact stability.
Q10: Any final tips for a prosperous assembly?
A10: Definitely! Patience is key. If something doesn’t look right or fit properly, double-check your instruction guide. And remember, the more you work with your net, the more efficient and enjoyable the setup process will become. Happy playing!
Wrapping Up
As we reach the final step on this pickleball adventure, we hope you now feel equipped to assemble your own net with confidence and ease. Whether you’re setting up for a casual game with friends or preparing for a spirited match on the local courts, having a properly assembled pickleball net can elevate your experience and ensure hours of enjoyment. Remember to keep these tips in mind as you go – a firm foundation and attention to detail can make all the difference. So gather your supplies, invite some friends to join, and let the pickleball action begin! With your net standing tall, all that’s left to do is pick up a paddle, serve up some fun, and relish in the joy of the game. Happy playing!
Related Posts

don woodfield pickleball pinehurst resort
At Pinehurst Resort, Don Woodfield brings the energetic spirit of pickleball to life. Nestled amidst scenic landscapes, his passion for the game fosters a vibrant community where players of all levels can sharpen their skills and enjoy friendly competition.
how to spin the ball for pickleball
Mastering ball spin in pickleball can elevate your game significantly. To achieve the desired spin, grip the paddle firmly, brush against the ball’s surface at an angle, and follow through your stroke. Practice different spins to keep your opponents guessing!

what is the measurements of a pickleball court
A pickleball court, often likened to a blend of tennis and badminton, measures 20 feet wide and 44 feet long for doubles play. The non-volley zone, or “kitchen,” sits 7 feet from the net on each side, ensuring a unique strategic dynamic.
what’s a lob in pickleball
A lob in pickleball is a strategic shot aimed high over your opponent, designed to push them back and create space on the court. By sending the ball soaring, players can change the momentum of the game and set up for the next powerful play.

who won the pickleball challenge
In a thrilling display of skill and strategy, the pickleball challenge concluded with an unexpected twist. Amidst cheers and fierce competition, Sarah Thompson emerged victorious, showcasing her deft volleys and quick footwork. The crowd erupted in applause!

why do they call.it pickleball
The quirky name “pickleball” sparks curiosity, and its origins are as playful as the game itself. Created in 1965, the sport was said to be inspired by the inventor’s dog, Pickles, who would chase the ball. A delightful blend of fun and tradition!
how to know what pickleball level you are
Determining your pickleball level can be as simple as assessing your skills. Consider factors like shot consistency, court positioning, and strategic play. Joining local matches or clinics can provide valuable feedback, helping you align with your true level.

how new is pickleball
Pickleball, often described as a blend of tennis, badminton, and ping pong, has surged in popularity since its creation in 1965. While the sport’s roots are nearly six decades old, its explosive growth in recent years has given it a refreshing newness.

who is in etrade pickleball commercial
In the lively new eTrade pickleball commercial, viewers are introduced to a vibrant cast of characters, including professional players and everyday enthusiasts. Their engaging interactions showcase the sport’s growing popularity and eTrade’s commitment to financial empowerment.

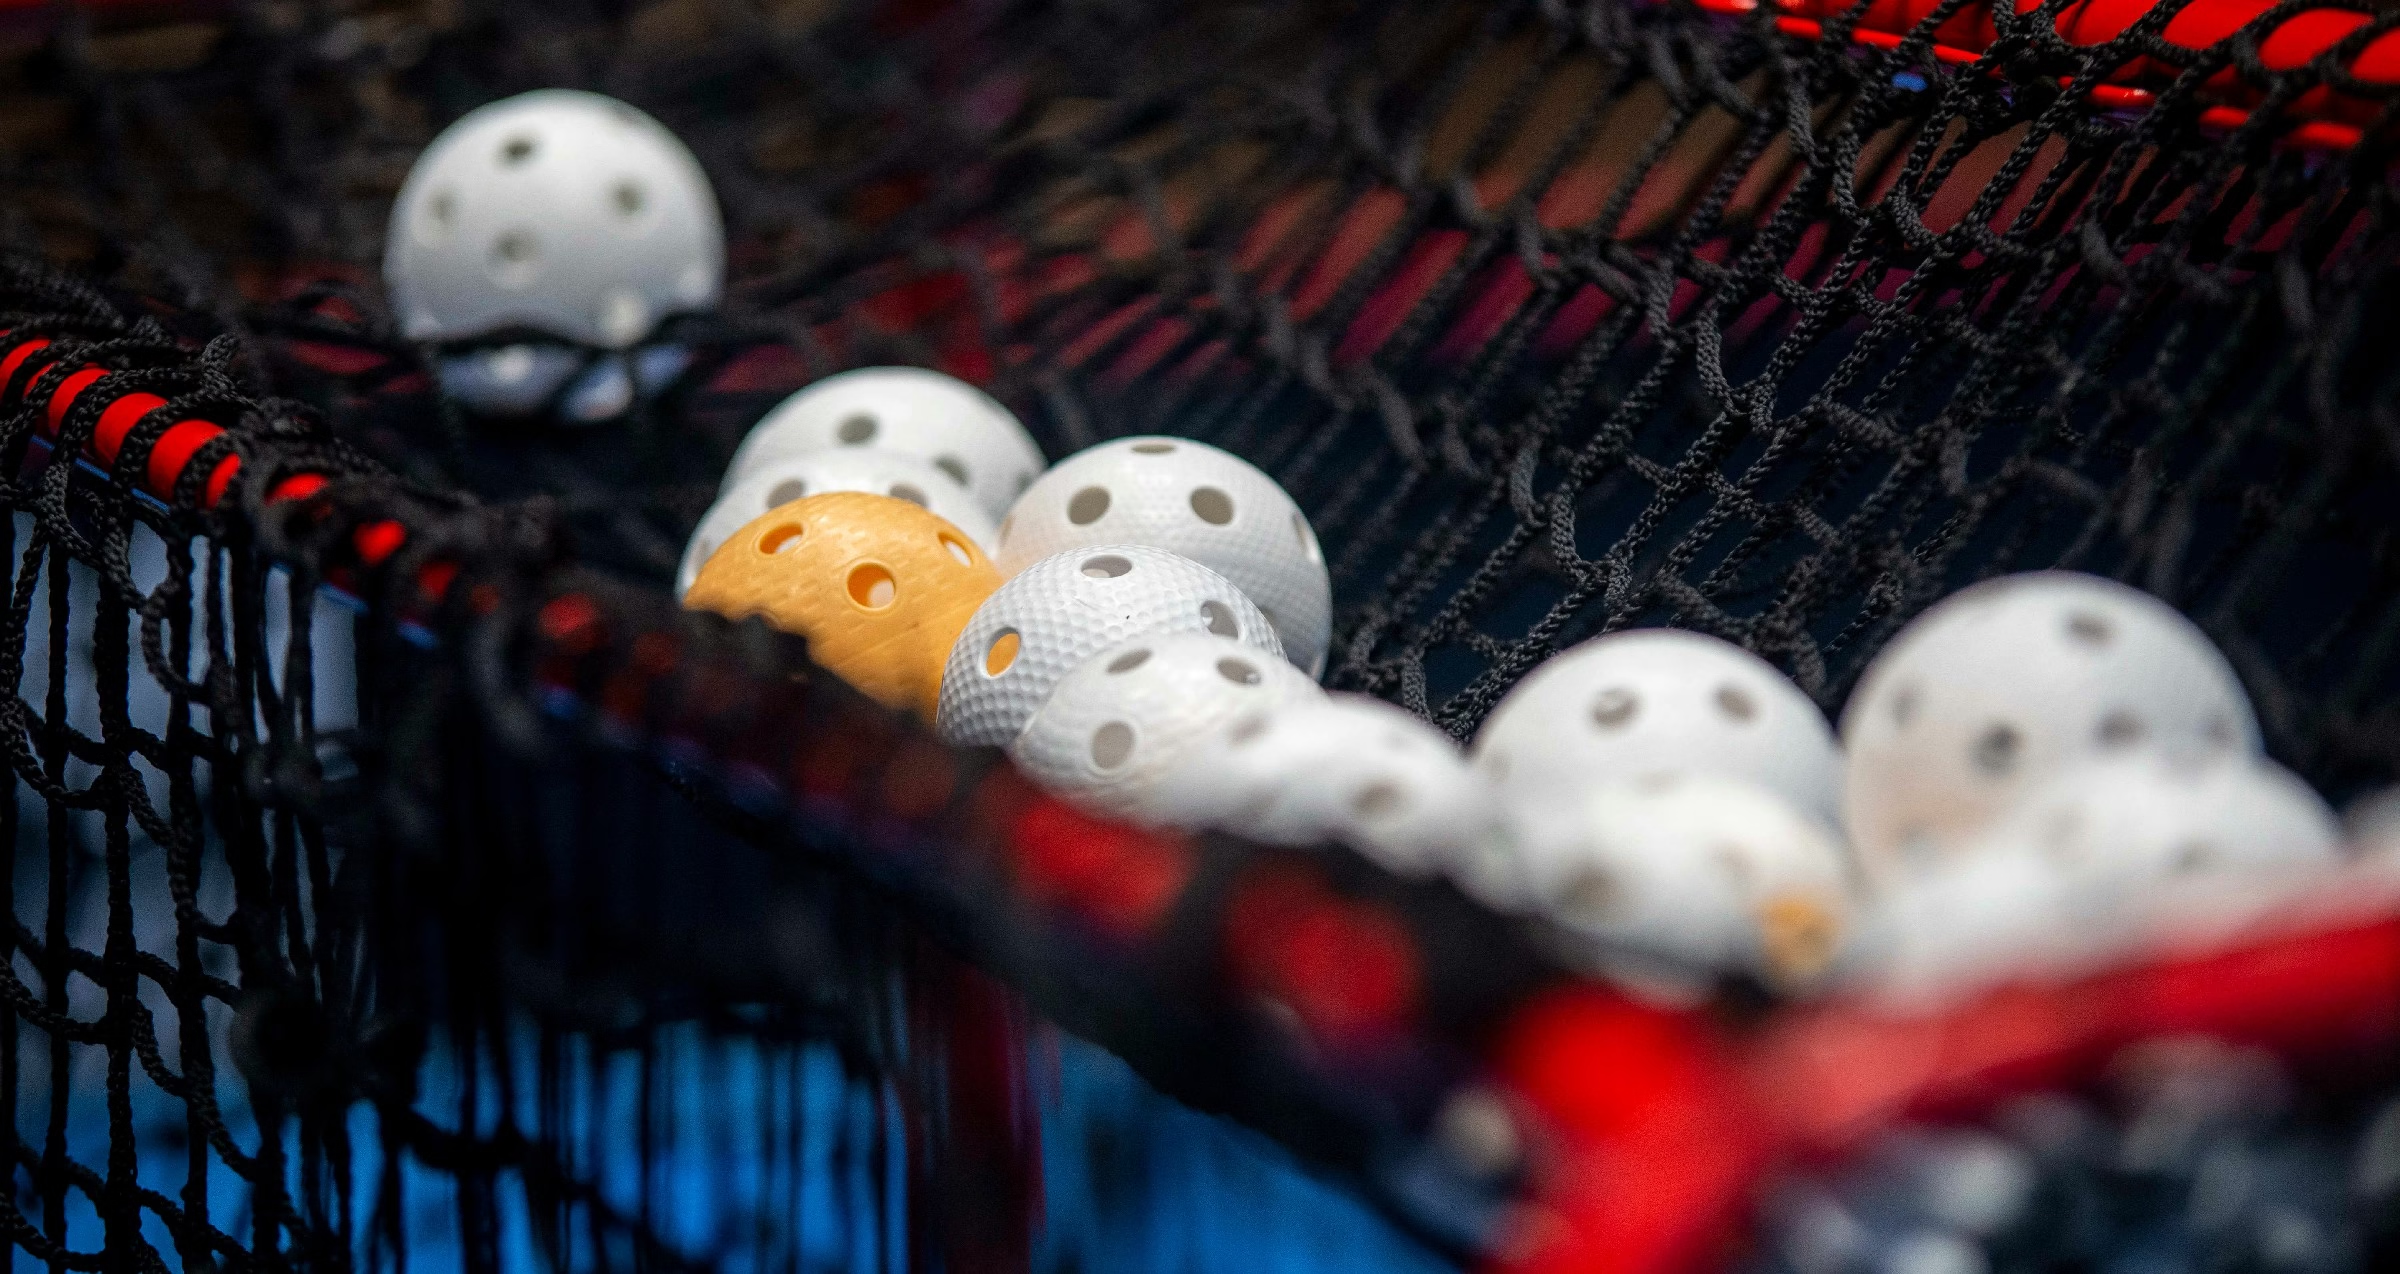
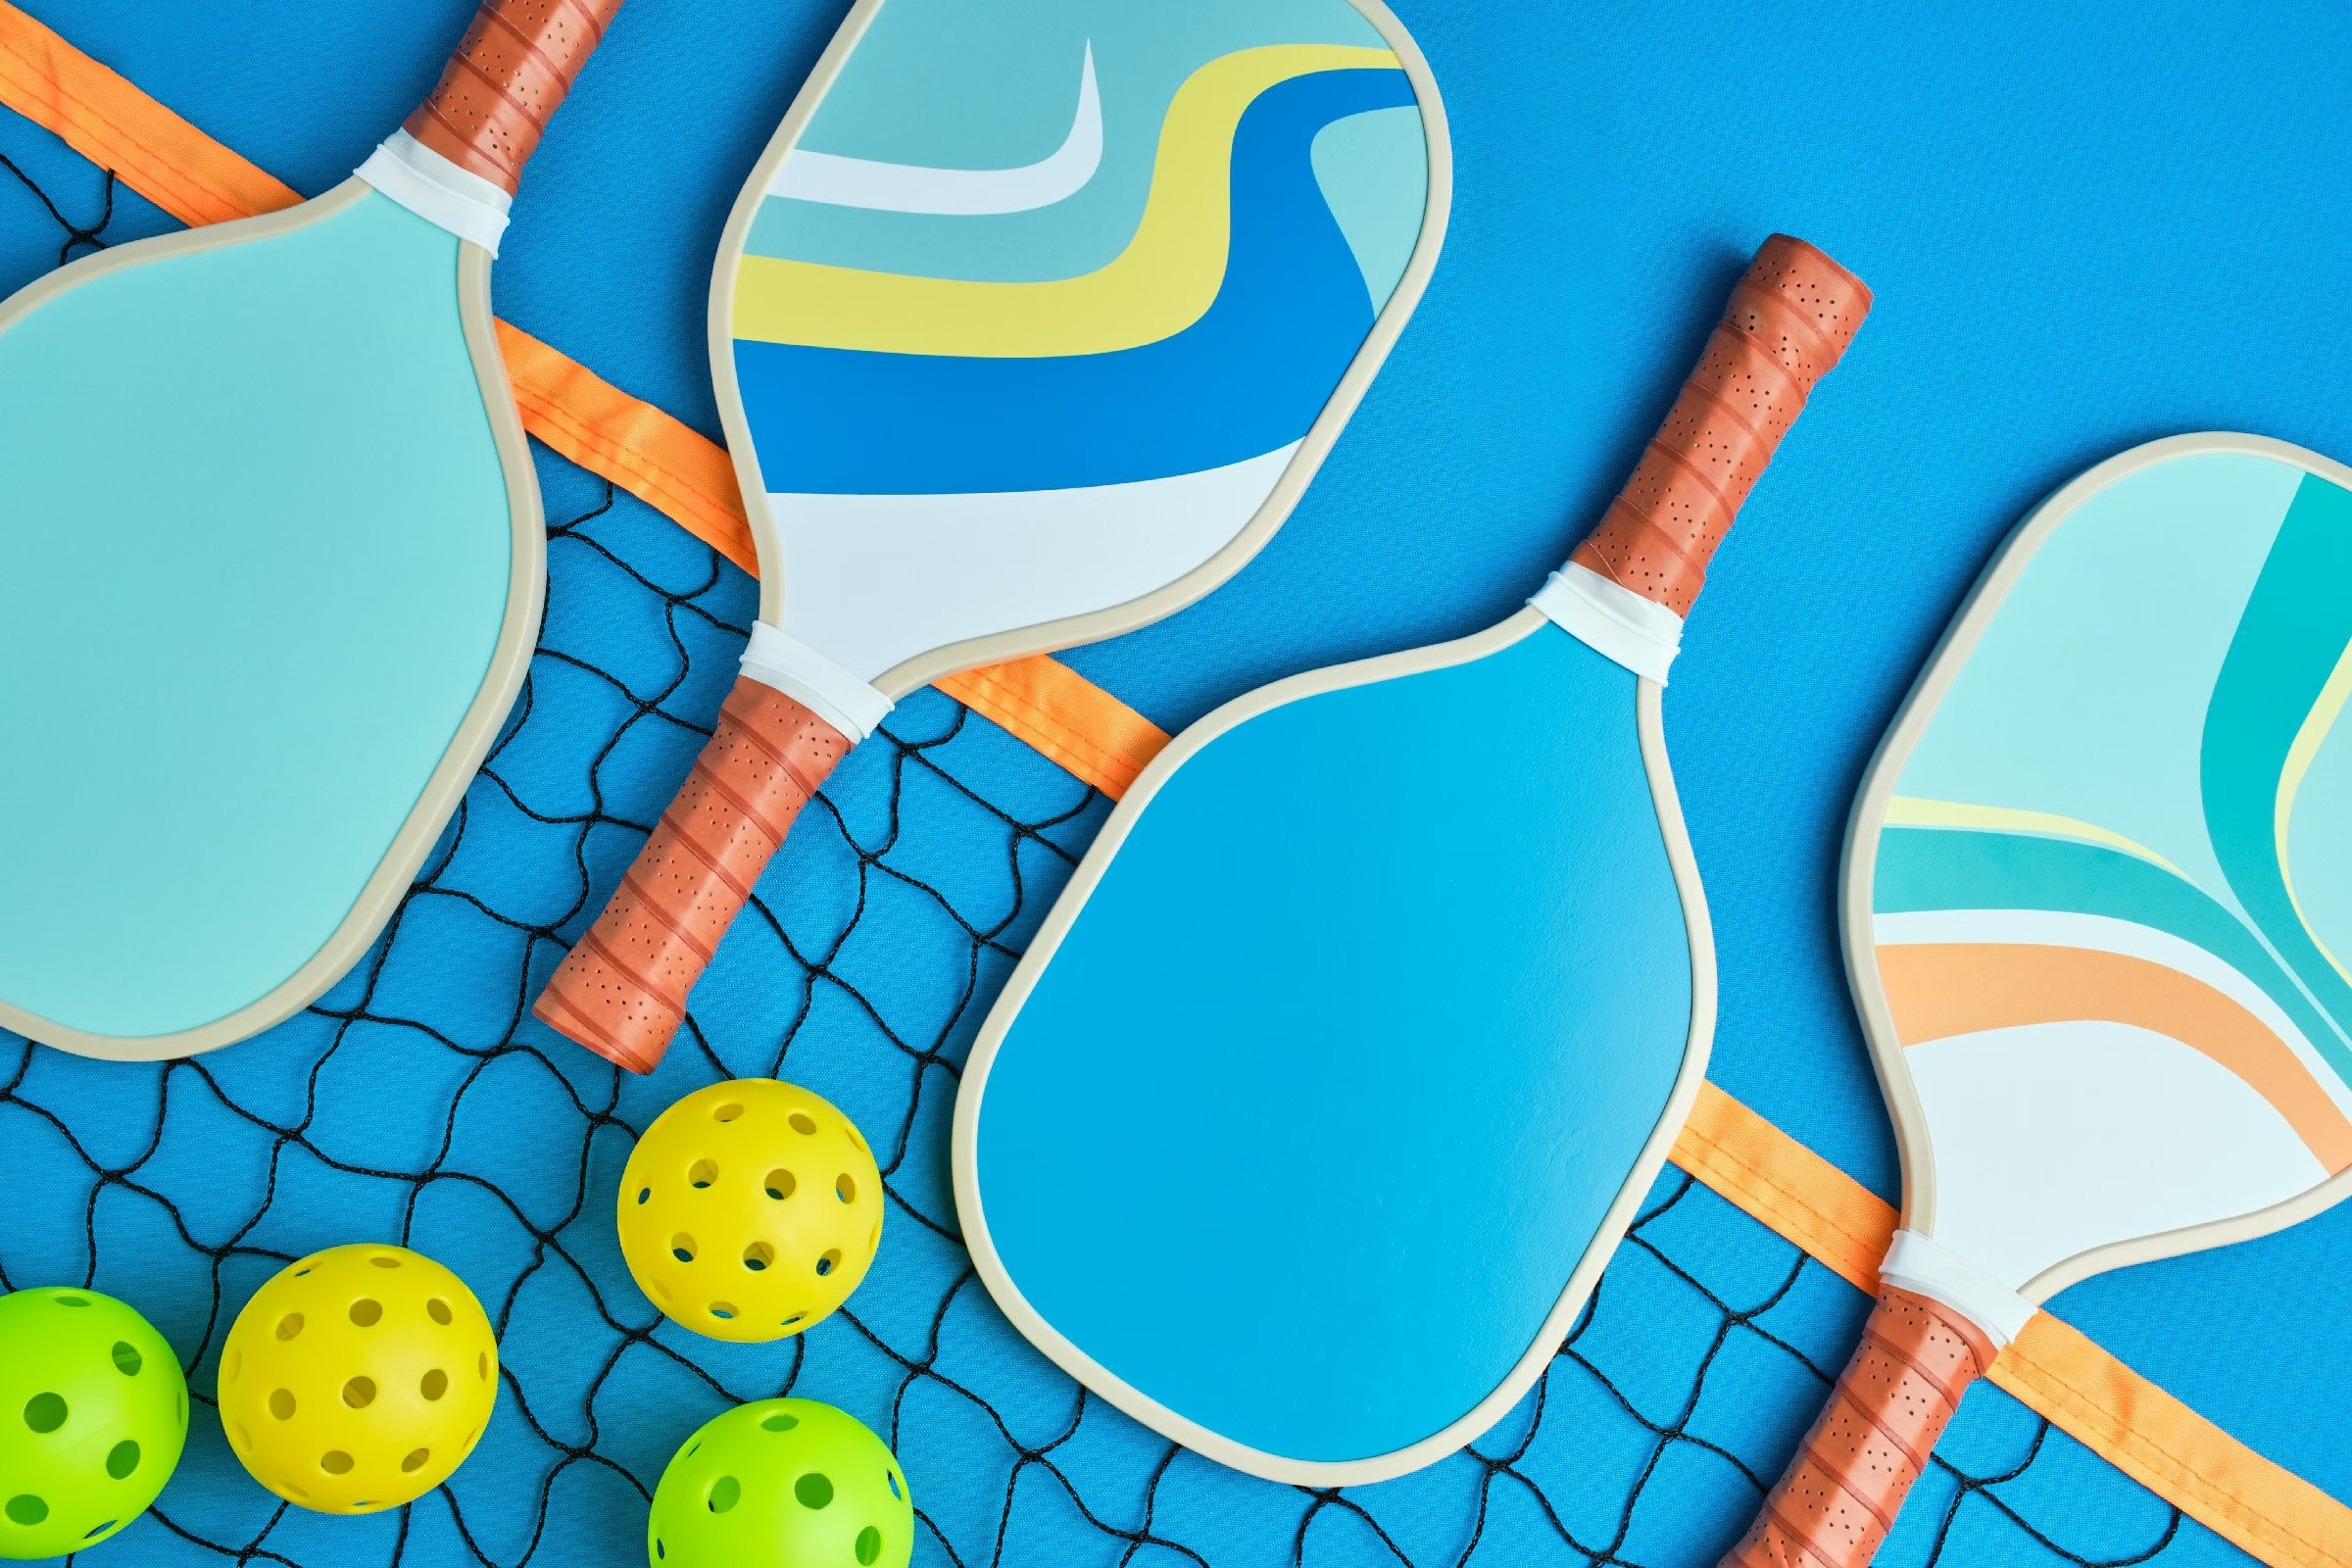
what is the ball in pickleball
The ball in pickleball is a lightweight, plastic sphere adorned with holes, designed for controlled flight and a distinct bounce. Available in vibrant colors, it enhances visibility and adds an element of fun to this energetic paddle sport.

is there a difference between outdoor and indoor pickleballs
When it comes to pickleball, the distinction between outdoor and indoor balls is more than just a matter of where you play. Outdoor balls are thicker, with larger holes for wind resistance, while indoor balls feature a smoother design for better bounce on gym floors. Your game may depend on your choice!

do you have to have 4 people to play pickleball
While pickleball is often played in doubles with four players, it’s not a strict requirement. You can enjoy a game with just two players or even engage in solo practice, making this versatile sport accessible to everyone, regardless of the player count.