Blog
how to assemble pickleball net

Title: A Step-by-Step Guide to Assembling Your Pickleball Net
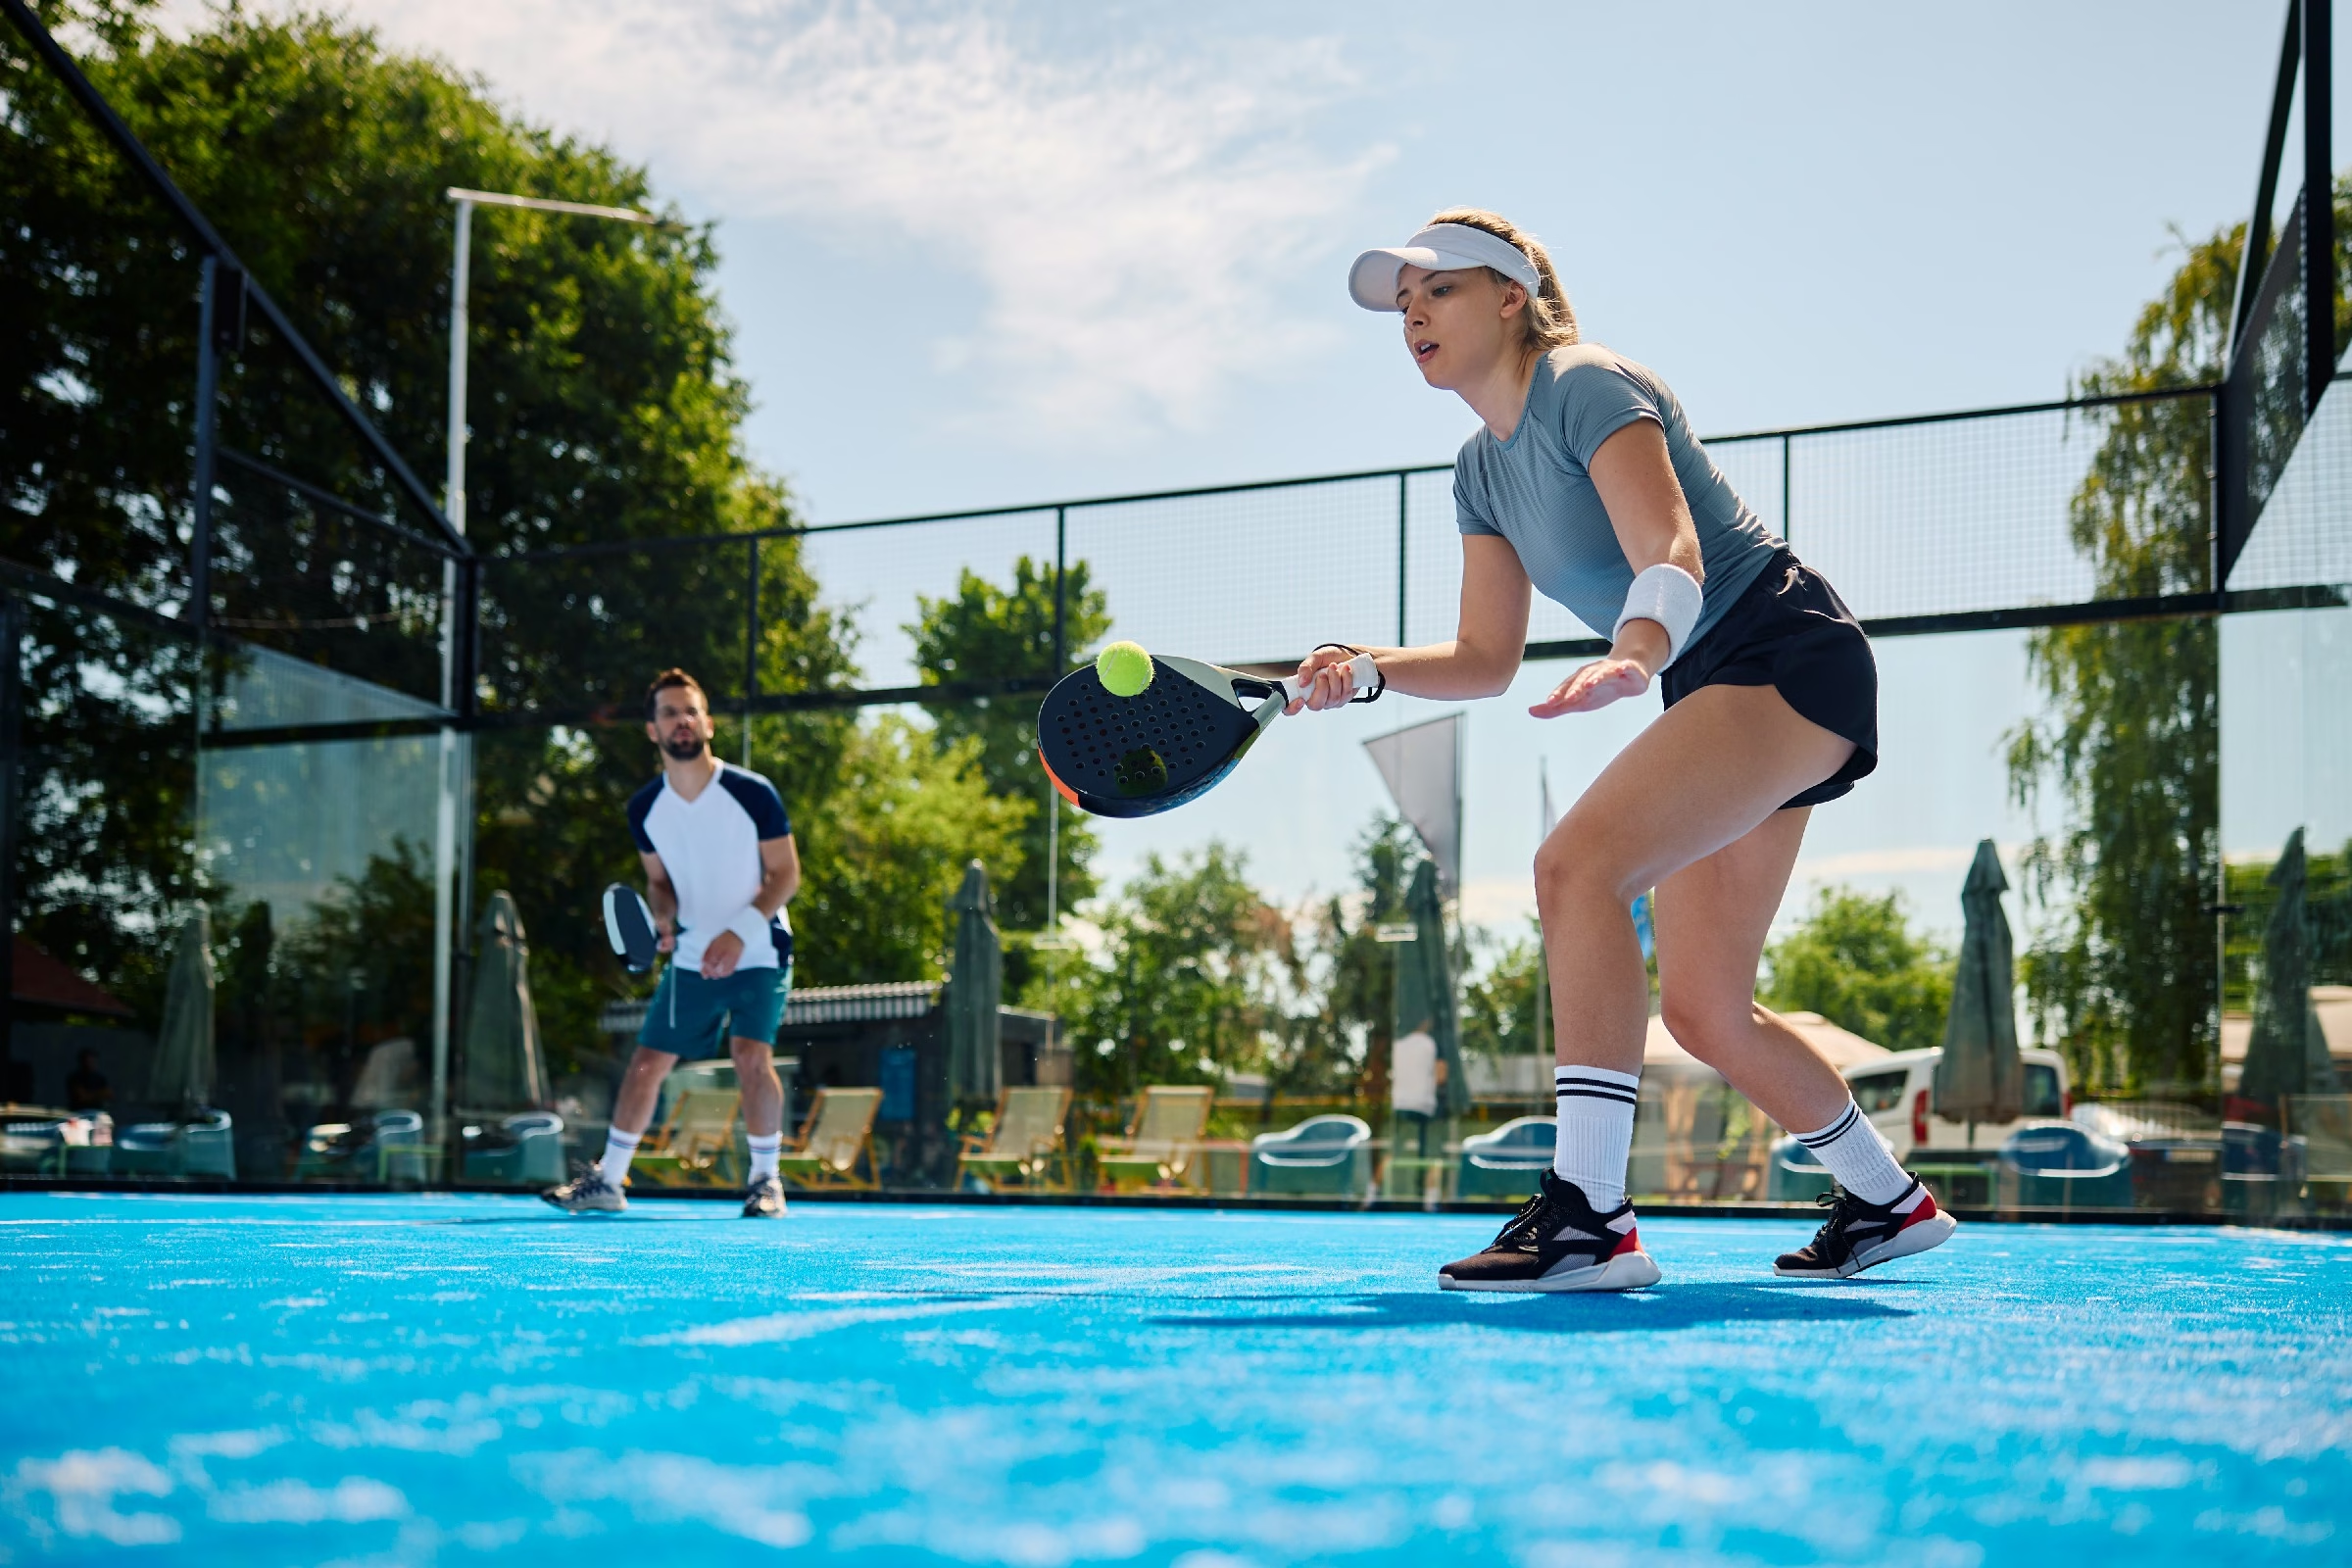
In the vibrant world of pickleball, where fast-paced rallies and friendly competition reign supreme, having the right equipment is essential for an enjoyable game. among the critical components of this sport, the pickleball net stands tall, quite literally, as the centerpiece of the court.As players gather for spirited matches fueled by camaraderie and fun, a properly assembled net is crucial for maintaining the game’s integrity. Though, for those new to the sport or unfamiliar with the setup, the task of assembling a pickleball net may seem daunting. Fear not—this guide is designed to walk you through the process step by step, ensuring you can confidently erect your net and dive into the action. Whether you’re preparing for a casual game in the backyard or a competitive showdown, read on to unlock the secrets of a perfectly assembled pickleball net.
table of Contents
- Understanding the Components of a Pickleball Net
- Preparing Your Space for easy Assembly
- Step-by-Step Guide to Assembling the Frame
- Securing the net: Tips for Proper Installation
- Adjusting Tension for Optimal Gameplay
- Maintenance Tips for Longevity and Performance
- Q&A
- Future Outlook
Understanding the Components of a Pickleball Net
A pickleball net consists of several crucial components that work together to create a functional and enjoyable playing experience.Understanding these parts can help you during the assembly process and ensure that your net is set up correctly. The primary components include:
- Net Fabric: The central area of the net, typically made of durable nylon or polyethylene, which allows for the ball to pass through while providing resistance.
- Top Band: frequently enough found on the top of the net, this component enhances stability and durability, while also maintaining the net’s height.
- Net Posts: Vertical supports that hold the net in place and can be either permanent or portable, depending on your setup.
- Bungee Cords or Tension System: This mechanism ensures that the net is taut and maintains proper height during play.
During assembly, pay special attention to the dimensions and material quality of each component. Proper height remains critical for gameplay; the standard height for a pickleball net is 36 inches at the sidelines and 34 inches at the center. Refer to the table below for a rapid overview of standard net sizes:
| Height | Location |
|---|---|
| 36 inches | Sidelines |
| 34 inches | Center |
ensure that your net is set up according to regulations to foster fair gameplay. Proper assembly and maintenance can prolong the life of the net and enhance your playing experience.Regularly inspecting components like the tension system and net fabric will help you catch any wear early on, allowing for timely repairs or replacements. With a well-constructed net, you’re ready to enjoy endless hours of pickleball fun!
Preparing Your Space for Easy Assembly
Before diving into the assembly of your pickleball net, it’s crucial to create an organized environment that will streamline the process. Start by clearing the area where you intend to set up the net. This space should be free from clutter, which could cause distractions or hinder your assembly efforts. Consider laying down a soft mat or tarp to protect the components of your net while you work, ensuring that everything is safe and easily accessible.
Gather all the necessary tools and components before getting started. By having everything on hand, you can avoid interruptions and keep your workflow smooth. Here’s a checklist of essential items to have ready:
- Pickleball net components
- Assembly instructions
- Measuring tape
- Adjustable wrench or pliers
- Screwdriver
- Level
Additionally, consider enlisting a friend or family member to assist you. As two sets of hands are often better than one, having someone help you manage the larger parts can simplify the process and make it more enjoyable. Allocate a part of your space for the completed net, ensuring there’s minimal chance for accidental bumps or dislodging of the assembled net during your final adjustments.
Step-by-Step Guide to Assembling the Frame
To begin assembling the frame, start by gathering all the necessary components. Lay out the pieces to ensure nothing is missing. You will typically need:
- 2 vertical poles – these will support the height of the net.
- 2 horizontal bars – these will connect the poles at the top.
- Base connectors – to secure the vertical poles to the ground.
- Rope or net clamps – to hold the net in place.
- Tools – such as a wrench or screwdriver, depending on the design.
Next, start by securing the vertical poles. Insert them into the base connectors,ensuring they are upright and steady. If the poles have holes for pins or screws, use the tools to secure them to the base. Once the poles are secured, proceed to attach the horizontal bars. Align each bar at the top of the vertical poles, making sure they are parallel and level. This will create a sturdy support for the net.
After the frame is assembled,it’s time to attach the net. Use the clamps or ropes to fasten the net securely to the horizontal bars. It’s essential to ensure that the net is taut; any slack can affect gameplay.To finish, double-check all connections and adjustments before a friendly game begins. A well-assembled pickleball net is crucial for an enjoyable experience on the court!
Securing the Net: Tips for proper Installation
When setting up your pickleball net, the first step is to ensure that you have the right tools and materials at hand. It’s essential to gather a measuring tape, screwdriver, wrench, and the net assembly kit. Before beginning the installation, check that the net complies with official regulations for height and width. This ensures a fair game for all players. For those more visually inclined,referring to a video tutorial can also provide valuable cues on the proper assembly technique.
Next, pay attention to the positioning of the net. Ideally, the center should be lower than the ends to facilitate play. start by marking the exact spot on the court where the net will be located, making sure it is 10 feet away from both sidelines and adequately aligned with the center line of the court. Utilize a level to verify that the posts are perfectly vertical before securing them in place. Once everything is set, gently pull the net tight across the entire width and attach it with the provided fasteners.
| Component | Recommended Size | Notes |
|---|---|---|
| Net Height (Center) | 34 inches | Standard for competitive play |
| Net Height (Edges) | 36 inches | To ensure proper tension |
| Net Length | 22 feet | Matches the width of the court |
After assembling the net, conduct a test to check its stability. This can be achieved by gently tugging on both ends; if it does not sway excessively or wobble, you’ve done great! Additionally, consider applying a protective coating on exposed parts to guard against seasonal elements.If your net has specific tension guidelines, be sure to follow them to maintain the net’s shape and readiness for an exciting pickleball match!
Adjusting Tension for Optimal Gameplay
To achieve the best playing experience on the court, it’s crucial to ensure the tension of your pickleball net is just right. Proper tension not only helps in maintaining the net’s integrity but also influences gameplay dynamics, affecting how the ball interacts with the surface. The ideal tension allows the net to respond appropriately during play, preventing it from sagging or becoming too tight, which can alter ball trajectories. Aim for a net height of 36 inches at the center and 34 inches at the sides, maintaining this with careful adjustments to the tension.
When adjusting the net tension, consider the following factors:
- Material Quality: Ensure that the net is made from high-quality materials designed to withstand various weather conditions.
- Environmental Conditions: Wind and humidity can affect net tension; make adjustments accordingly based on play conditions.
- Player Preference: Some players prefer a slightly looser net for a smoother experience, while others may favor a tighter configuration for precision.
after making adjustments, always do a visual check and a test with a pickleball to gauge how the net performs. if you’re using a tension adjustment mechanism, allow a few moments for the net to settle before retesting. Here’s a simple table to summarize adjustments based on conditions:
| Condition | Recommended Tension |
|---|---|
| Calm Weather | Standard Tension |
| windy | Tighter Tension |
| Humid Conditions | Slightly Looser |
Maintenance Tips for Longevity and Performance
To ensure your pickleball net remains in peak condition, regular maintenance is crucial. Start by inspecting the net for any signs of wear or fraying. Look closely at the seams and edges, as these are the areas most susceptible to damage. Additionally, check the net’s height and tension regularly. A sagging net can affect gameplay, so adjust it accordingly to maintain the proper height of 36 inches at the center and 34 inches at the ends.
Proper storage of your pickleball net can considerably extend its lifespan. When not in use, take the time to disassemble and store the net in a cool, dry place. Avoid leaving it exposed to harsh weather conditions. To further protect it, you can use a protective cover or bag designed specifically for net storage. This ensures that the materials remain intact and free from the elements that could lead to deterioration.
In addition to routine inspections and proper storage, cleaning is an essential aspect of net maintenance. Use a gentle solution of water and mild soap to wipe down the net occasionally. Avoid harsh chemicals or abrasive materials that could damage the fabric. For even more protection, consider applying a specialized fabric protector that can help resist moisture and UV rays. Following these steps will not only preserve the integrity of your net but also enhance its overall performance on the court.
Q&A
Q&A: how to Assemble a Pickleball Net
Q: What do I need to gather before I start assembling my pickleball net?
A: Before diving into assembly, you’ll need a few essential items: your pickleball net, poles (usually two), a center support (if included), stakes or anchors, and any additional tools recommended by the manufacturer—typically a screwdriver or wrench. A flat surface for setup will make your life easier too!
Q: What’s the first step in assembling the pickleball net?
A: Start by laying out all the components in an organized manner. This gives you a clear view and can definately help prevent misplacing any parts. Identify the poles, net, and stakes, and ensure that nothing is missing from your equipment.
Q: How do I attach the poles to the net?
A: Most nets will have a sleeve or loops at the top for pole insertion. Gently slide each pole into the respective sleeves on either end of the net. Make sure the net is positioned evenly for a balanced look—no one wants a lopsided game!
Q: What if my pickleball net includes a center support? Do I need to install it?
A: Yes! This is crucial for maintaining net tension and ensuring a solid playing surface. Follow the instructions to secure the center support in the middle of the net, typically using hooks or clips provided in your kit. This will boost stability and performance during games.
Q: How do I properly secure the net in place?
A: Erect the poles upright,ensuring they are perpendicular to the ground. Use stakes or anchors to secure the base of the poles, driving them into the ground if applicable. This step is vital, as it prevents movement during play. Some kits may include buckles or straps for additional tension.
Q: how can I ensure that the net is set to the correct height?
A: The standard height for a pickleball net is 36 inches at the sidelines and 34 inches at the center. Use a measuring tape to check the height at both locations. Most poles have a height adjustment feature—literally, raise or lower until it’s just right!
Q: Is there a quick way to check if I’ve assembled everything correctly?
A: Absolutely! Once assembled, give the net a gentle tug to see if it holds firm without sagging. You can also take a couple of practice swings with your pickleball paddle to test its stability. If it holds up under a bit of pressure, you’re good to go!
Q: What maintenance rituals should I perform after setup?
A: After each game, check for any signs of wear on the net, the poles, and the support system. If you notice fraying, consider a repair or a replacement depending on how extensively you play. Storing the net indoors when not in use can also enhance its longevity.
Q: Any final tips for the best pickleball net assembly experience?
A: Patience is key! Take your time during assembly and don’t hesitate to refer back to the manufacturer’s instructions.Also, involve a friend if possible—two pairs of hands can make light work of this setup! And remember, practice makes perfect—just like your pickleball game will with a well-assembled net. Happy playing!
Future Outlook
assembling a pickleball net may seem like a daunting task, but with the right guidance and a little patience, you’ll be ready to serve up some fun in no time. By following the steps outlined in this article, you can ensure that your net is set up correctly and securely, providing a stable backdrop for friendly matches and competitive play alike. Remember, every great game begins with the right foundation—so take the time to assemble your net with care and attention. With your pickleball court equipped and ready, all that’s left is to gather friends, share some laughs, and let the games begin. Happy playing!
Related Posts

don woodfield pickleball pinehurst resort
At Pinehurst Resort, Don Woodfield brings the energetic spirit of pickleball to life. Nestled amidst scenic landscapes, his passion for the game fosters a vibrant community where players of all levels can sharpen their skills and enjoy friendly competition.
how to spin the ball for pickleball
Mastering ball spin in pickleball can elevate your game significantly. To achieve the desired spin, grip the paddle firmly, brush against the ball’s surface at an angle, and follow through your stroke. Practice different spins to keep your opponents guessing!

what is the measurements of a pickleball court
A pickleball court, often likened to a blend of tennis and badminton, measures 20 feet wide and 44 feet long for doubles play. The non-volley zone, or “kitchen,” sits 7 feet from the net on each side, ensuring a unique strategic dynamic.
what’s a lob in pickleball
A lob in pickleball is a strategic shot aimed high over your opponent, designed to push them back and create space on the court. By sending the ball soaring, players can change the momentum of the game and set up for the next powerful play.

who won the pickleball challenge
In a thrilling display of skill and strategy, the pickleball challenge concluded with an unexpected twist. Amidst cheers and fierce competition, Sarah Thompson emerged victorious, showcasing her deft volleys and quick footwork. The crowd erupted in applause!

why do they call.it pickleball
The quirky name “pickleball” sparks curiosity, and its origins are as playful as the game itself. Created in 1965, the sport was said to be inspired by the inventor’s dog, Pickles, who would chase the ball. A delightful blend of fun and tradition!
how to know what pickleball level you are
Determining your pickleball level can be as simple as assessing your skills. Consider factors like shot consistency, court positioning, and strategic play. Joining local matches or clinics can provide valuable feedback, helping you align with your true level.

how new is pickleball
Pickleball, often described as a blend of tennis, badminton, and ping pong, has surged in popularity since its creation in 1965. While the sport’s roots are nearly six decades old, its explosive growth in recent years has given it a refreshing newness.

who is in etrade pickleball commercial
In the lively new eTrade pickleball commercial, viewers are introduced to a vibrant cast of characters, including professional players and everyday enthusiasts. Their engaging interactions showcase the sport’s growing popularity and eTrade’s commitment to financial empowerment.

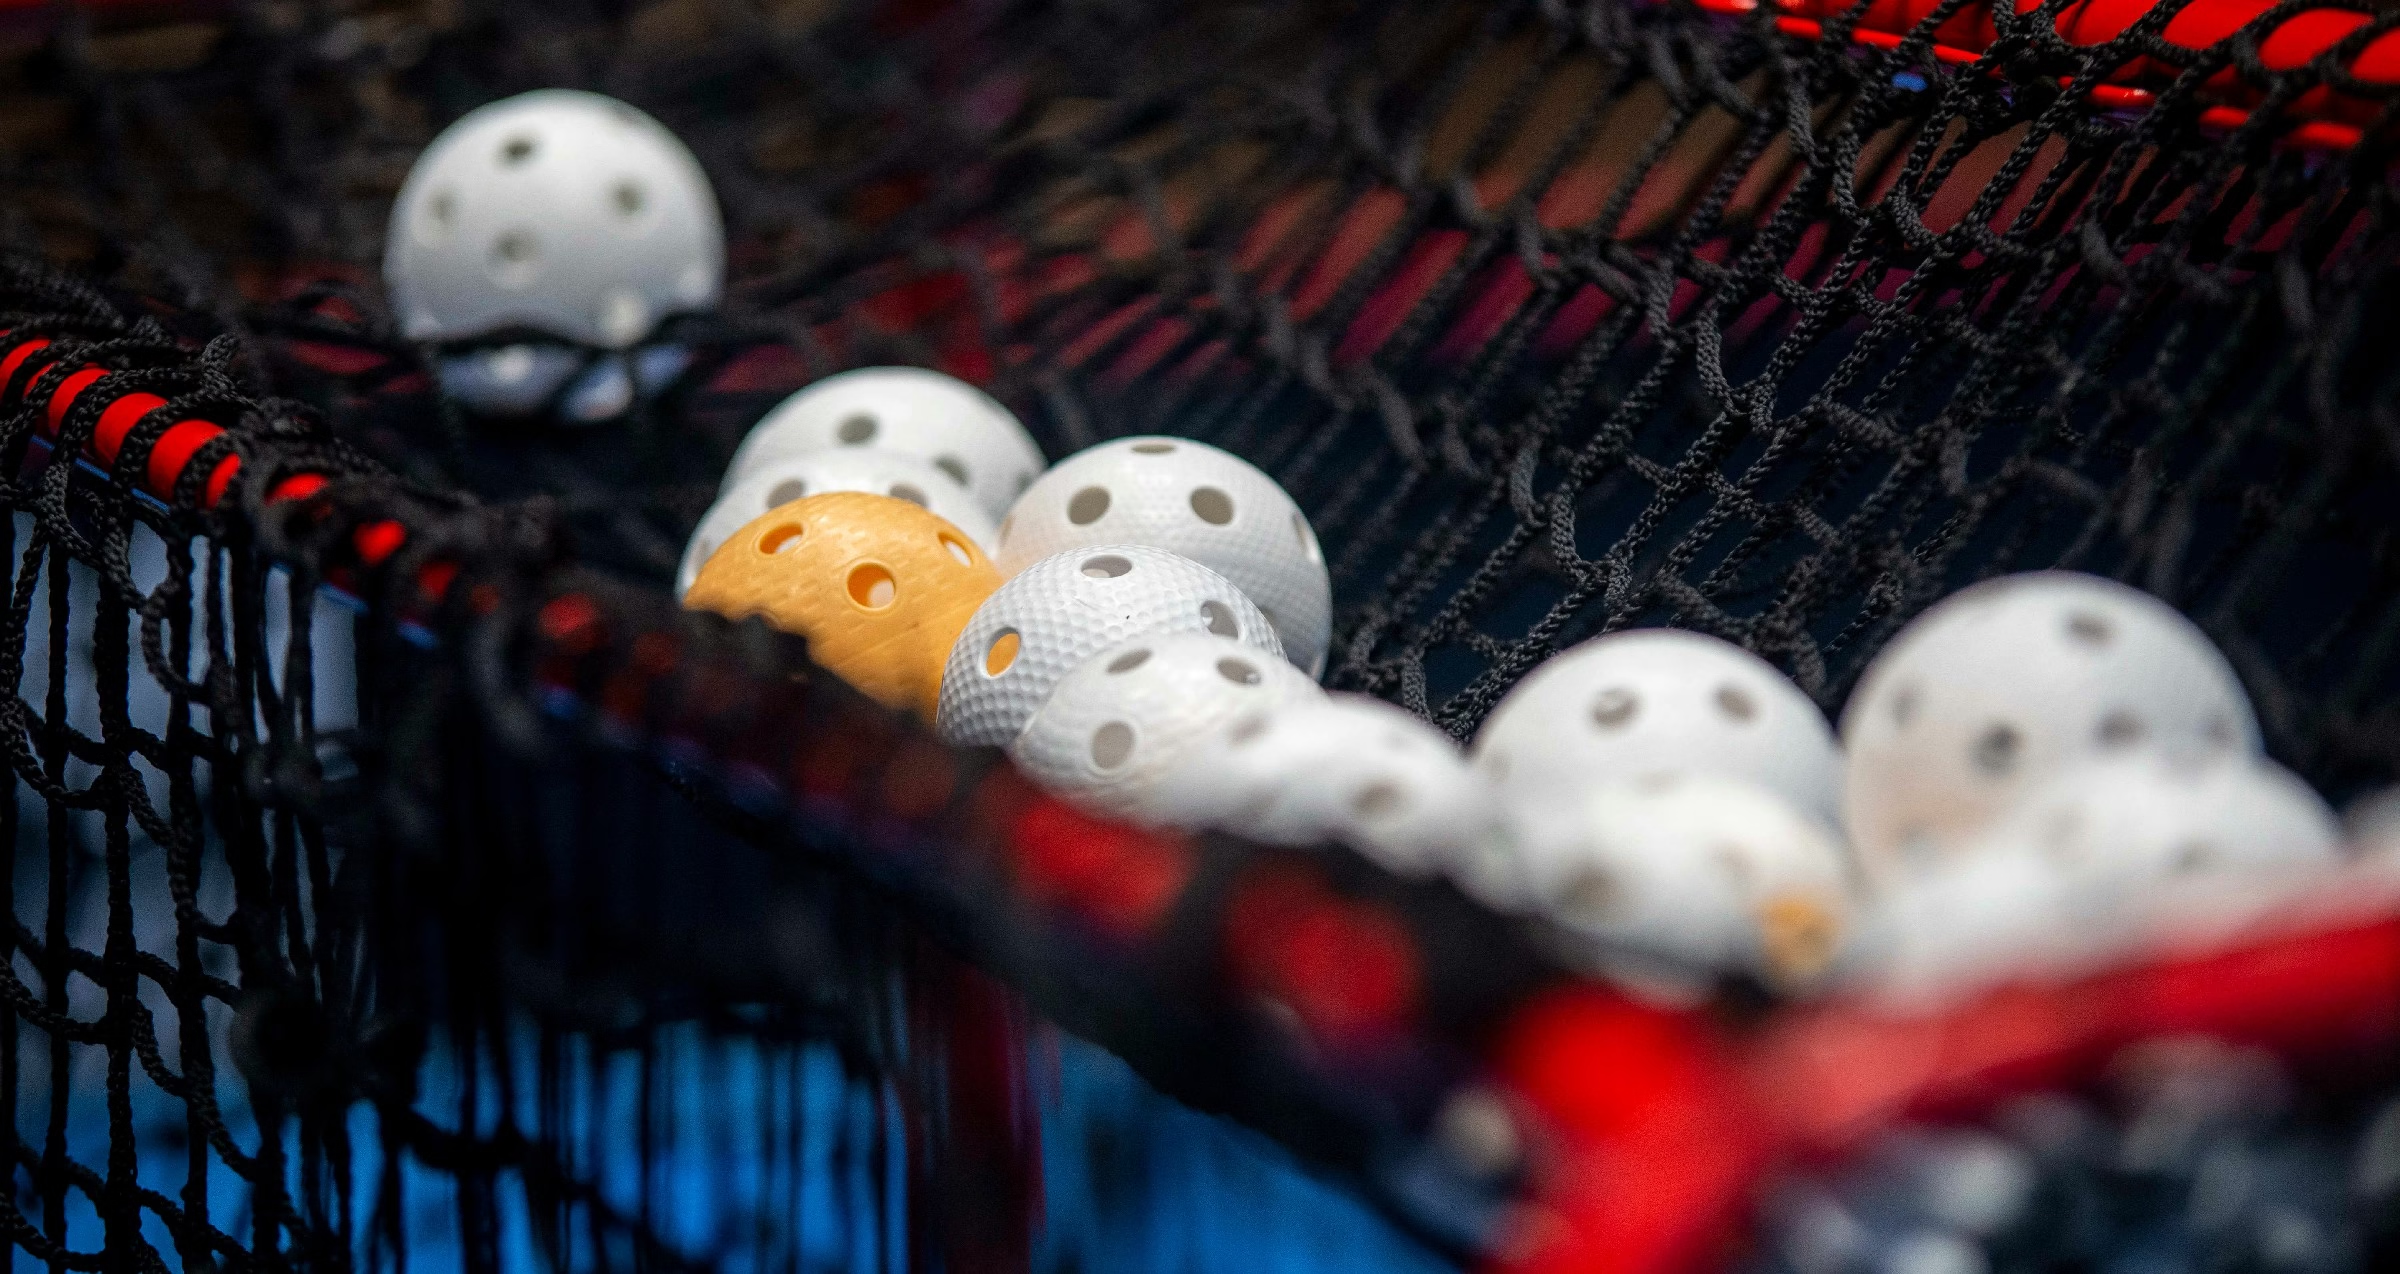
what is the ball in pickleball
The ball in pickleball is a lightweight, plastic sphere adorned with holes, designed for controlled flight and a distinct bounce. Available in vibrant colors, it enhances visibility and adds an element of fun to this energetic paddle sport.

is there a difference between outdoor and indoor pickleballs
When it comes to pickleball, the distinction between outdoor and indoor balls is more than just a matter of where you play. Outdoor balls are thicker, with larger holes for wind resistance, while indoor balls feature a smoother design for better bounce on gym floors. Your game may depend on your choice!

do you have to have 4 people to play pickleball
While pickleball is often played in doubles with four players, it’s not a strict requirement. You can enjoy a game with just two players or even engage in solo practice, making this versatile sport accessible to everyone, regardless of the player count.