Blog
how to build a pickleball backboard

Title: Crafting the Perfect Pickleball Backboard: A DIY Guide for Enthusiasts
In the vibrant world of pickleball,where fast-paced rallies adn strategy collide,having the right tools can make all the difference.While practicing your serve, volley, or dink against a partner can be exhilarating, honing your skills solo presents a unique challenge. Enter the backboard: a versatile training aid that can transform any outdoor space into a personal practice arena. Whether you’re a seasoned player looking to refine your shots or a newcomer eager to develop your technique, building your own pickleball backboard can offer countless hours of practice and play.In this article, we’ll unlock the secrets of constructing a sturdy, effective backboard that not only fits your space but can also withstand the test of time—and your best shots. Get ready to elevate your game as we guide you step by step through the process of creating the perfect pickleball companion right in your backyard!
Table of Contents
- Choosing the Right Materials for Your Pickleball Backboard
- Designing for Durability: A Guide to Structural Integrity
- Measuring and Sizing: Finding the Perfect Dimensions
- Establishing the Ideal Location for Installation
- Enhancing Playability: Tips for Smooth Surfaces and Angles
- finishing Touches: Weatherproofing and Aesthetic Considerations
- Q&A
- Insights and Conclusions
Choosing the Right Materials for Your Pickleball Backboard
When constructing your pickleball backboard, the selection of materials is paramount for both performance and durability. Wood is a popular choice due to its natural shock absorption and pleasant aesthetic. However,it requires proper maintenance to withstand the elements. Composite materials,such as fiberglass or engineered wood,offer the advantage of enhanced durability and lower maintenance needs,making them a suitable alternative for outdoor setups. Additionally, consider using acrylic panels, which create a smooth playing surface while being resistant to weather damage.
Another critical consideration is the weight of the backboard. Heavier materials provide stability and reduce the risk of tipping, but thay may also present challenges for installation. Conversely, lighter materials are easier to handle but might require additional anchoring. Here’s a rapid checklist to help you decide:
- Weather resistance: Ensure materials can withstand moisture and UV exposure.
- Impact resistance: Choose materials that can endure repeated strikes from the ball.
- Aesthetic appeal: Consider how the materials will look in your court area.
A brief comparison of the popular materials can help you finalize your choice:
| Material | Durability | Maintenance | Cost |
|---|---|---|---|
| Wood | Moderate | High | medium |
| Composite | High | Low | Medium-High |
| Acrylic | Very High | Low | high |
Ultimately, the right material for your pickleball backboard will depend on your specific needs, including budget, usage frequency, and location. Investing time in selecting the ideal material will enhance your backyard experience and provide a lasting, quality practice surface. Remember to account for factors like community engagement and any local regulations that might dictate particular materials or designs for recreational structures.
Designing for Durability: A Guide to Structural Integrity
Building a durable pickleball backboard requires careful selection of materials and design considerations to ensure longevity and performance. Begin with a robust framework,ideally using pressure-treated wood or marine-grade plywood that can withstand the elements if placed outdoors. Consider using a weather-resistant finish to protect against moisture and fading from UV exposure. These materials not only support structural integrity but also help maintain the aesthetic appeal of your backboard.
Next, the construction method is key to achieving a solid structure. aim for a design that distributes stress evenly across the backboard. Use a combination of cross braces and reinforcement straps to mitigate any potential weakness in the frame. Ensure the attachment points are designed to handle high-impact shots,reinforcing with doweled joints or lag screws for extra sturdiness. Additionally, consider incorporating an adjustable system for height or angle, allowing it to be used for various training drills and skill levels.
| Component | Material | Purpose |
|---|---|---|
| Frame | Pressure-Treated Wood | Structural Support |
| Surface | Marine-grade Plywood | Ball Response |
| Finish | Weather-Resistant Sealer | Protection |
| Bracing | cross Braces / Straps | Stability |
| Fasteners | Dowel Joints / Lag Screws | Reinforcement |
ensure proper installation, considering factors such as soil type and environmental conditions. Secure your backboard with a sufficiently deep foundation using concrete or a compacted gravel base to resist shifting. Aim for a height that caters to your training needs while maintaining safety for players. Regular maintenance checks on the integrity of the materials and joints will prolong its lifespan and ensure that your pickleball backboard remains a reliable training tool for years to come.
Measuring and Sizing: Finding the Perfect Dimensions
When constructing a pickleball backboard, achieving the ideal dimensions is paramount to ensure both functionality and playability. Start by considering the height and width that suit your specific needs. A standard backboard typically measures around 10 feet high by 20 feet wide; however, you can opt for adjustments based on your available space or skill level. Smaller dimensions may benefit beginners focusing on control, while advanced players may prefer a larger area for practicing accuracy.
it’s essential to choose materials that enhance durability while accommodating the size. Common options for the backboard surface include plywood, sports-grade acrylic, or fiberglass. Ensure that the frame’s structural integrity can support the dimensions you choose. You might create a simple frame by using 2×4 lumber, which can adequately withstand weather conditions and daily wear. A well-constructed frame not only adds integrity but also allows for a clean finish that’s easy on the eyes.
Additionally, consider adding a slant or tilt to the backboard, which can create fascinating rebound angles and enhance your practice sessions. Depending on the design,you might want to explore an angle between 5° and 15° that is tailored to your space. Here’s a quick comparison table of potential dimensions:
| Height (ft) | Width (ft) | Skill Level | Recommended Material |
|---|---|---|---|
| 8 | 16 | Beginner | Plywood |
| 10 | 20 | Intermediate | Acrylic |
| 12 | 24 | Advanced | Fiberglass |
Establishing the Ideal Location for Installation
Choosing the right spot for your pickleball backboard is crucial for both functionality and enjoyment. Consider proximity to your playing area, ensuring it’s easily accessible while providing enough space to practice various shots. Look for a flat area free of obstacles, as this will help you avoid distractions and potential hazards during your practice sessions.
Sunlight and shade also play an important role in determining the ideal location. Evaluate the sun’s trajectory throughout the day, aiming to install your backboard in a place where it receives adequate lighting without casting harsh shadows. This will allow for better visibility of the ball and a more comfortable playing experience, especially during early morning or late afternoon sessions.
Lastly, be mindful of neighborhood and community regulations regarding outdoor installations. Check for any zoning laws or homeowner association guidelines that may restrict the height or location of your backboard. Additionally, consult with neighbors about your plans; this can definitely help prevent potential conflicts and foster a supportive community environment for your pickleball endeavors.
Enhancing Playability: Tips for Smooth Surfaces and Angles
To ensure a great playing experience with your pickleball backboard, focus on achieving smooth surfaces. This is crucial for bounce consistency and player enjoyment. When selecting materials, consider using high-quality plywood or composite boards. Sand down any rough edges and apply a sealant or smooth finish to eliminate splinters and ensure a polished feel. Regular maintenance, such as repainting and resurfacing, can also keep the playing surface in top-notch condition.
In addition to smooth surfaces, the angle of the backboard plays a meaningful role in playability. A slight tilt—between 10 to 15 degrees—is often ideal for enhancing ball rebound and providing better gameplay dynamics. This angle allows for varied returns, which will challenge players and keep practice engaging. When constructing the backboard, use adjustable braces or hinges to fine-tune the angle according to your preferences.
Lastly, consider the size and height of your backboard.A standard height of approximately 10 feet is recommended to accommodate various skill levels. Here’s a quick reference table for the ideal dimensions:
| Dimension | Recommended Value |
|---|---|
| Width | 16 feet |
| Height | 10 feet |
| Distance from Playing Area | 2 feet |
Choosing the right dimensions will not only facilitate effective play but also encourage players to hone their skills. Prioritizing these elements while building your pickleball backboard will considerably enhance the overall playability of the court.
Finishing Touches: Weatherproofing and Aesthetic Considerations
To ensure your pickleball backboard withstands the test of time, applying weatherproofing techniques is essential. Begin by using a high-quality water-resistant sealant on the wooden surfaces to prevent moisture from seeping in. this not only protects the wood from rot but also helps maintain its structural integrity. Consider using exterior-grade paint or stain in colors that appeal to you; these options often contain UV blockers that shield the material from sun damage, preserving the vibrant appearance for years to come.
Aesthetic considerations can elevate your backboard from a functional tool to a stylish addition to your yard. Here are some ideas to enhance its look:
- Color Coordination: Match the backboard to your home’s exterior or your landscaping for a seamless integration.
- Unique Designs: Incorporate creative elements such as geometric patterns or painted murals, making the backboard a visual focal point.
- Lighting Options: Adding LED strip lights or solar-powered lights can create a striking visual effect while enabling evening play.
don’t forget to take care of the surface that players will be hitting balls against. Using an anti-scratch finish can help keep the backboard looking pristine, allowing for both function and visual appeal. It may also be worthwhile to regularly check for wear and tear, making touch-ups as needed to ensure that your investment continues to serve you well, both aesthetically and practically. In keeping a focus on durability and design, your pickleball backboard can become a cherished feature of your outdoor space.
Q&A
Q&A: How to Build a Pickleball Backboard
Q1: What is a pickleball backboard, and why would I want one?
A1: A pickleball backboard is a sturdy vertical surface designed for practicing your shots. It bounces the ball back to you,allowing for self-training. Whether you’re honing your serve, working on your volleys, or just looking to improve your overall hand-eye coordination, a backboard offers a convenient way to work on your skills without needing a partner.
Q2: What materials do I need to build a pickleball backboard?
A2: Essential materials include plywood or wood boards for the surface, pressure-treated lumber for the frame, weather-resistant paint or sealant to protect it from the elements, and screws or nails for assembly. Additionally, you might want to include a net or only use the backboard as a flat surface, depending on your preference.
Q3: Can I customize the size of my backboard?
A3: Absolutely! The size of your backboard can vary based on available space and your specific training needs. A common size is about 8 feet high by 16 feet wide, but you can adjust it to fit your backyard or court area. consider the height and width based on your skill level and preferences for practice.
Q4: What tools will I need for the construction?
A4: To build your backboard, you’ll need basic tools such as a saw (circular or hand saw), a drill or screwdriver, a tape measure, a level, and a hammer. having safety gear like gloves and goggles on hand is also a good idea to ensure a safe building process.
Q5: are there any special design features I should consider?
A5: Yes! Some builders choose to incorporate a slight angle to their backboard, which can simulate realistic ball bounce. You might also want to consider adding a target area for improved focus while practicing. Paint it with visible lines or segments to create specific zones for added challenge.
Q6: How do I maintain my pickleball backboard?
A6: To keep your backboard in optimal condition, regularly inspect the surface for signs of wear or damage, especially if it’s exposed to the weather. Applying a new coat of sealant every couple of years will help preserve the wood’s integrity. Clear debris, such as leaves or dirt, from the surface to ensure consistent ball rebound.
Q7: Can I place my backboard anywhere?
A7: While you can technically place your backboard anywhere, it’s best to position it in an area with enough space around it. Ideally, you want a flat, open space to allow for safe and effective practice.ensure there’s ample distance for your backstroke, and keep away from obstacles or structures that could interfere with your play.
Q8: How long will it take to build a pickleball backboard?
A8: Depending on your experience level and the complexity of your design, building a backboard can take anywhere from a few hours to a complete day. If you’re organized and have all your materials ready, you could complete it relatively quickly.
Q9: What if I’m not very handy?
A9: No worries! There are plenty of pre-made options available for purchase if building isn’t your forte. Many sporting goods stores or online retailers offer ready-to-install backboards that can save you time and effort while still giving you the practice tool you need.
Q10: What are some best practices for using my backboard effectively?
A10: To make the most of your backboard, vary your shots by practicing different styles—forehands, backhands, volleys, and serves. Also, focus on footwork by moving around after each hit to simulate game scenarios. Lastly, consider setting a timer for focused practice sessions to track your improvement over time.
With the right materials, a pinch of creativity, and a dash of effort, you’ll soon have a pickleball backboard that enhances your game and provides countless hours of practice!
Insights and Conclusions
as you embark on your journey to enhance your pickleball skills with your very own backboard, remember that the process is just as rewarding as the end result. Building a backboard tailored to your needs not only provides a space for practice but also fosters creativity and problem-solving.Whether you choose to go with the simple approach of a basic structure or venture into designing a more elaborate setup, each step contributes to your growth as a player and as a craftsman.
Now that you have the blueprint for success, gather your materials and get started. Embrace the challenge,engage with the process,and before you know it,you’ll have a reliable partner for honing your shots and improving your game. So why wait? Pick up those tools and let the project begin—your future pickleball victories await!
Related Posts
don woodfield pickleball pinehurst resort
At Pinehurst Resort, Don Woodfield brings the energetic spirit of pickleball to life. Nestled amidst scenic landscapes, his passion for the game fosters a vibrant community where players of all levels can sharpen their skills and enjoy friendly competition.
how to spin the ball for pickleball
Mastering ball spin in pickleball can elevate your game significantly. To achieve the desired spin, grip the paddle firmly, brush against the ball’s surface at an angle, and follow through your stroke. Practice different spins to keep your opponents guessing!

what is the measurements of a pickleball court
A pickleball court, often likened to a blend of tennis and badminton, measures 20 feet wide and 44 feet long for doubles play. The non-volley zone, or “kitchen,” sits 7 feet from the net on each side, ensuring a unique strategic dynamic.
what’s a lob in pickleball
A lob in pickleball is a strategic shot aimed high over your opponent, designed to push them back and create space on the court. By sending the ball soaring, players can change the momentum of the game and set up for the next powerful play.

who won the pickleball challenge
In a thrilling display of skill and strategy, the pickleball challenge concluded with an unexpected twist. Amidst cheers and fierce competition, Sarah Thompson emerged victorious, showcasing her deft volleys and quick footwork. The crowd erupted in applause!
why do they call.it pickleball
The quirky name “pickleball” sparks curiosity, and its origins are as playful as the game itself. Created in 1965, the sport was said to be inspired by the inventor’s dog, Pickles, who would chase the ball. A delightful blend of fun and tradition!
how to know what pickleball level you are
Determining your pickleball level can be as simple as assessing your skills. Consider factors like shot consistency, court positioning, and strategic play. Joining local matches or clinics can provide valuable feedback, helping you align with your true level.
how new is pickleball
Pickleball, often described as a blend of tennis, badminton, and ping pong, has surged in popularity since its creation in 1965. While the sport’s roots are nearly six decades old, its explosive growth in recent years has given it a refreshing newness.

who is in etrade pickleball commercial
In the lively new eTrade pickleball commercial, viewers are introduced to a vibrant cast of characters, including professional players and everyday enthusiasts. Their engaging interactions showcase the sport’s growing popularity and eTrade’s commitment to financial empowerment.

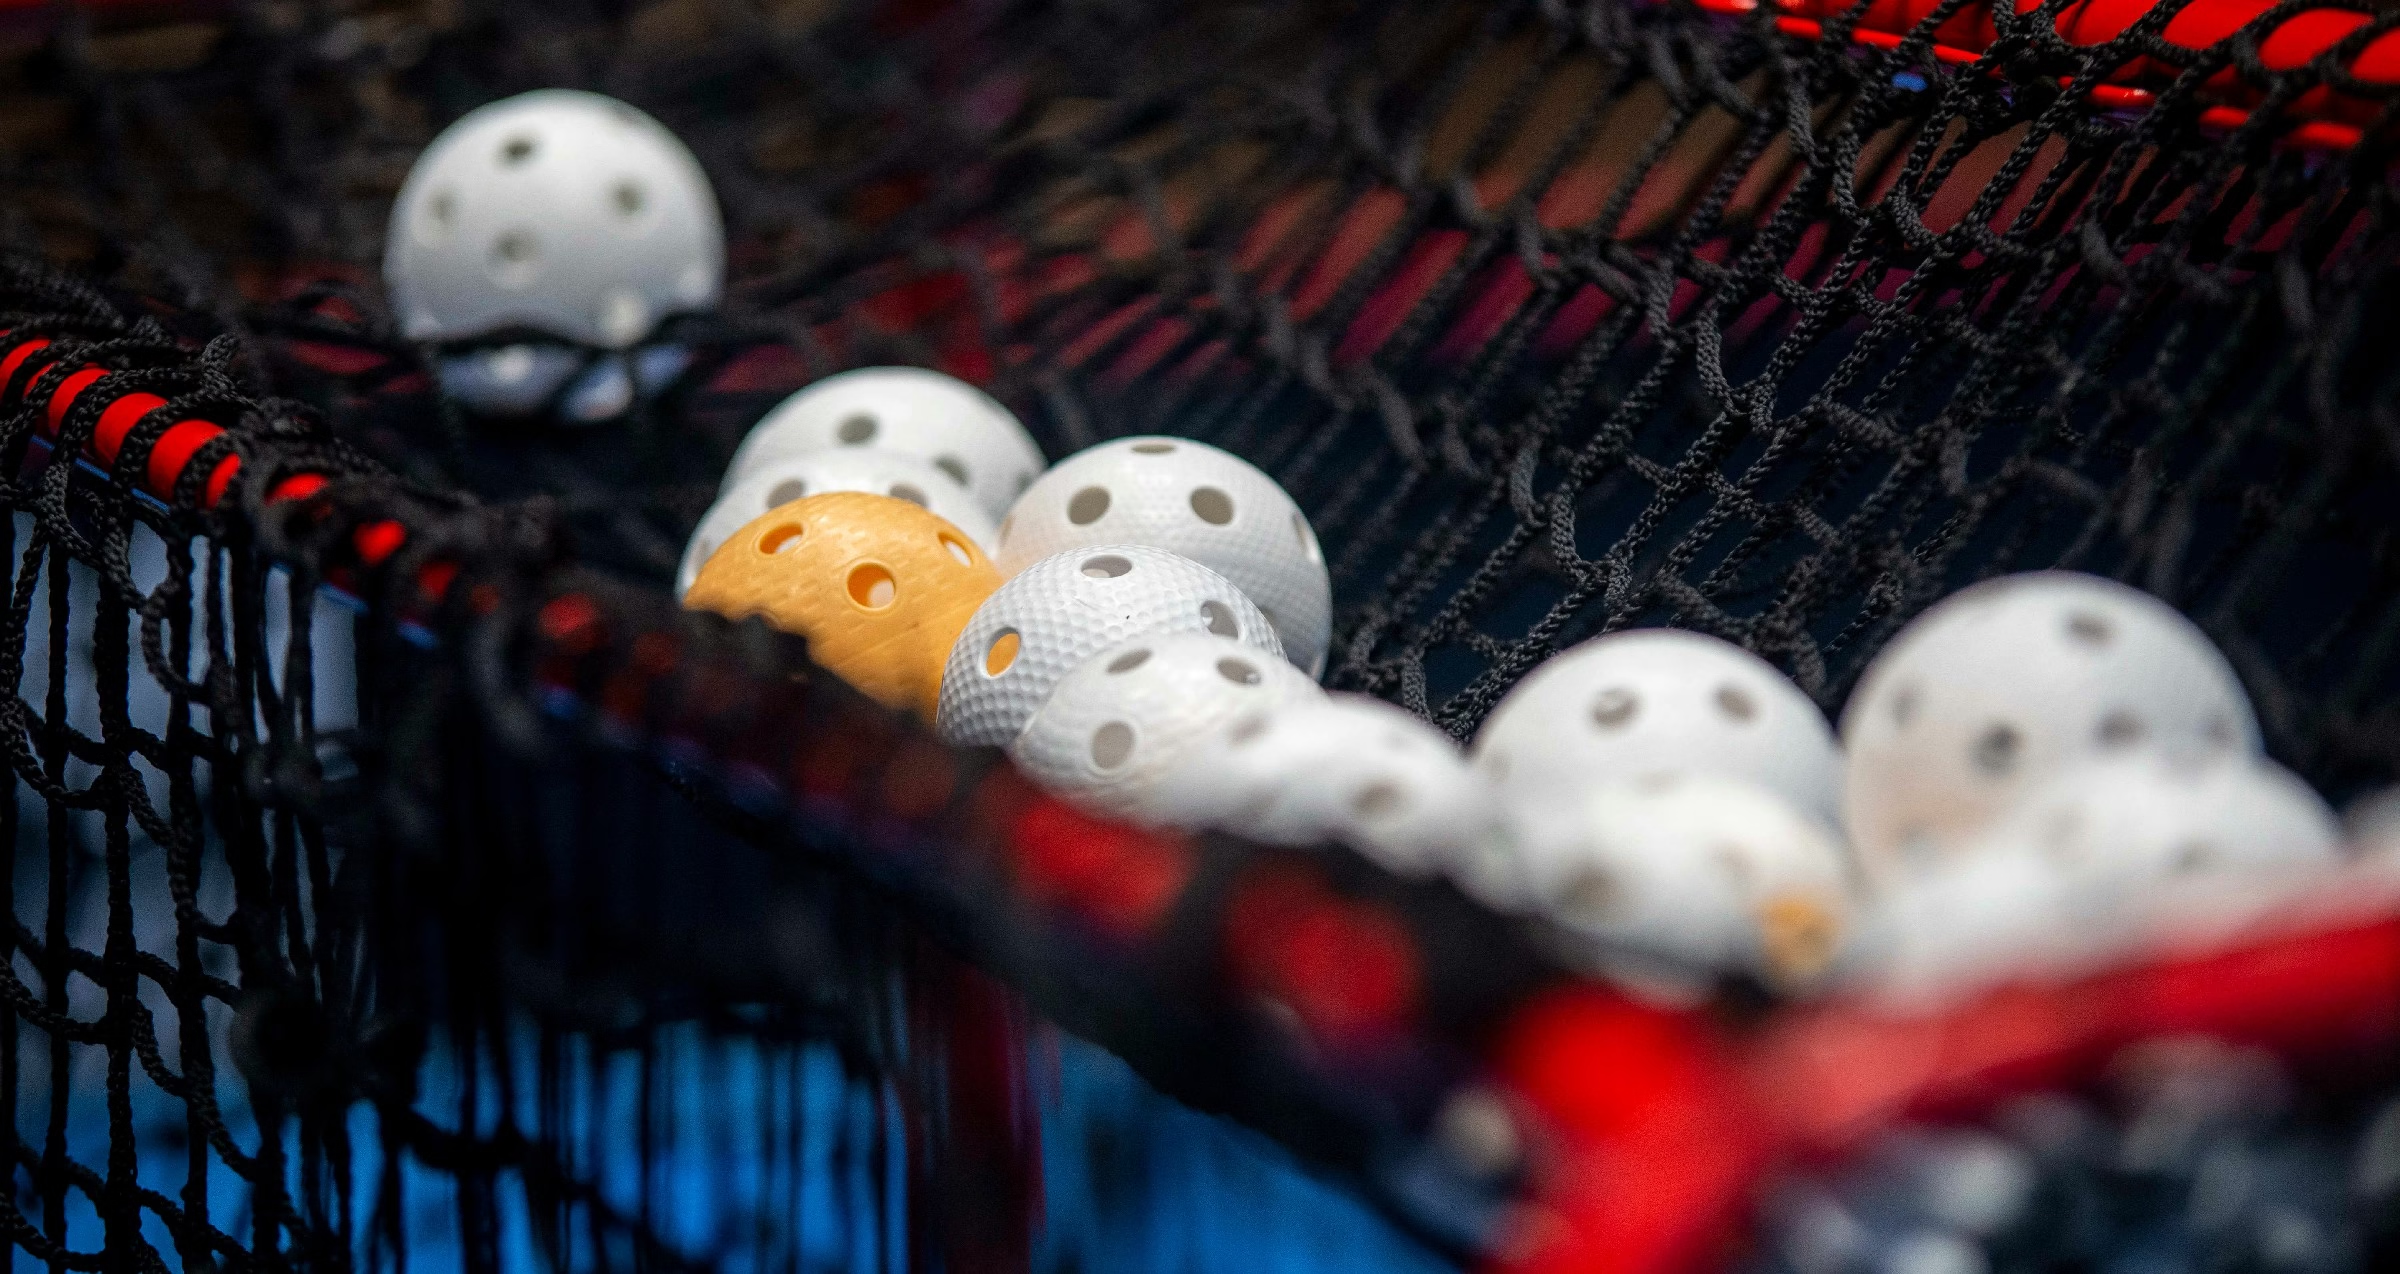
what is the ball in pickleball
The ball in pickleball is a lightweight, plastic sphere adorned with holes, designed for controlled flight and a distinct bounce. Available in vibrant colors, it enhances visibility and adds an element of fun to this energetic paddle sport.

is there a difference between outdoor and indoor pickleballs
When it comes to pickleball, the distinction between outdoor and indoor balls is more than just a matter of where you play. Outdoor balls are thicker, with larger holes for wind resistance, while indoor balls feature a smoother design for better bounce on gym floors. Your game may depend on your choice!
do you have to have 4 people to play pickleball
While pickleball is often played in doubles with four players, it’s not a strict requirement. You can enjoy a game with just two players or even engage in solo practice, making this versatile sport accessible to everyone, regardless of the player count.