Blog
how to draw a pickleball court
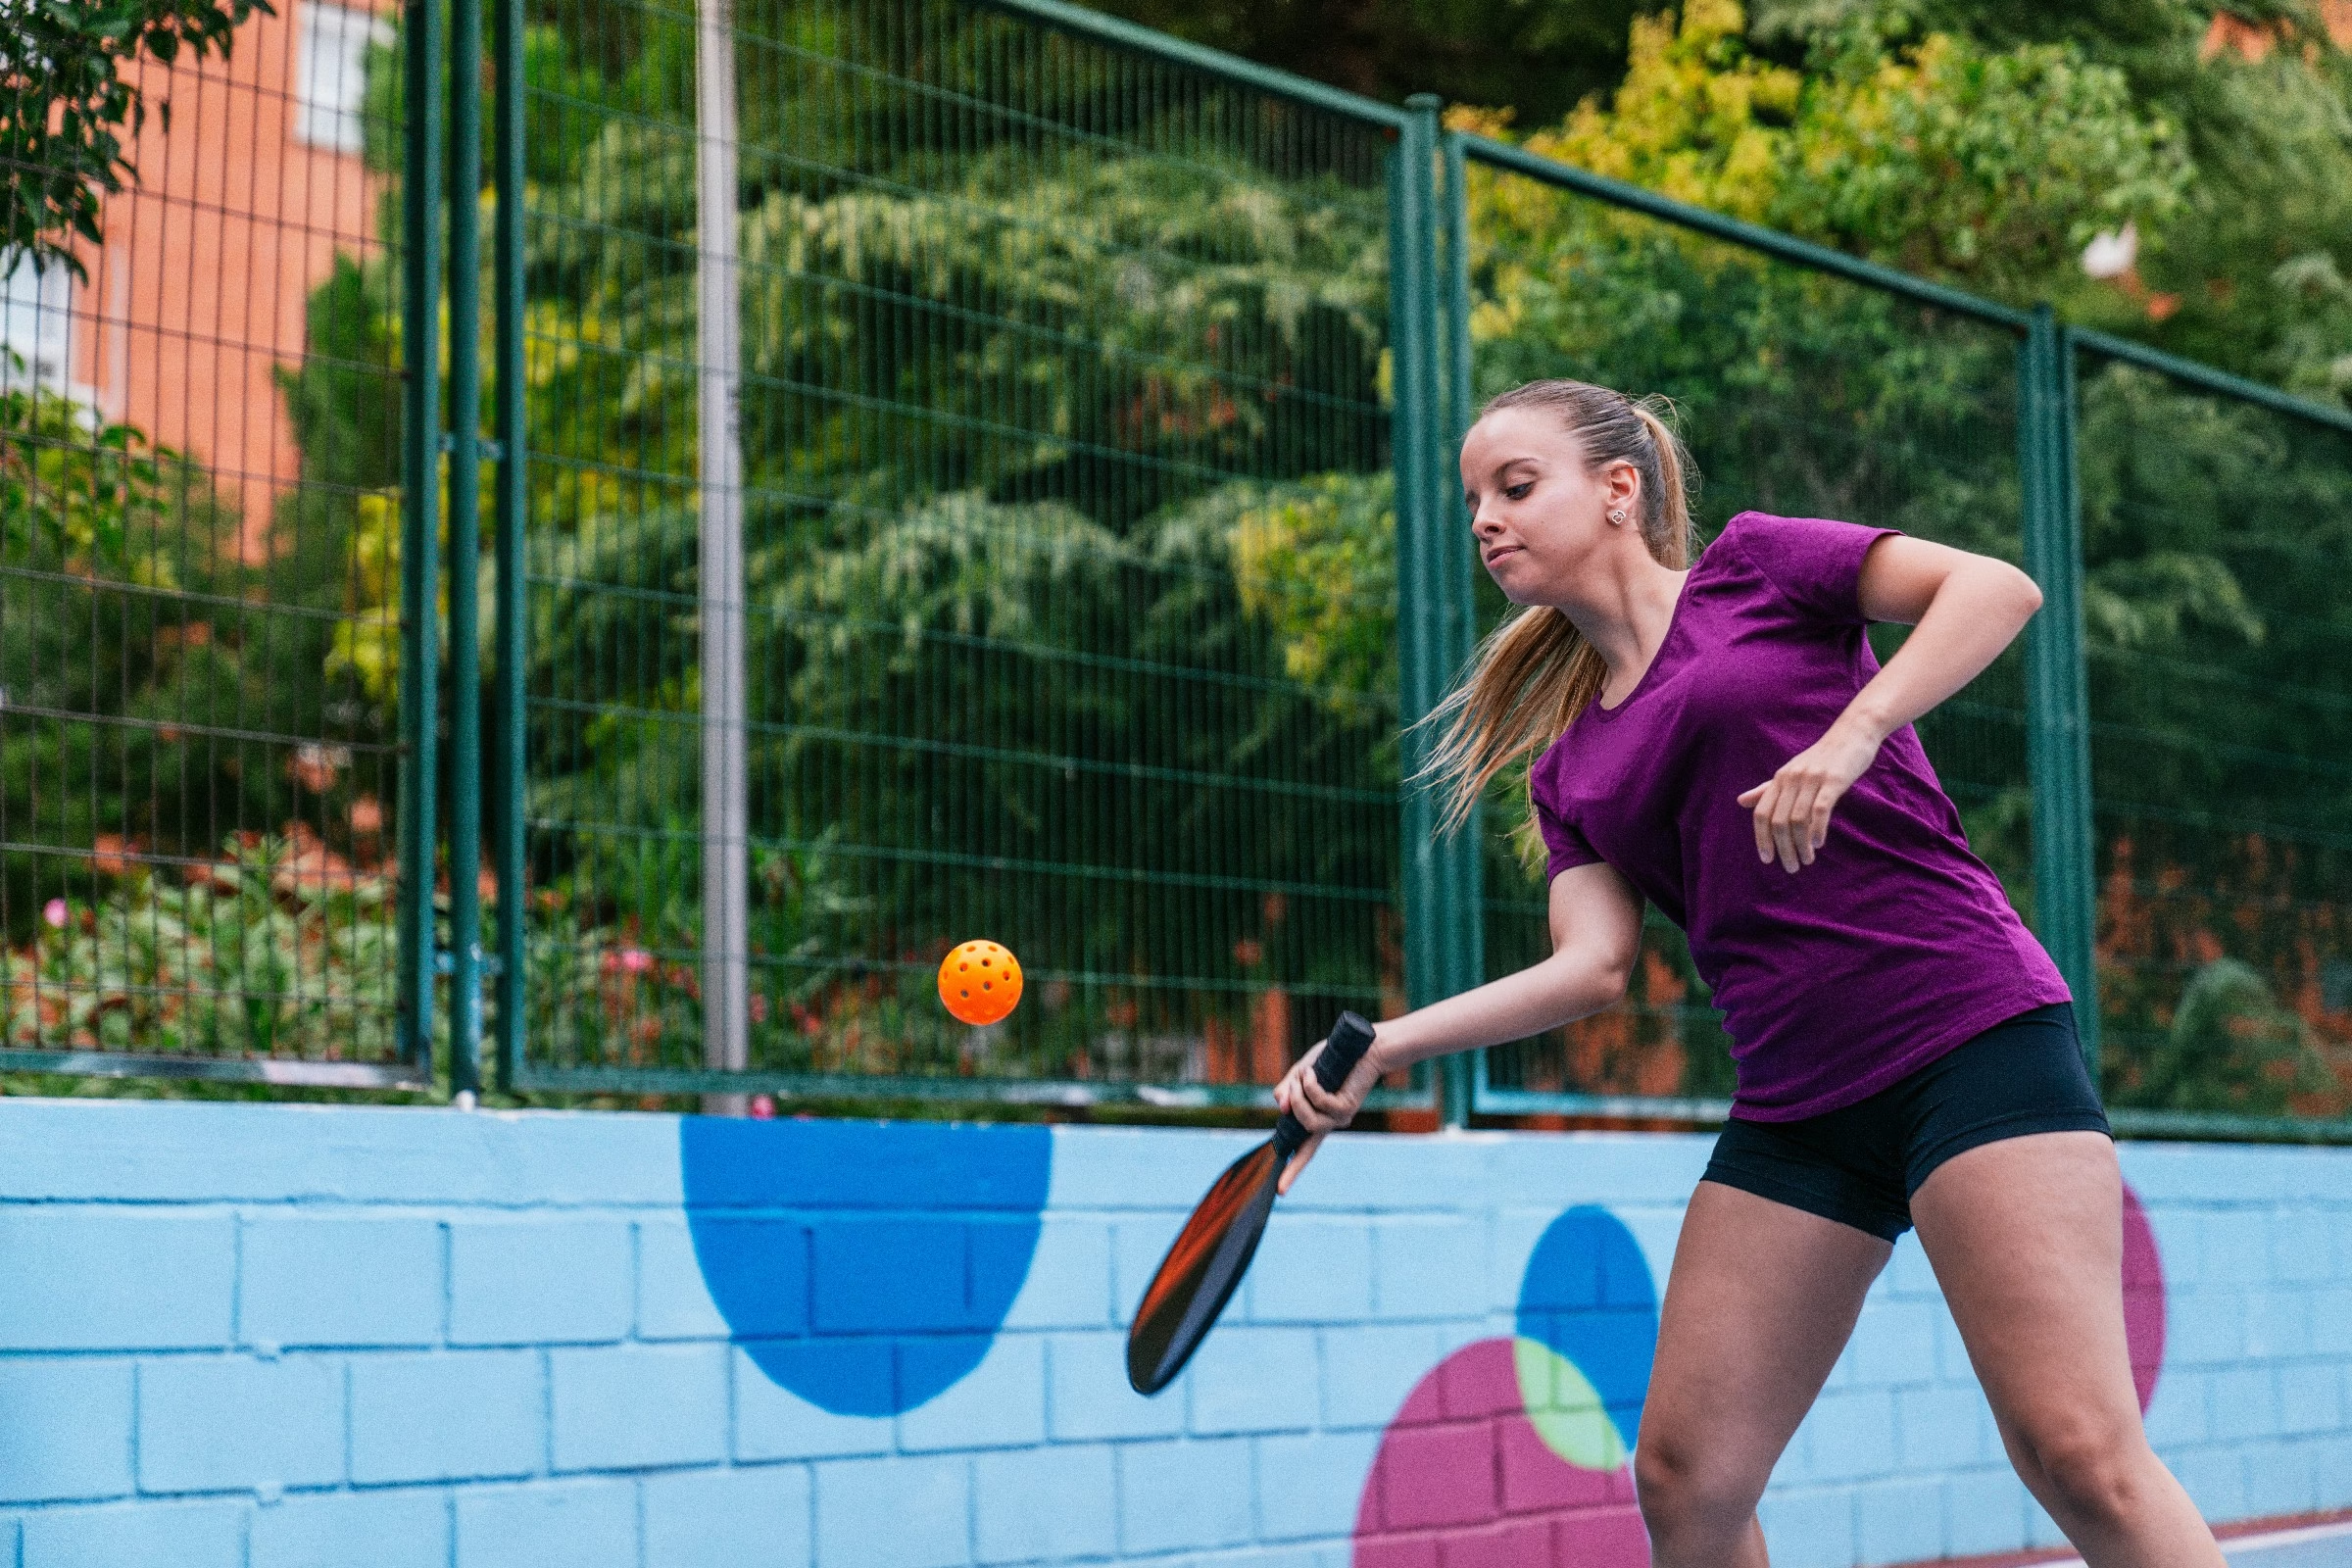
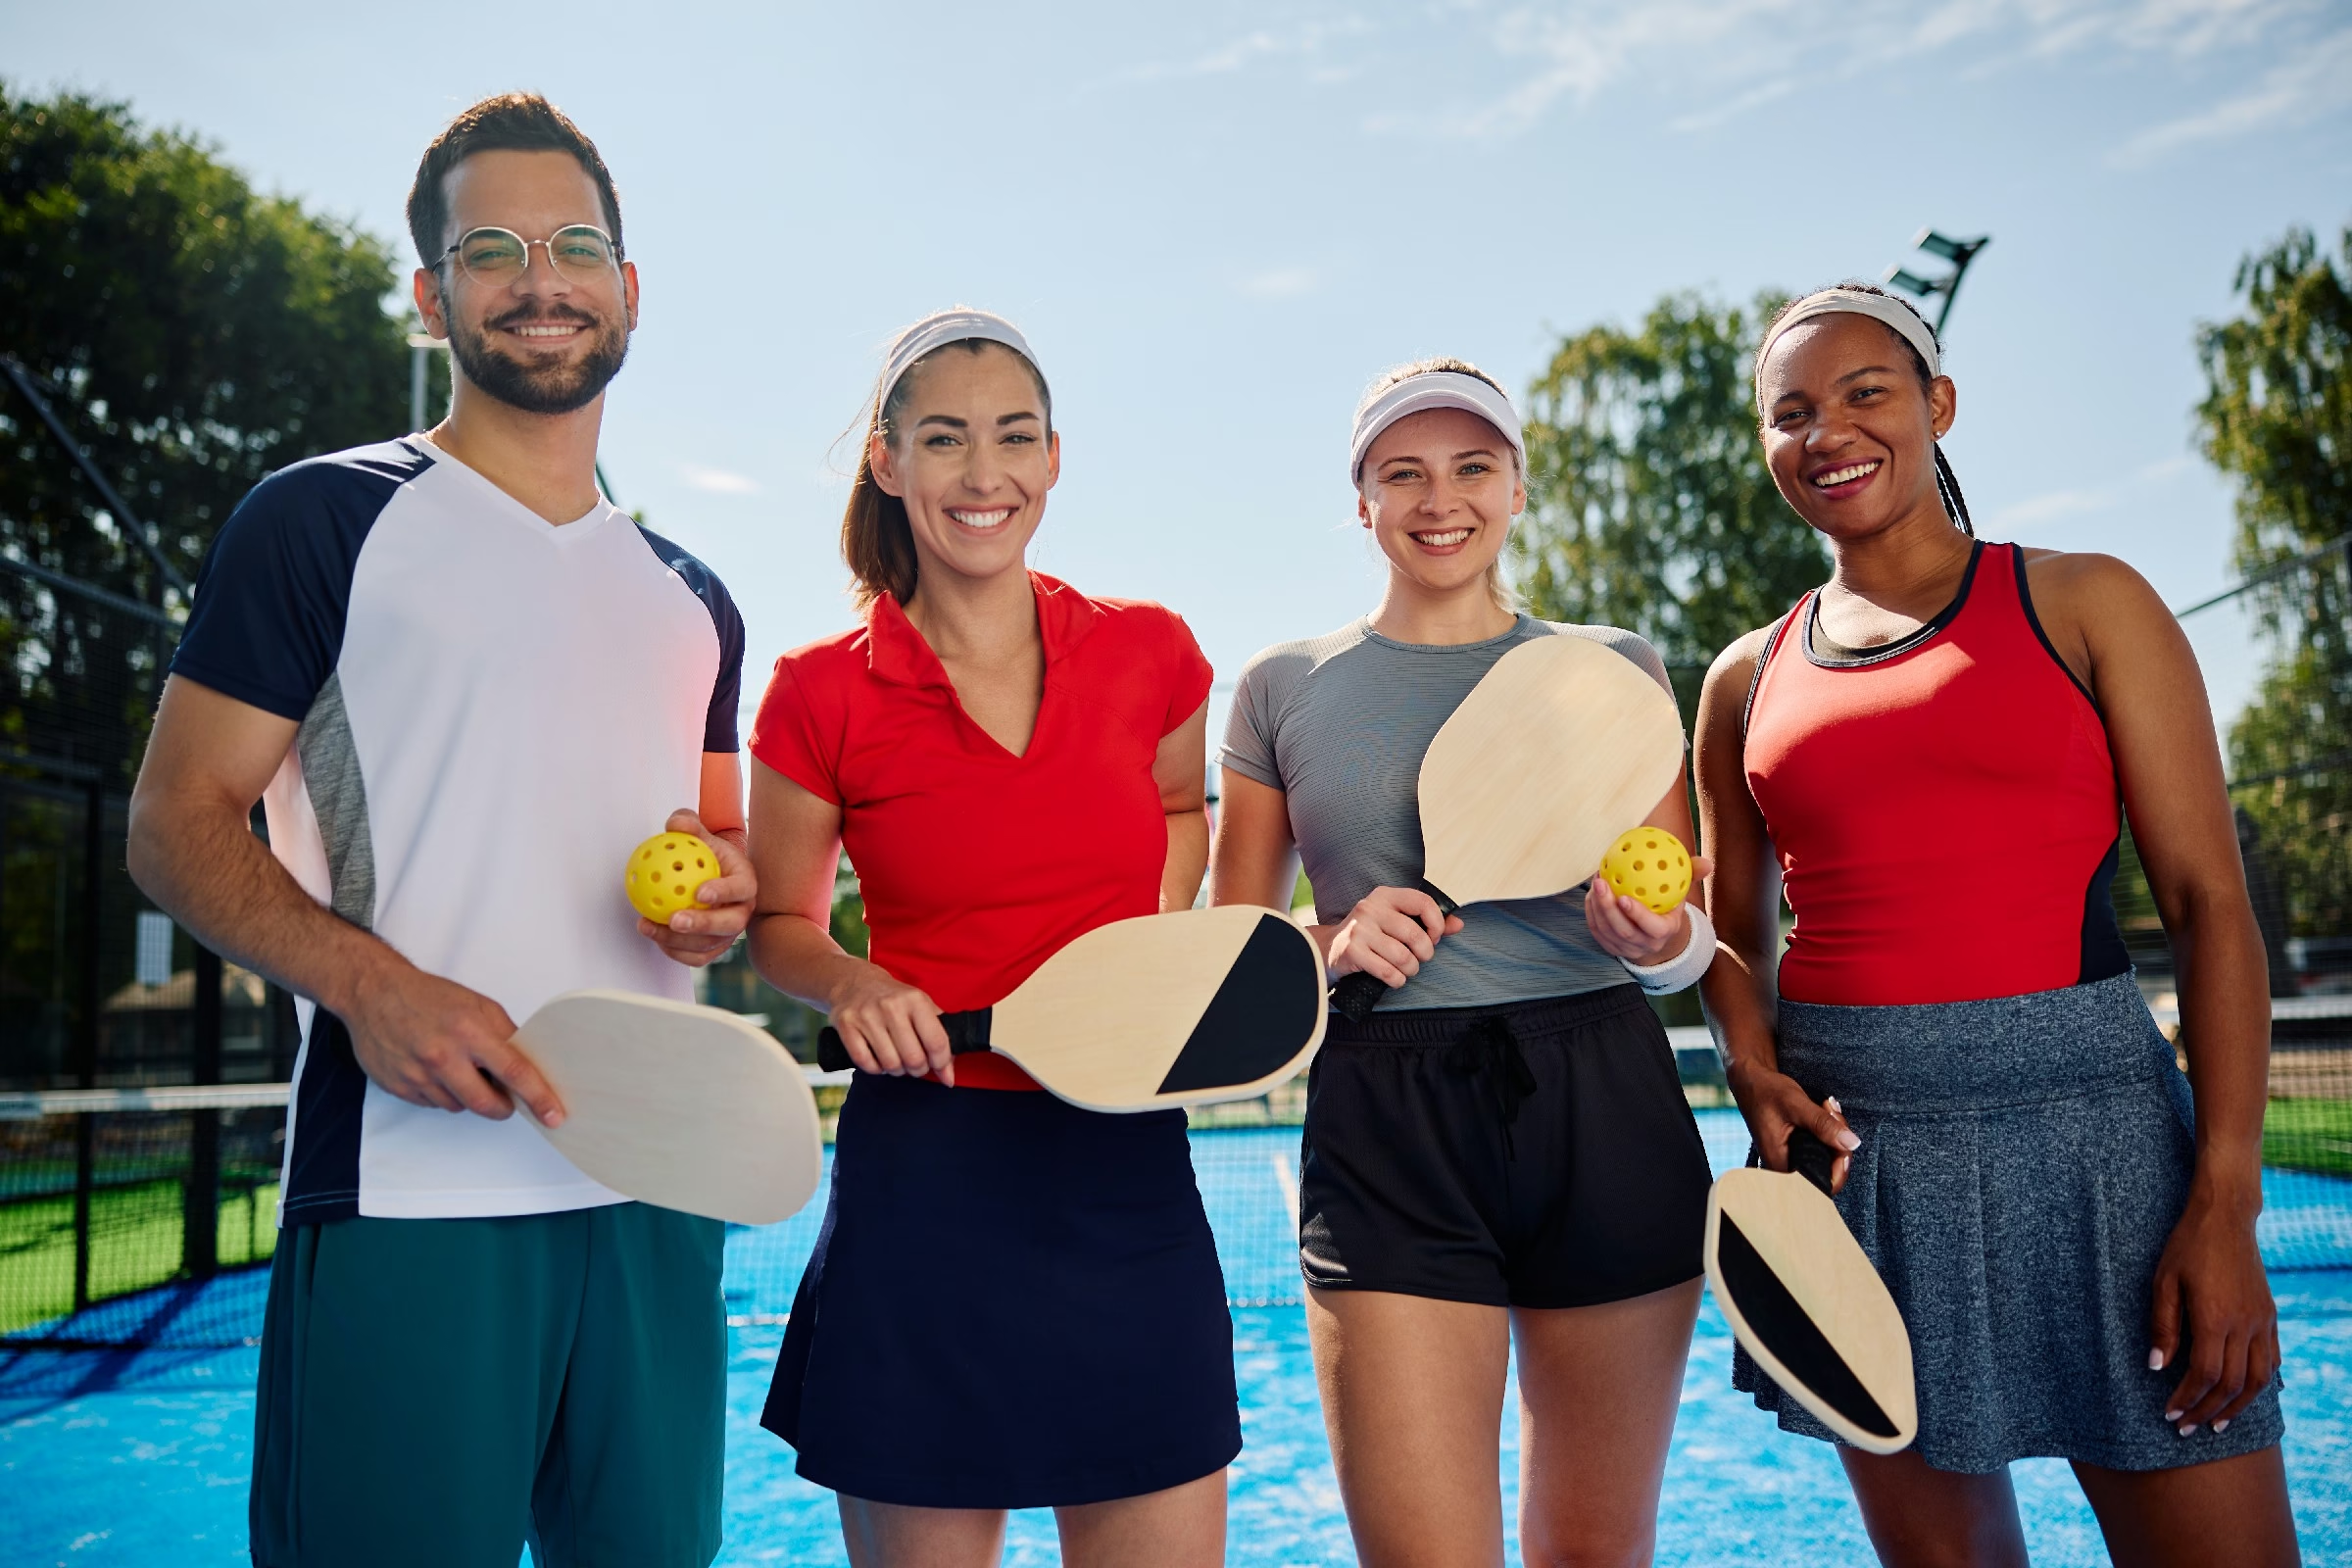
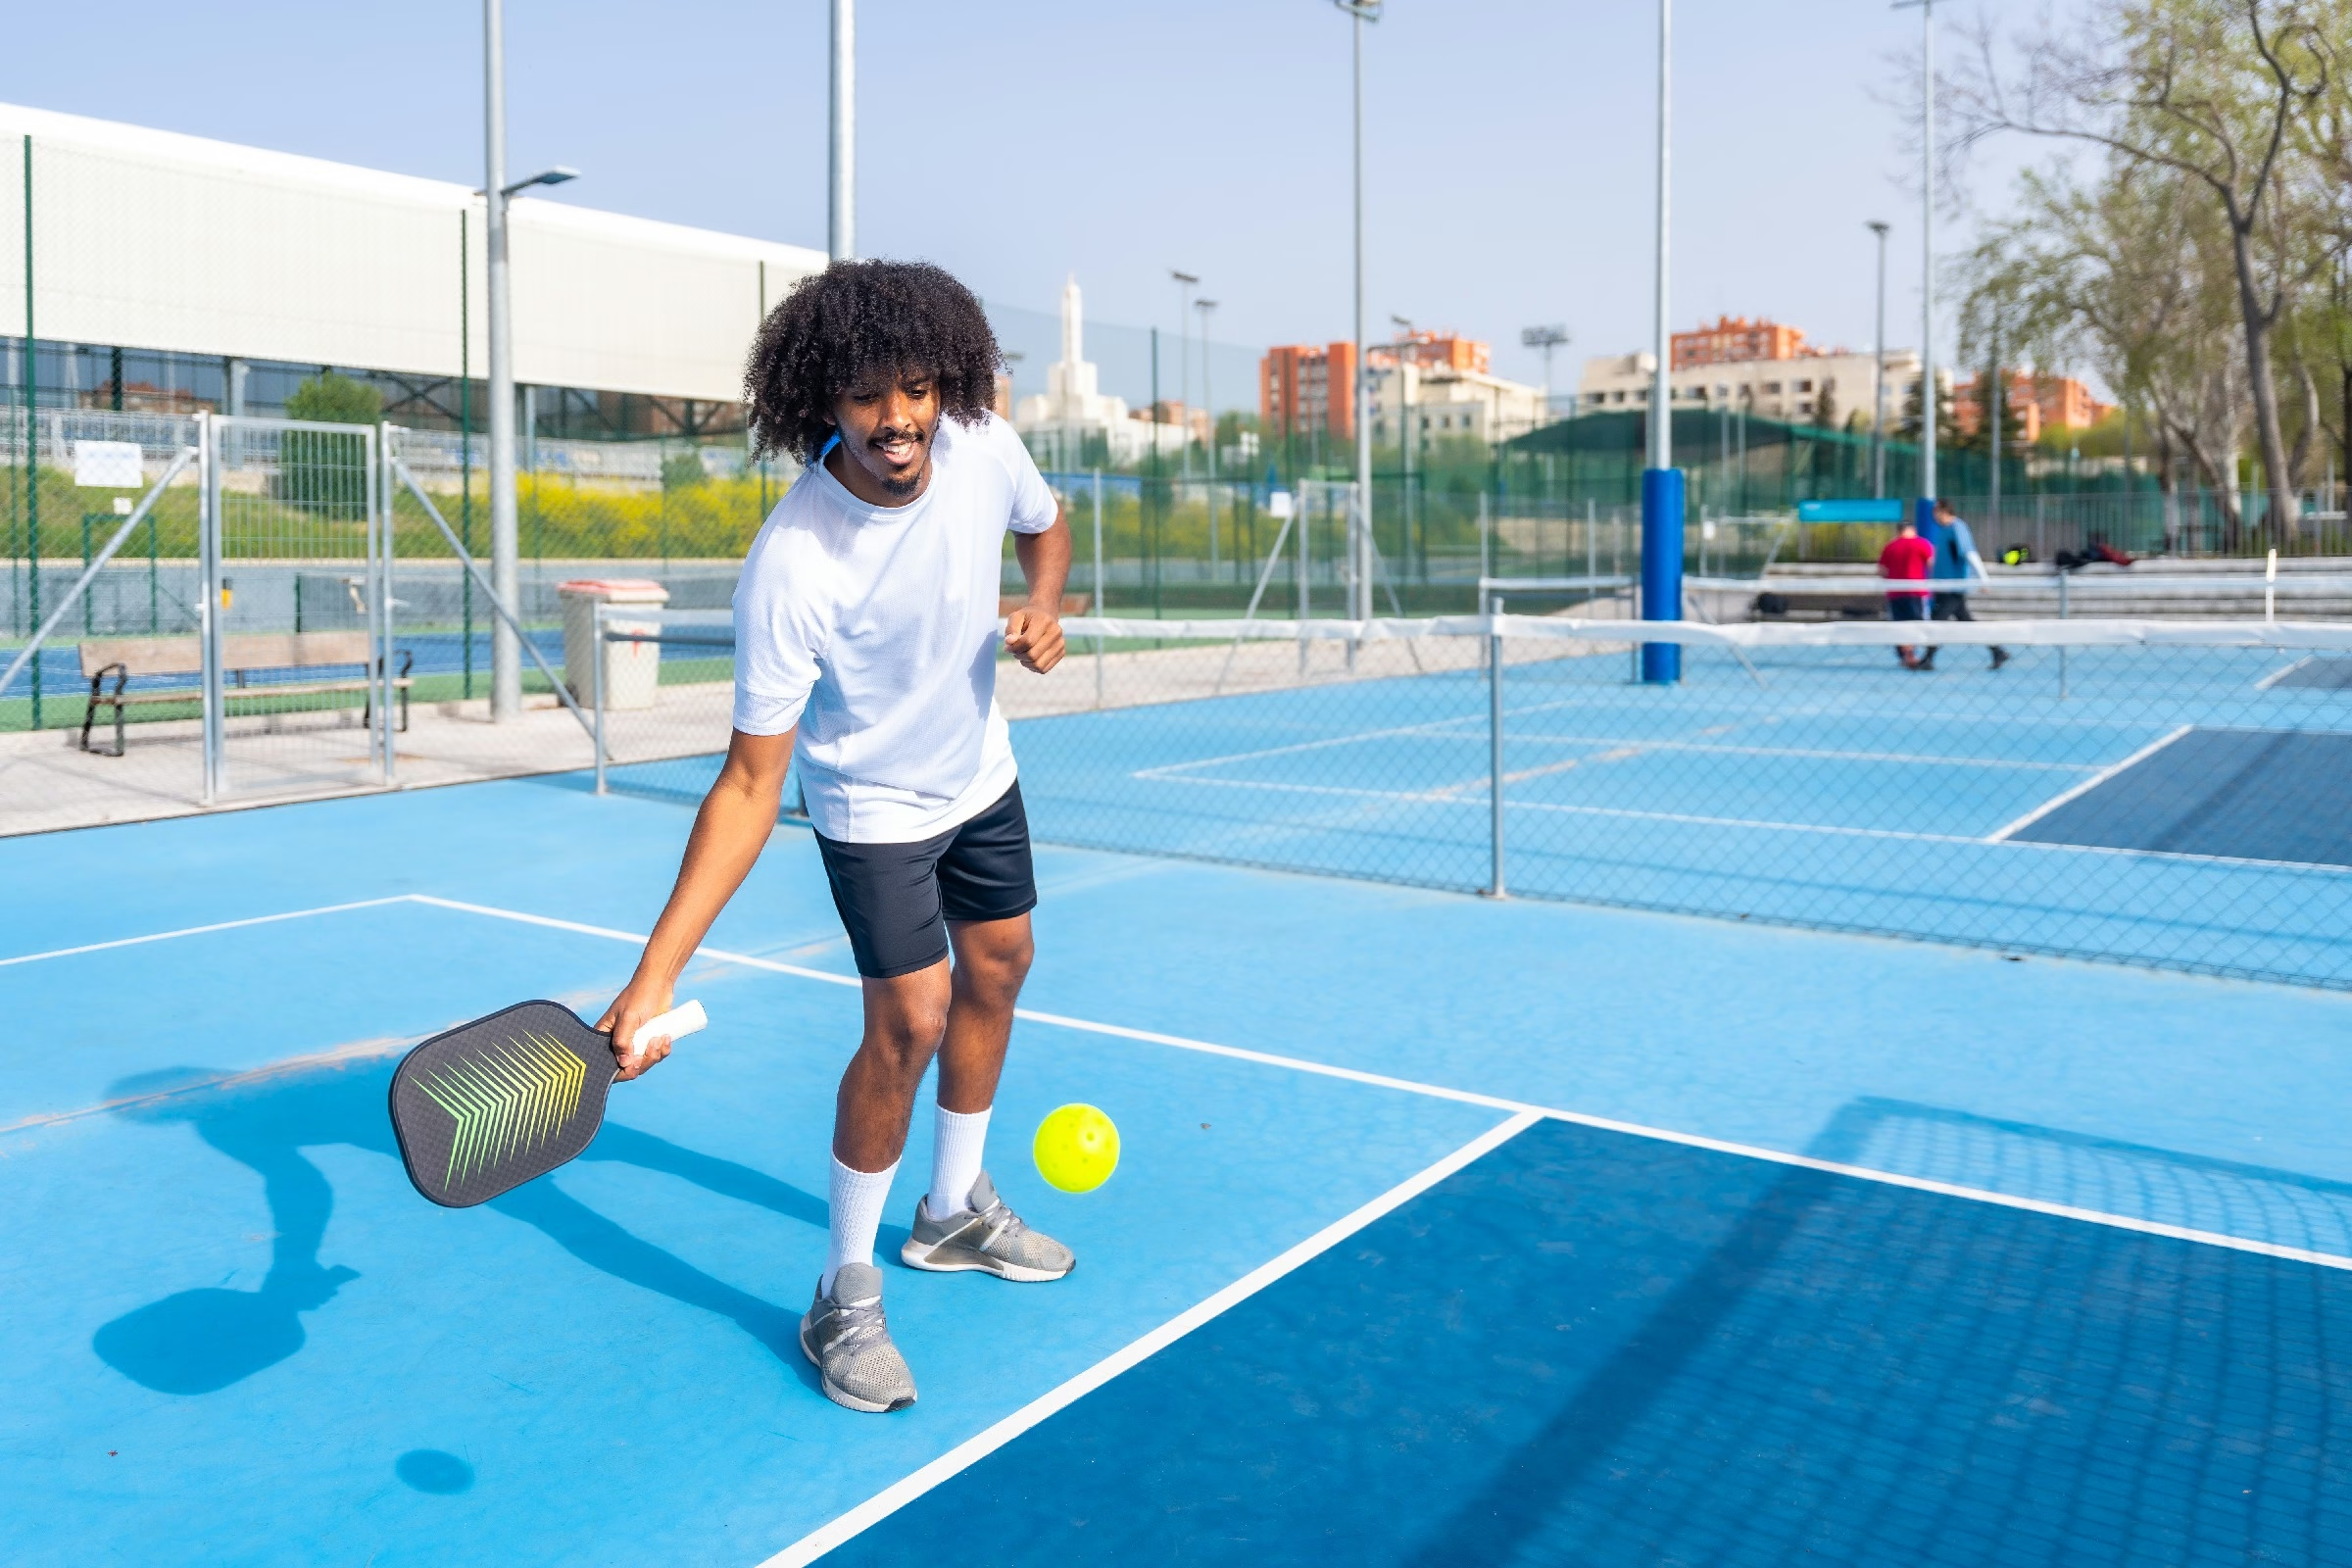
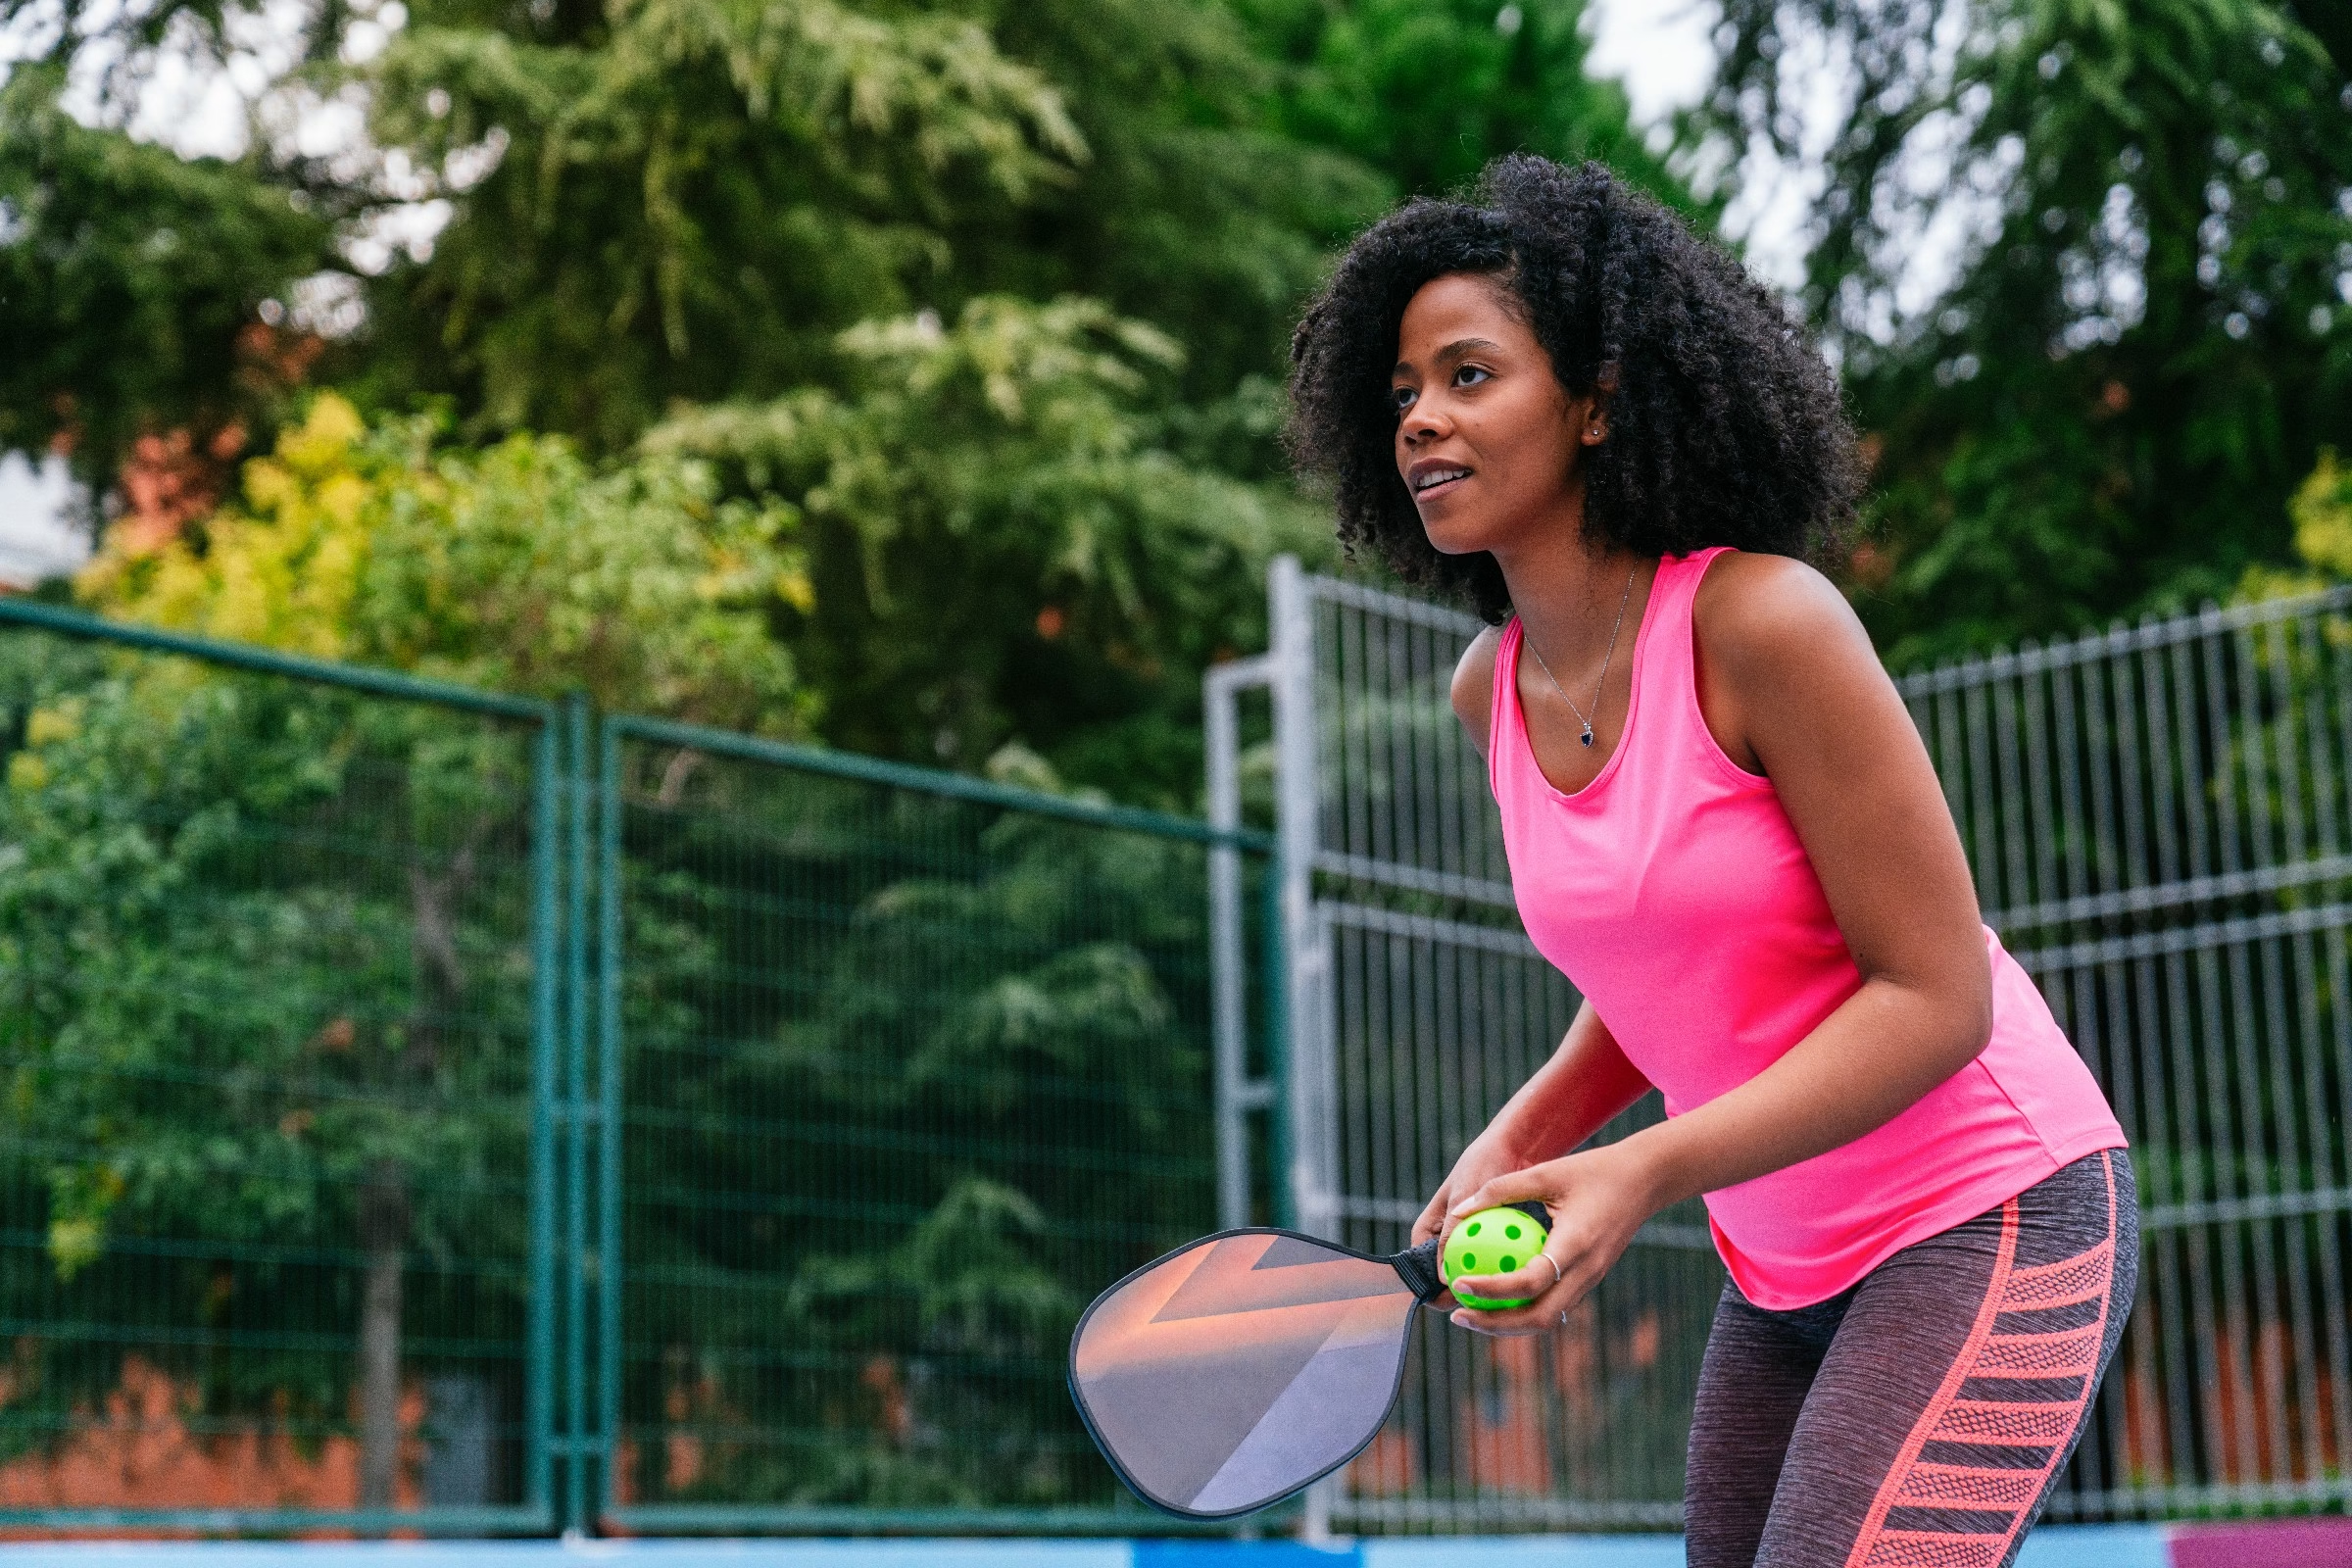
Pickleball—a sport that combines the finesse of tennis, the precision of badminton, and the fun of table tennis—has grown exponentially in popularity in recent years. As communities across the globe embrace this energetic pastime, the need for dedicated pickleball courts has surged. But before you can dive into a spirited game, there’s one critically important step: knowing how to draw a pickleball court. Whether you’re a community leader planning a new facility, a passionate player eager to set up your own space, or a DIY enthusiast looking to create a fun space for friends and family, understanding the layout and dimensions of a pickleball court is essential.In this article, we’ll guide you thru the steps to accurately draw a pickleball court, complete with key measurements and tips to ensure your court meets official standards. Let’s get started on transforming your vision into a reality and creating a space that captures the essence of this dynamic sport!
Table of Contents
- Understanding the Dimensions and Layout of a Pickleball Court
- Essential Tools and Materials for Accurate Court Drawing
- Step-by-Step guide to Marking the Court Lines
- Creating the Proper Net Setup for Authentic Gameplay
- Choosing the Right Surface for Optimal Play Experience
- Tips for Maintaining and Enhancing Your Pickleball Court Design
- Q&A
- Wrapping Up
Understanding the Dimensions and layout of a Pickleball Court
To effectively draw a pickleball court, it’s essential to grasp its dimensions and layout. A standard pickleball court measures 20 feet wide by 44 feet long for both singles and doubles play. This rectangular area is divided by a net positioned at the center, standing at 36 inches high at the sidelines and 34 inches at the middle. The space not only accommodates the play but also requires a clear buffer zone around the court for safety and movement.
Key markings within the court define various playable areas. The non-volley zone, frequently enough referred to as the “kitchen,” spans 7 feet from the net on both sides. In addition, the lines outlining the sidelines and baselines are critical for determining whether a ball is in or out. When sketching the court, pay attention to the following dimensions and elements:
- Sidelines: 20 feet apart
- baselines: 44 feet long
- Non-volley zone: 7 feet from the net
- Service area: Each side has a 10-foot-by-15-foot service box
Your drawing should reflect these specifications accurately to ensure proper gameplay. An illustrative table highlighting various sections might include:
| Area | Dimensions (Feet) |
|---|---|
| Overall Court | 20 x 44 |
| Non-Volley Zone | 7 (from net) |
| Service Area | 10 x 15 (per side) |
By understanding these essential elements, you will be equipped to accurately depict a pickleball court layout, ensuring a seamless experience in your games or teaching endeavors. Accurate depictions keep plays fair and enjoyable, ultimately enriching the pickleball experience for everyone involved.
Essential Tools and Materials for Accurate Court Drawing
Creating an accurate representation of a pickleball court requires the right tools and materials to ensure precision and clarity. First and foremost, you should have a quality measuring tape or a laser distance measurer to capture the exact dimensions of the court. This is essential since every segment of the court must adhere to specific measurements as defined by the official standards. Alongside measuring tools, keep a straight edge or a ruler handy to create clean, straight lines for the court boundaries.
In addition to measurement tools, you’ll need graph paper or a drafting software for planning your drawing. Graph paper is particularly useful for maintaining scale, offering a grid that can guide your hand as you sketch out the court layout. If you prefer working digitally, there are several design applications available that simplify the drawing process by allowing you to adjust and manipulate lines easily.Don’t forget to have color pencils or markers on hand to differentiate between various courts or zones clearly.
| Element | Recommended Tool | Purpose |
|---|---|---|
| Measurements | Measuring Tape | To ensure precise dimensions of the court |
| Lines | Straight Edge/Ruler | to draw straight boundaries |
| Planning | Graph Paper | To maintain scale and proportion |
| Coloring | Color Pencils/Markers | To visually distinguish areas |
Lastly, consider having a sketch pad or a canvas for your final drawing. This will serve as the base for your design, allowing you to apply all the measurements and lines you’ve set out previously. For cleanup and adjustments, a good eraser and a set of drafting pens or fine liners will enhance the final touches of your drawing, ensuring that the end result is not only accurate but also visually appealing. With these essential tools and materials, you’ll be well on your way to creating a perfect pickleball court drawing that’s ready for action.
Step-by-Step Guide to Marking the Court Lines
To accurately mark the lines for your pickleball court, start by gathering your materials. You will need measuring tape, chalk or string line, a paint marker (preferably one designed for outdoor use), and stencils for the non-volley zone if desired. Lay out your court dimensions first to ensure the area is flat and clear of debris. With a standard court measuring 20 feet by 44 feet for doubles,use your measuring tape to mark the corners with chalk to create a rectangular outline.
Next, measure out the non-volley zone, which is a 7-foot area on either side of the net. From the front of the net, mark a line parallel to the net for this zone. To maintain uniformity, it can definitely help to set up temporary string lines or use a straightedge to guide your paint. Ensure the non-volley zone lines are clearly marked, as they are crucial for gameplay. Once you have the lines sketched out, double-check the dimensions against a reference to avoid mistakes.
Now that the primary lines are marked, it’s time to finalize the paint. using your paint marker,carefully trace over the chalk lines to create bold and visible court lines that can withstand wear. Allow the paint to dry completely before playing, ensuring each line is distinct and easy to see. As an additional tip, consider applying a sealant if your surface allows, which can protect against weather elements and enhance the longevity of your markings.
Creating the Proper Net Setup for Authentic Gameplay
Establishing the right net setup is crucial for ensuring authentic gameplay on your pickleball court. The net’s height and tension can significantly impact the quality of the game, requiring precise attention. to achieve this, you should consider the following key points:
- Net Height: The standard height for a pickleball net is 36 inches at the ends and 34 inches at the center.Ensuring this uniformity will promote fair play.
- Net Material: Use durable materials such as nylon or polyester for the net. These materials not only withstand the elements but also maintain proper tension.
- Tension Systems: Incorporate an adjustable tensioning system to accommodate different weather conditions.This will help prevent sagging and maintain consistent gameplay.
Proper installation of the net system also plays a role in enhancing game dynamics. To achieve optimum installation, follow these guidelines:
- Anchor Points: Install sturdy anchor posts on each side of the court at a distance of 22 feet apart, ensuring stability throughout the game.
- Base Support: Choosing quality base support will add weight to the poles, preventing them from tipping over during intense matches.
- Alignment: Regularly check the alignment of the net before matches to ensure it is perfectly centered. This helps in maintaining balance for both players.
consider visualizing the net setup with a simple table capturing essential dimensions and details to streamline the building process:
| Feature | Dimension/detail |
|---|---|
| net Height (Ends) | 36 inches |
| net Height (Center) | 34 inches |
| Distance Between Posts | 22 feet |
| Material | Nylon/Polyester |
Choosing the Right Surface for Optimal Play Experience
When setting up a pickleball court, the choice of surface plays a pivotal role in the overall play experience. Each type of surface offers distinct advantages and challenges that can either enhance the enjoyment of the game or detract from it. Consider the following popular options:
- Acrylic Surfaces: Durable and low-maintenance, ideal for year-round play.
- Grass: Provides a softer feel but requires more maintenance and can impact ball speed.
- Cement: Sturdy and long-lasting, but can lead to increases in player fatigue due to its hardness.
- Wood: Great for indoor courts, offering a cozy play surface but perhaps more costly to install.
Each surface type affects player performance, ball behavior, and overall game dynamics.For example, acrylic surfaces are often favored in competitive settings due to their consistent bounce and fast-paced gameplay. Conversely, grass courts can create unpredictable ball movement, adding an exciting twist to outdoor play. When making your decision,it’s essential to evaluate not just the aesthetic appeal but also factors such as climate,frequency of use,and maintenance requirements.
Ultimately, selecting the right surface is both a practical and strategic decision. Below is a quick comparison to help guide your choice:
| surface Type | Pros | Cons |
|---|---|---|
| Acrylic | Durable, fast play | Can be slippery when wet |
| Grass | Soft on joints | High maintenance |
| Cement | Very durable | Hard on players, less forgiving |
| Wood | Comfortable, great for indoors | Costly installation, less durable outdoors |
With careful consideration of these factors and an understanding of how each surface might impact gameplay, you’ll be well on your way to creating a pickleball court that provides the optimal play experience for players of all skill levels.
Tips for Maintaining and Enhancing Your Pickleball Court Design
Designing a pickleball court is just the beginning; ongoing maintenance is crucial to keep it in top shape and maximize players’ enjoyment. Regularly check the surface for any cracks, wear, or displacement. If you notice any issues, consider the following tips:
- Inspect and Repair: Regularly inspect the court for cracks or uneven surfaces and repair them instantly to prevent further damage.
- Surface Resurfacing: Depending on usage, consider resurfacing the court every few years to ensure a smooth and safe playing surface.
- Cleanliness: Keep the court clean and free from debris. Regularly sweep or power-wash the court surface to avoid slip hazards.
Enhancing your court design can significantly elevate the player experience. Consider adding features that improve functionality and enjoyment. Here are some enhancement ideas:
- Seating Areas: Add benches or seating areas for players to rest, socialize, and watch games in comfort.
- Lighting Options: Install adequate lighting for night playing, allowing for extended hours of play during the evenings.
- Shade Structures: Consider implementing shade structures, like pergolas or shade sails, to provide relief from sun exposure during hot days.
To effectively manage the features and overall layout, it’s helpful to plan the space methodically. Consider the following layout tips in a simple table format:
| Feature | Consideration |
|---|---|
| Playing Area | Ensure ample space for players to hit and move without obstruction. |
| Benches | Position them near the court for easy access and visibility. |
| Court Markings | Use durable paint that can withstand weather changes and heavy use. |
Q&A
Q&A: How to Draw a Pickleball Court
Q1: What materials do I need to draw a pickleball court?
A1: To accurately draw a pickleball court, you’ll need some basic materials. Grab a ruler for straight lines, a compass or circular object for arcs, a pencil for initial sketches or markings, and a set of colored pencils or markers to highlight different areas. Don’t forget a large sheet of paper or poster board to provide ample space for your drawing.
Q2: What are the dimensions of a pickleball court?
A2: A standard pickleball court measures 20 feet wide by 44 feet long for both singles and doubles play. It’s helpful to visualize it as a smaller version of a tennis court,divided into two equal halves. the added areas, such as the non-volley zone and service areas, will add detail to your drawing.
Q3: Can you break down the main sections of a pickleball court?
A3: Of course! A pickleball court is divided into several key sections:
- Non-volley Zone (NVZ): Often referred to as the “kitchen,” this area is 7 feet from the net on both sides.
- Service Areas: The court is split into right and left service areas, each measuring 10 feet wide.
- Baseline: This is the line at the back of the court.
- Net: Centrally located at a height of 36 inches on the ends and 34 inches at the center.
Q4: How do I accurately mark the non-volley zone?
A4: To mark the non-volley zone,measure 7 feet from the net on both sides and draw a solid line parallel to the net across the width of the court. This will create two horizontal lines that define the NVZ on each side.
Q5: What is the most effective way to draw the net?
A5: To draw the net, position it in the center of your court layout. You can represent it using a thin, straight line that runs parallel to the baseline diagonally across the width of the court. You might also want to indicate net posts about 1-inch tall for added detail.
Q6: Do I need to draw lines for singles and doubles play?
A6: It’s not strictly necessary to differentiate between singles and doubles in your drawing, but it can be helpful! For doubles, you woudl draw an additional line 3 feet inside the sidelines. This will indicate where players serve and can bring clarity to your depiction.
Q7: Any tips for making my pickleball court drawing more attractive?
A7: Absolutely! Use different colors to distinguish between different sections like the NVZ, service areas, and the baselines. Adding a background might give it some life—consider drawing spectators or trees to frame your court. It’s all about letting your creativity flow while keeping the necessary dimensions and details intact.
Q8: is there an online resource that can definitely help me with pickleball court dimensions?
A8: Yes! The USA Pickleball association provides extensive resources and diagrams featuring official court dimensions. A quick search on their website can offer you visual aids that might make your task much easier!
Q9: What should I do if I make a mistake while drawing?
A9: Mistakes happen! If you draw a line incorrectly, simply use an eraser or correct it with white-out if you’re working in ink. Try to plan your layout lightly with a pencil first, so you can make adjustments easily without damaging your overall drawing.
Q10: once I’m finished, what’s the best way to display my pickleball court drawing?
A10: Once completed, consider framing your drawing as wall art, or use it as a teaching tool! You might even want to take a picture and share it with fellow pickleball enthusiasts online. It could spark inspiration for others who want to get creative themselves!
Wrapping Up
As you put the finishing touches on your pickleball court diagram, take a moment to appreciate the blend of strategy and artistry that this simple drawing represents. Crafting your pickleball court layout is not just about lines and measurements; it’s about envisioning the enticement of friendly competition and the joy of community play. With a clear understanding of the dimensions and markings, you’re now equipped to bring your vision to life—whether it’s for a recreational space in your backyard or an official-looking design for a local facility.
As you gather your tools and prepare to draw, remember that every great game starts with a strong foundation—even if it’s just a sketch on paper. So grab your pencil, embrace the challenge, and get ready to dive into the vibrant world of pickleball! Here’s to creating a space that will foster unforgettable matches, laughter, and camaraderie for players of all skill levels. Happy drawing!
Related Posts
don woodfield pickleball pinehurst resort
At Pinehurst Resort, Don Woodfield brings the energetic spirit of pickleball to life. Nestled amidst scenic landscapes, his passion for the game fosters a vibrant community where players of all levels can sharpen their skills and enjoy friendly competition.
how to spin the ball for pickleball
Mastering ball spin in pickleball can elevate your game significantly. To achieve the desired spin, grip the paddle firmly, brush against the ball’s surface at an angle, and follow through your stroke. Practice different spins to keep your opponents guessing!

what is the measurements of a pickleball court
A pickleball court, often likened to a blend of tennis and badminton, measures 20 feet wide and 44 feet long for doubles play. The non-volley zone, or “kitchen,” sits 7 feet from the net on each side, ensuring a unique strategic dynamic.
what’s a lob in pickleball
A lob in pickleball is a strategic shot aimed high over your opponent, designed to push them back and create space on the court. By sending the ball soaring, players can change the momentum of the game and set up for the next powerful play.
who won the pickleball challenge
In a thrilling display of skill and strategy, the pickleball challenge concluded with an unexpected twist. Amidst cheers and fierce competition, Sarah Thompson emerged victorious, showcasing her deft volleys and quick footwork. The crowd erupted in applause!
why do they call.it pickleball
The quirky name “pickleball” sparks curiosity, and its origins are as playful as the game itself. Created in 1965, the sport was said to be inspired by the inventor’s dog, Pickles, who would chase the ball. A delightful blend of fun and tradition!
how to know what pickleball level you are
Determining your pickleball level can be as simple as assessing your skills. Consider factors like shot consistency, court positioning, and strategic play. Joining local matches or clinics can provide valuable feedback, helping you align with your true level.
how new is pickleball
Pickleball, often described as a blend of tennis, badminton, and ping pong, has surged in popularity since its creation in 1965. While the sport’s roots are nearly six decades old, its explosive growth in recent years has given it a refreshing newness.

who is in etrade pickleball commercial
In the lively new eTrade pickleball commercial, viewers are introduced to a vibrant cast of characters, including professional players and everyday enthusiasts. Their engaging interactions showcase the sport’s growing popularity and eTrade’s commitment to financial empowerment.

what is the ball in pickleball
The ball in pickleball is a lightweight, plastic sphere adorned with holes, designed for controlled flight and a distinct bounce. Available in vibrant colors, it enhances visibility and adds an element of fun to this energetic paddle sport.

is there a difference between outdoor and indoor pickleballs
When it comes to pickleball, the distinction between outdoor and indoor balls is more than just a matter of where you play. Outdoor balls are thicker, with larger holes for wind resistance, while indoor balls feature a smoother design for better bounce on gym floors. Your game may depend on your choice!
do you have to have 4 people to play pickleball
While pickleball is often played in doubles with four players, it’s not a strict requirement. You can enjoy a game with just two players or even engage in solo practice, making this versatile sport accessible to everyone, regardless of the player count.