Blog
how to make a pickleball paddle rack
Are you a pickleball enthusiast with a growing collection of paddles, yet struggling to find the perfect spot to keep them organized? Look no further! In this article, we’ll guide you through the simple yet rewarding process of crafting your very own pickleball paddle rack. not only will this DIY project help you declutter your space, but it will also add a touch of personal flair to your game area. Whether you’re a seasoned woodworker or a novice DIYer, our step-by-step approach will equip you with the tools and techniques needed to create a functional and stylish storage solution for your beloved paddles. Let’s get started on transforming your pickleball gear into an organized masterpiece!
Table of Contents
- Choosing the Right Materials for Your Pickleball Paddle Rack
- Designing an Ergonomic and Accessible Paddle Storage Solution
- Step-by-Step Guide to Building Your Paddle rack
- Finishing Touches: Staining and Sealing for Durability
- Creative Ways to Personalize Your Paddle Rack
- Maintenance Tips to Keep Your Rack Looking Fresh and Functional
- Q&A
- Key Takeaways
Choosing the Right Materials for Your Pickleball Paddle Rack
When considering the construction of your pickleball paddle rack, the choice of materials can greatly influence both its aesthetics and functionality. Wood is a classic option that provides natural warmth and can be easily customized with stains or paints. Ideal types include birch or oak, which offer sturdy support and a gorgeous finish. Metal, on the other hand, brings a modern edge to the design and ensures durability, making aluminum and stainless steel excellent choices for outdoor or high-use environments.
Another option is plastic, which is lightweight and weather-resistant, perfect for those who might move their rack around frequently or install it in a damp area such as a garage. It’s available in a variety of colors and can mimic the look of wood or metal while providing practical benefits like easy cleaning and maintenance. Here’s a handy comparison of these materials:
| Material | Pros | Cons |
|---|---|---|
| Wood | Classic look, customizable, sturdy | Can be heavy, susceptible to moisture damage |
| Metal | Durable, modern design, weather-resistant | Can be more expensive, may rust if not treated |
| Plastic | Lightweight, affordable, easy to maintain | Less aesthetic appeal, may not be as sturdy as wood or metal |
Lastly, remember to consider sustainability in your material choice. Opting for repurposed wood or eco-friendly composites can enhance the environmental friendliness of your pickleball paddle rack. Not only does this reflect a commitment to sustainability, but it also allows for unique character—each piece telling its own story. With the right materials, your paddle rack can serve as a stylish and functional addition to your pickleball setup, enhancing both accessibility and display.
Designing an Ergonomic and Accessible paddle Storage Solution
Creating a paddle storage solution that prioritizes ergonomics and accessibility is essential for enhancing the user experience. One effective way to achieve this is by designing a rack that allows for convenient access while being mindful of different user heights and mobility considerations. Ensure that the rack is positioned within easy reach and allows for a natural bending motion to reduce strain. An adjustable rack design can accommodate players of various heights, ensuring everyone can store and retrieve their paddles comfortably.
Incorporating features like rounded edges and smooth surfaces enhances safety and usability. Consider using materials that are not only durable but also light enough for effortless handling. A modular design can offer versatility,making it easy to expand or reduce the storage capacity based on personal needs. Include a dedicated space for accessories such as balls and towels, providing a comprehensive storage solution. This approach encourages an organized and neat environment, conducive to a focused practice.
| Feature | Description |
|---|---|
| Ergonomic Height | Accessible for players of all heights to reduce strain |
| Rounded Edges | Minimizes injury risk during storage and retrieval |
| Modular Design | Allows for customization based on personal needs |
| Multi-functional | Space for paddles and essentials like balls and towels |
Step-by-Step Guide to Building Your Paddle Rack
Building your own paddle rack is a rewarding DIY project that not only keeps your paddles organized but also adds a touch of personal style to your space. To start, gather your materials. You’ll need:
- Wood boards (e.g., pine or plywood)
- screws and wood glue
- Sandpaper (to smooth edges)
- Wood stain or paint (for finishing touches)
- Measuring tape and level
Once you have your materials, the next step is to measure and cut the wood. Decide on the size of your rack based on how many paddles you own. A common design features horizontal slots for each paddle.For example, you might want to create a 3-slot rack which can accommodate most paddle collections. Mark your measurements clearly and use a saw to cut the wood into the desired lengths. After cutting, ensure to sand down any rough edges for safety and aesthetics.
Assembling your rack is were your creativity can shine. Lay the cut pieces on a flat surface and arrange them to form the desired structure. Use wood glue for a strong bond, and reinforce with screws. Ensure everything is level before securing. Once assembled, apply your chosen stain or paint to complete the look. Let it dry thoroughly, and than enjoy your newly built paddle rack, proud of your handiwork and the tidy space it brings!
Finishing Touches: Staining and Sealing for Durability
Adding the perfect finish to your pickleball paddle rack enhances both its aesthetics and longevity. To achieve a professional look, start with a premium quality stain that complements your interior decor. Carefully choose a shade that aligns with your personal style, whether that’s a rustic oak, a dark walnut, or a modern gray. When applying the stain, use a clean cloth or a brush, making sure to follow the wood grain for even coverage. After the first coat,allow it to dry completely before deciding if a second layer is necessary to achieve your desired depth of color.
Sealing your paddle rack is just as meaningful as staining it; it protects the wood from moisture, wear, and tear. Opt for a durable polyurethane sealant to ensure maximum protection. Apply the sealant with a brush, using long, even strokes to avoid streaks. For the best results, consider applying at least two coats, sanding lightly between applications to create a smooth finish. This extra step will considerably enhance the durability of your rack, allowing it to withstand the rigors of your active lifestyle without compromising its beauty.
Once your rack is stained and sealed, allow it to cure for several days in a well-ventilated area.this step is crucial as it ensures the finish hardens properly, providing a strong barrier against scratches, spills, and other potential damage.Consider displaying your newly finished paddle rack as an artistic focal point in your space. You might also include hooks for towels or extra gear, transforming it into a multi-functional piece that’s as practical as it is elegant.
Creative Ways to Personalize Your Paddle Rack
one of the most engaging aspects of creating a paddle rack is infusing it with elements that reflect your personality and style. Consider using wood stain or paint in colors that resonate with you, whether it’s a soothing blue to match your beach house vibe or bold reds and yellows for an energetic burst. Additionally, vinyl decals can be applied to add your name, a favorite quote, or even fun graphics that celebrate your love for the game. This small addition can transform a simple paddle rack into a conversation piece that showcases your individual flair.
Another creative approach to personalize your paddle rack is to integrate repurposed materials. For example, using reclaimed wood not only provides character and history but also supports enduring practices. Attach hooks made from vintage hardware or decorative knobs that you’ve collected, allowing each paddle to hang in style. Don’t overlook the power of embellishments—think twine, beads, or even small charm-like mementos that represent your adventures on the court. Each piece added can tell a story, making your paddle rack a unique artifact of your journey.
Lastly, lighting can play a significant role in how your paddle rack captures attention. Consider incorporating small LED strip lights along the edges or within decorative frames to create an illuminated display.You could also use downlighting to highlight your paddles, making them look even more appealing when showcased. If you’re feeling particularly enterprising, creating a small display shelf on top of the rack for memorabilia, such as trophies or a framed picture of recent victories, adds layers of nostalgia and pride to your creation.
Maintenance Tips to Keep Your Rack Looking Fresh and Functional
To ensure your pickleball paddle rack remains both visually appealing and fully functional, routine maintenance is essential. Start by regularly dusting the rack with a soft cloth to prevent dirt and grime buildup. For deeper cleans, consider using gentle, natural cleaners that won’t damage the finish or materials of your rack. Avoid harsh chemicals that could strip the surface or cause discoloration. Additionally, inspect the wood or metal for any signs of wear and tear, as early detection helps prevent larger issues down the line.
It’s also critically important to keep the rack organized. Place paddles and balls in designated spots to avoid clutter and maintain easy access during your games.Implement a system where you categorize paddles based on their condition—new, slightly used, or heavily used—making it simpler to grab the right one for each match. Moreover,using labels or tags can enhance organization and ensure every item has its place.
consider seasonal check-ups for your rack, similar to maintaining a car. This could involve tightening screws, checking stability, and refreshing finishes if needed. For wooden racks, apply a coat of wood conditioner every few months to preserve the natural beauty and prevent cracking. Below is a simple maintenance table to help you keep track of tasks and frequency:
| Task | Frequency |
|---|---|
| Dusting | Weekly |
| Deep cleaning | Monthly |
| Check for wear | bi-monthly |
| Wood conditioner application | Every 3-6 months |
Q&A
Q&A: How to make a Pickleball Paddle Rack
Q: What is a pickleball paddle rack, and why do I need one?
A: A pickleball paddle rack is a dedicated space to organize and store your paddles. It helps prevent damage from mishandling, keeps your equipment in good condition, and creates a tidy environment, whether at home or in a club setting.
Q: What materials do I need to make a simple pickleball paddle rack?
A: For a basic design, you’ll need wood (like pine or plywood), screws, wood glue, a saw, drill, measuring tape, and sandpaper. Optional materials include paint or wood stain for finishing touches and felt pads to protect your paddles.
Q: How much space will I need to allocate for the paddle rack?
A: This depends on how many paddles you plan to store. A small rack for two to four paddles can fit in an area as small as 2 feet by 4 feet. For larger collections, you might need more space. Always leave additional room for other gear or accessories.Q: Can I customize the paddle rack design?
A: Absolutely! You can customize the height, width, and depth to fit your needs and space constraints.Consider adding hooks for storing balls or towels, or even a small shelf at the top for additional gear.
Q: What’s the basic construction process for making a paddle rack?
A: Start by measuring and cutting your wood according to your design. Assemble the base and vertical supports first, ensuring thay’re sturdy. Then attach horizontal shelves or dividers where the paddles will sit, securing everything with screws and glue. sand the edges to avoid splinters, and finish with paint or stain if desired.
Q: Is there a recommended height for the paddle rack?
A: A comfortable height is generally around waist level for adults, approximately 32 to 36 inches off the ground. This makes it easy to see, access, and store your paddles without excessive bending or stretching.
Q: How can I ensure that the paddle rack is stable?
A: To ensure stability, use thicker wood for the base and make sure it is wider than the top portion of the rack.additionally, you can add extra support beams or anchors to the wall if you’re concerned about tipping.
Q: Any tips for maintaining the paddle rack?
A: Regularly check for any loose screws, and periodically wipe it down to keep it clean. If the finish begins to wear,you can easily reapply paint or stain to maintain its appearance.
Q: where can I place my finished paddle rack?
A: Ideal locations include a garage, storage room, hall closet, or even outdoors if it’s weather-resistant. Just ensure the spot is dry and allows for easy access before and after games.
Q: Can I create a paddle rack for outdoor use?
A: Yes! If you plan to place your rack outdoors, consider using treated lumber to withstand the elements. Additionally, a design with ventilation can help prevent moisture buildup, preserving your paddles longer.
With these questions and answers, you’re well on your way to creating your very own pickleball paddle rack, fostering a dedicated space for your sporting enthusiasm. happy building!
Key Takeaways
As we wrap up our guide on building a pickleball paddle rack, we hope you feel inspired to tackle this simple yet rewarding project. Whether you’re an avid player looking to organize your gear or a thoughtful gift-giver aiming to delight a friend, this DIY endeavor is sure to enhance your pickleball experience. Remember, a well-maintained paddle isn’t just about storage; it’s about honoring the game and the joy it brings. So, gather your materials, unleash your creativity, and enjoy the satisfaction of crafting something that keeps your paddles ready for action. Happy crafting, and may your pickleball games be ever spirited and fun!
Related Posts
don woodfield pickleball pinehurst resort
At Pinehurst Resort, Don Woodfield brings the energetic spirit of pickleball to life. Nestled amidst scenic landscapes, his passion for the game fosters a vibrant community where players of all levels can sharpen their skills and enjoy friendly competition.
how to spin the ball for pickleball
Mastering ball spin in pickleball can elevate your game significantly. To achieve the desired spin, grip the paddle firmly, brush against the ball’s surface at an angle, and follow through your stroke. Practice different spins to keep your opponents guessing!

what is the measurements of a pickleball court
A pickleball court, often likened to a blend of tennis and badminton, measures 20 feet wide and 44 feet long for doubles play. The non-volley zone, or “kitchen,” sits 7 feet from the net on each side, ensuring a unique strategic dynamic.
what’s a lob in pickleball
A lob in pickleball is a strategic shot aimed high over your opponent, designed to push them back and create space on the court. By sending the ball soaring, players can change the momentum of the game and set up for the next powerful play.
who won the pickleball challenge
In a thrilling display of skill and strategy, the pickleball challenge concluded with an unexpected twist. Amidst cheers and fierce competition, Sarah Thompson emerged victorious, showcasing her deft volleys and quick footwork. The crowd erupted in applause!
why do they call.it pickleball
The quirky name “pickleball” sparks curiosity, and its origins are as playful as the game itself. Created in 1965, the sport was said to be inspired by the inventor’s dog, Pickles, who would chase the ball. A delightful blend of fun and tradition!
how to know what pickleball level you are
Determining your pickleball level can be as simple as assessing your skills. Consider factors like shot consistency, court positioning, and strategic play. Joining local matches or clinics can provide valuable feedback, helping you align with your true level.
how new is pickleball
Pickleball, often described as a blend of tennis, badminton, and ping pong, has surged in popularity since its creation in 1965. While the sport’s roots are nearly six decades old, its explosive growth in recent years has given it a refreshing newness.

who is in etrade pickleball commercial
In the lively new eTrade pickleball commercial, viewers are introduced to a vibrant cast of characters, including professional players and everyday enthusiasts. Their engaging interactions showcase the sport’s growing popularity and eTrade’s commitment to financial empowerment.

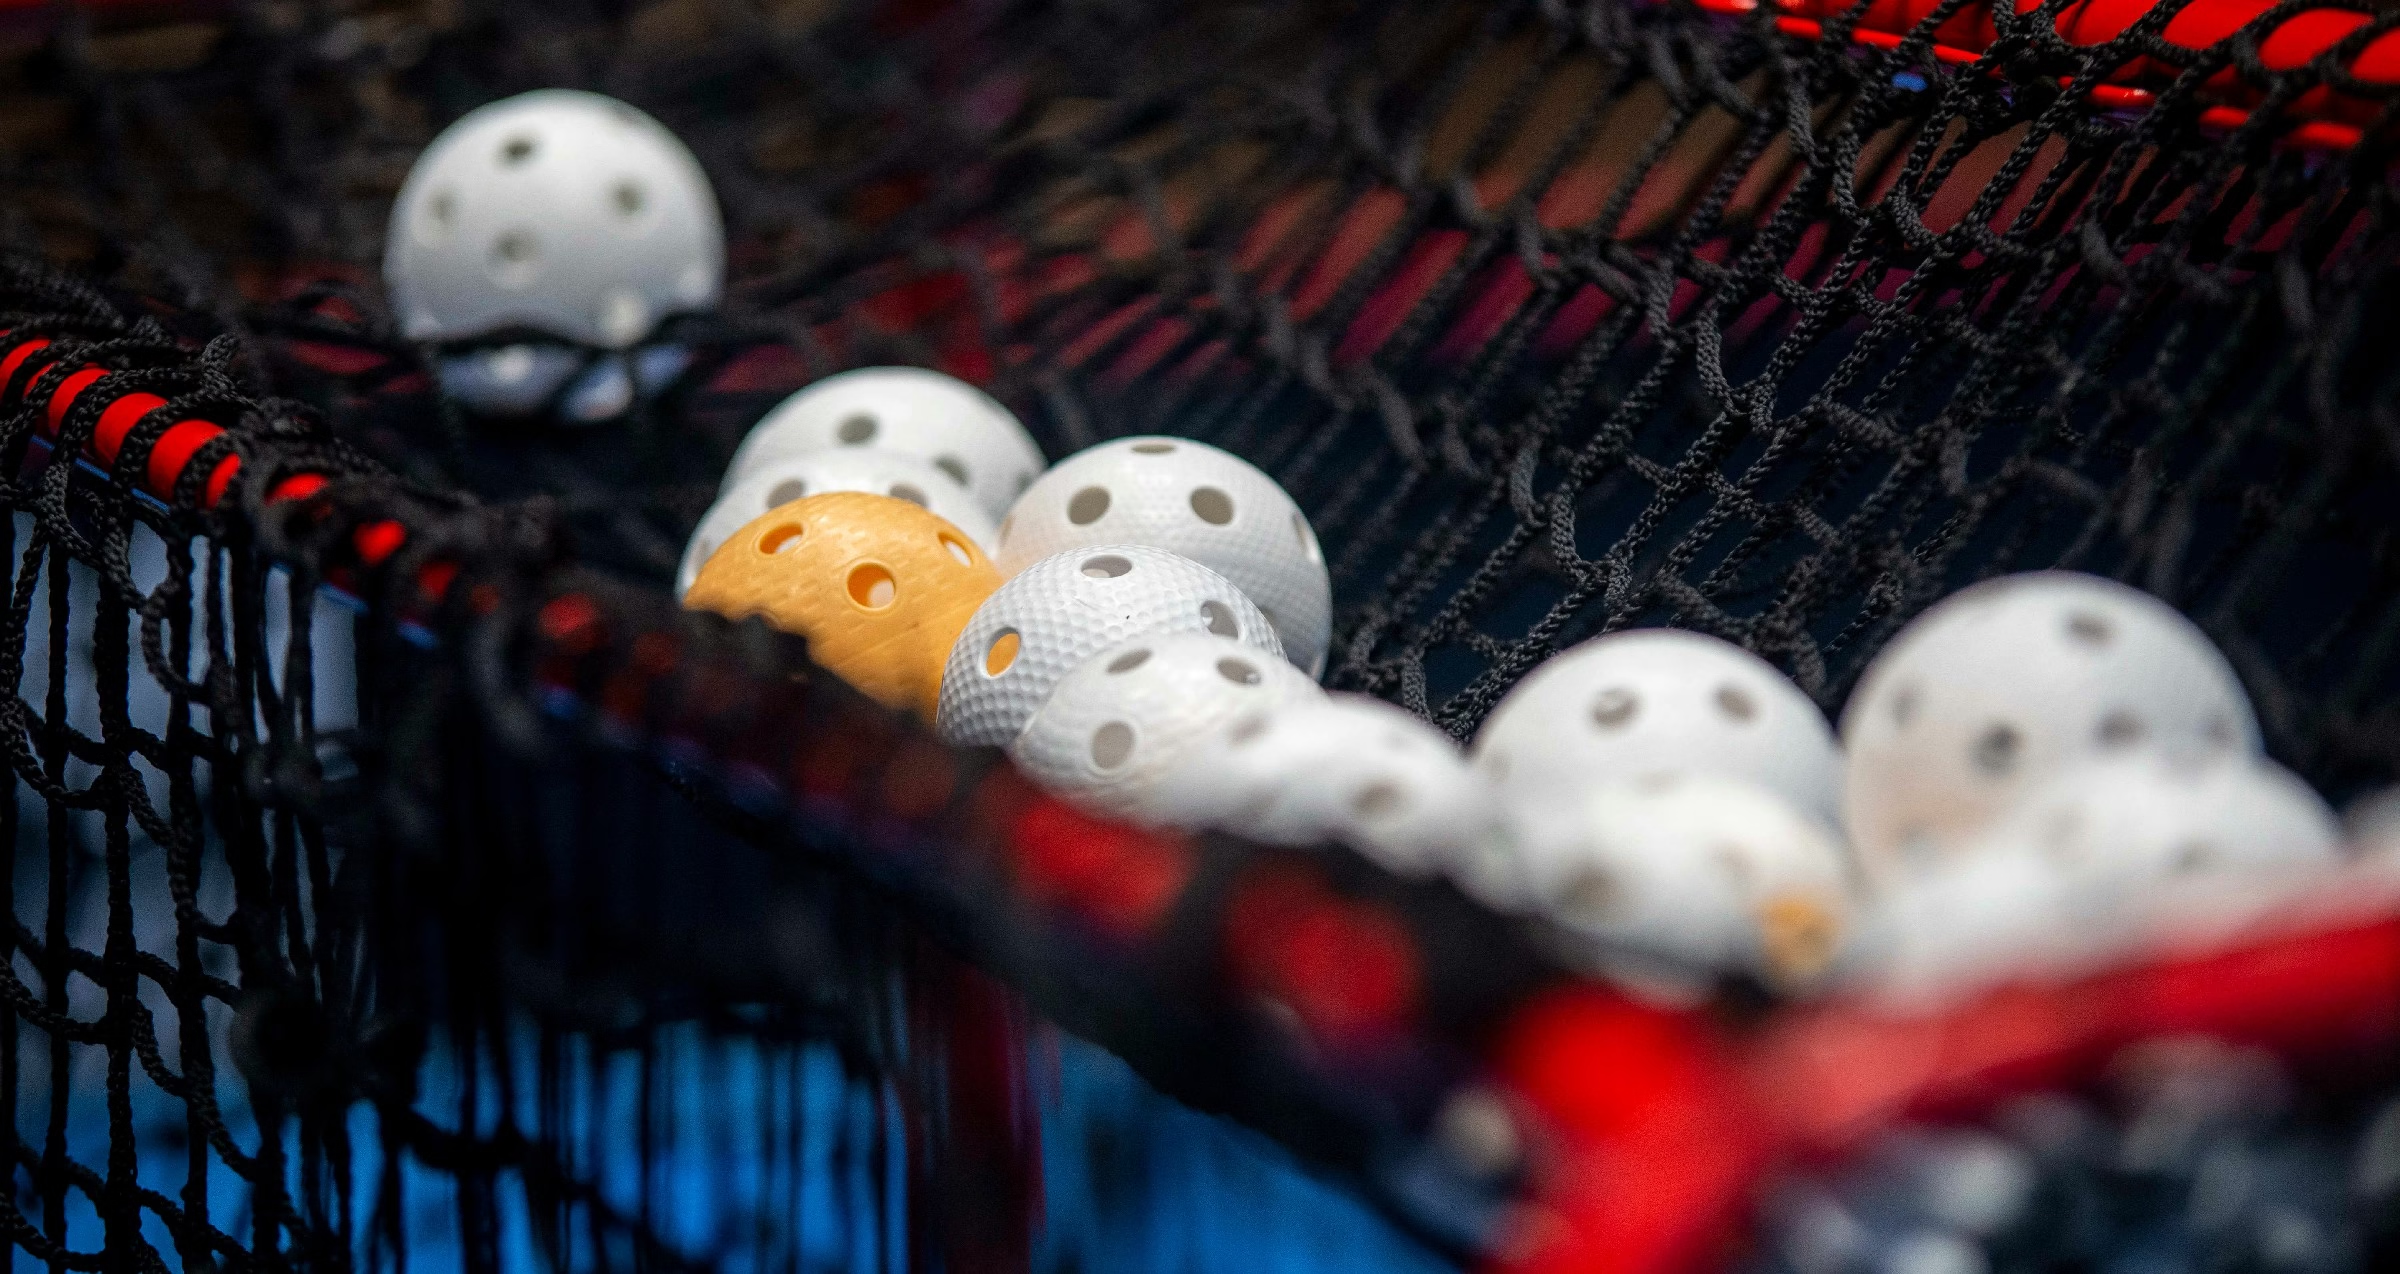
what is the ball in pickleball
The ball in pickleball is a lightweight, plastic sphere adorned with holes, designed for controlled flight and a distinct bounce. Available in vibrant colors, it enhances visibility and adds an element of fun to this energetic paddle sport.

is there a difference between outdoor and indoor pickleballs
When it comes to pickleball, the distinction between outdoor and indoor balls is more than just a matter of where you play. Outdoor balls are thicker, with larger holes for wind resistance, while indoor balls feature a smoother design for better bounce on gym floors. Your game may depend on your choice!
do you have to have 4 people to play pickleball
While pickleball is often played in doubles with four players, it’s not a strict requirement. You can enjoy a game with just two players or even engage in solo practice, making this versatile sport accessible to everyone, regardless of the player count.