Blog
where do you put lead tape on a pickleball paddle
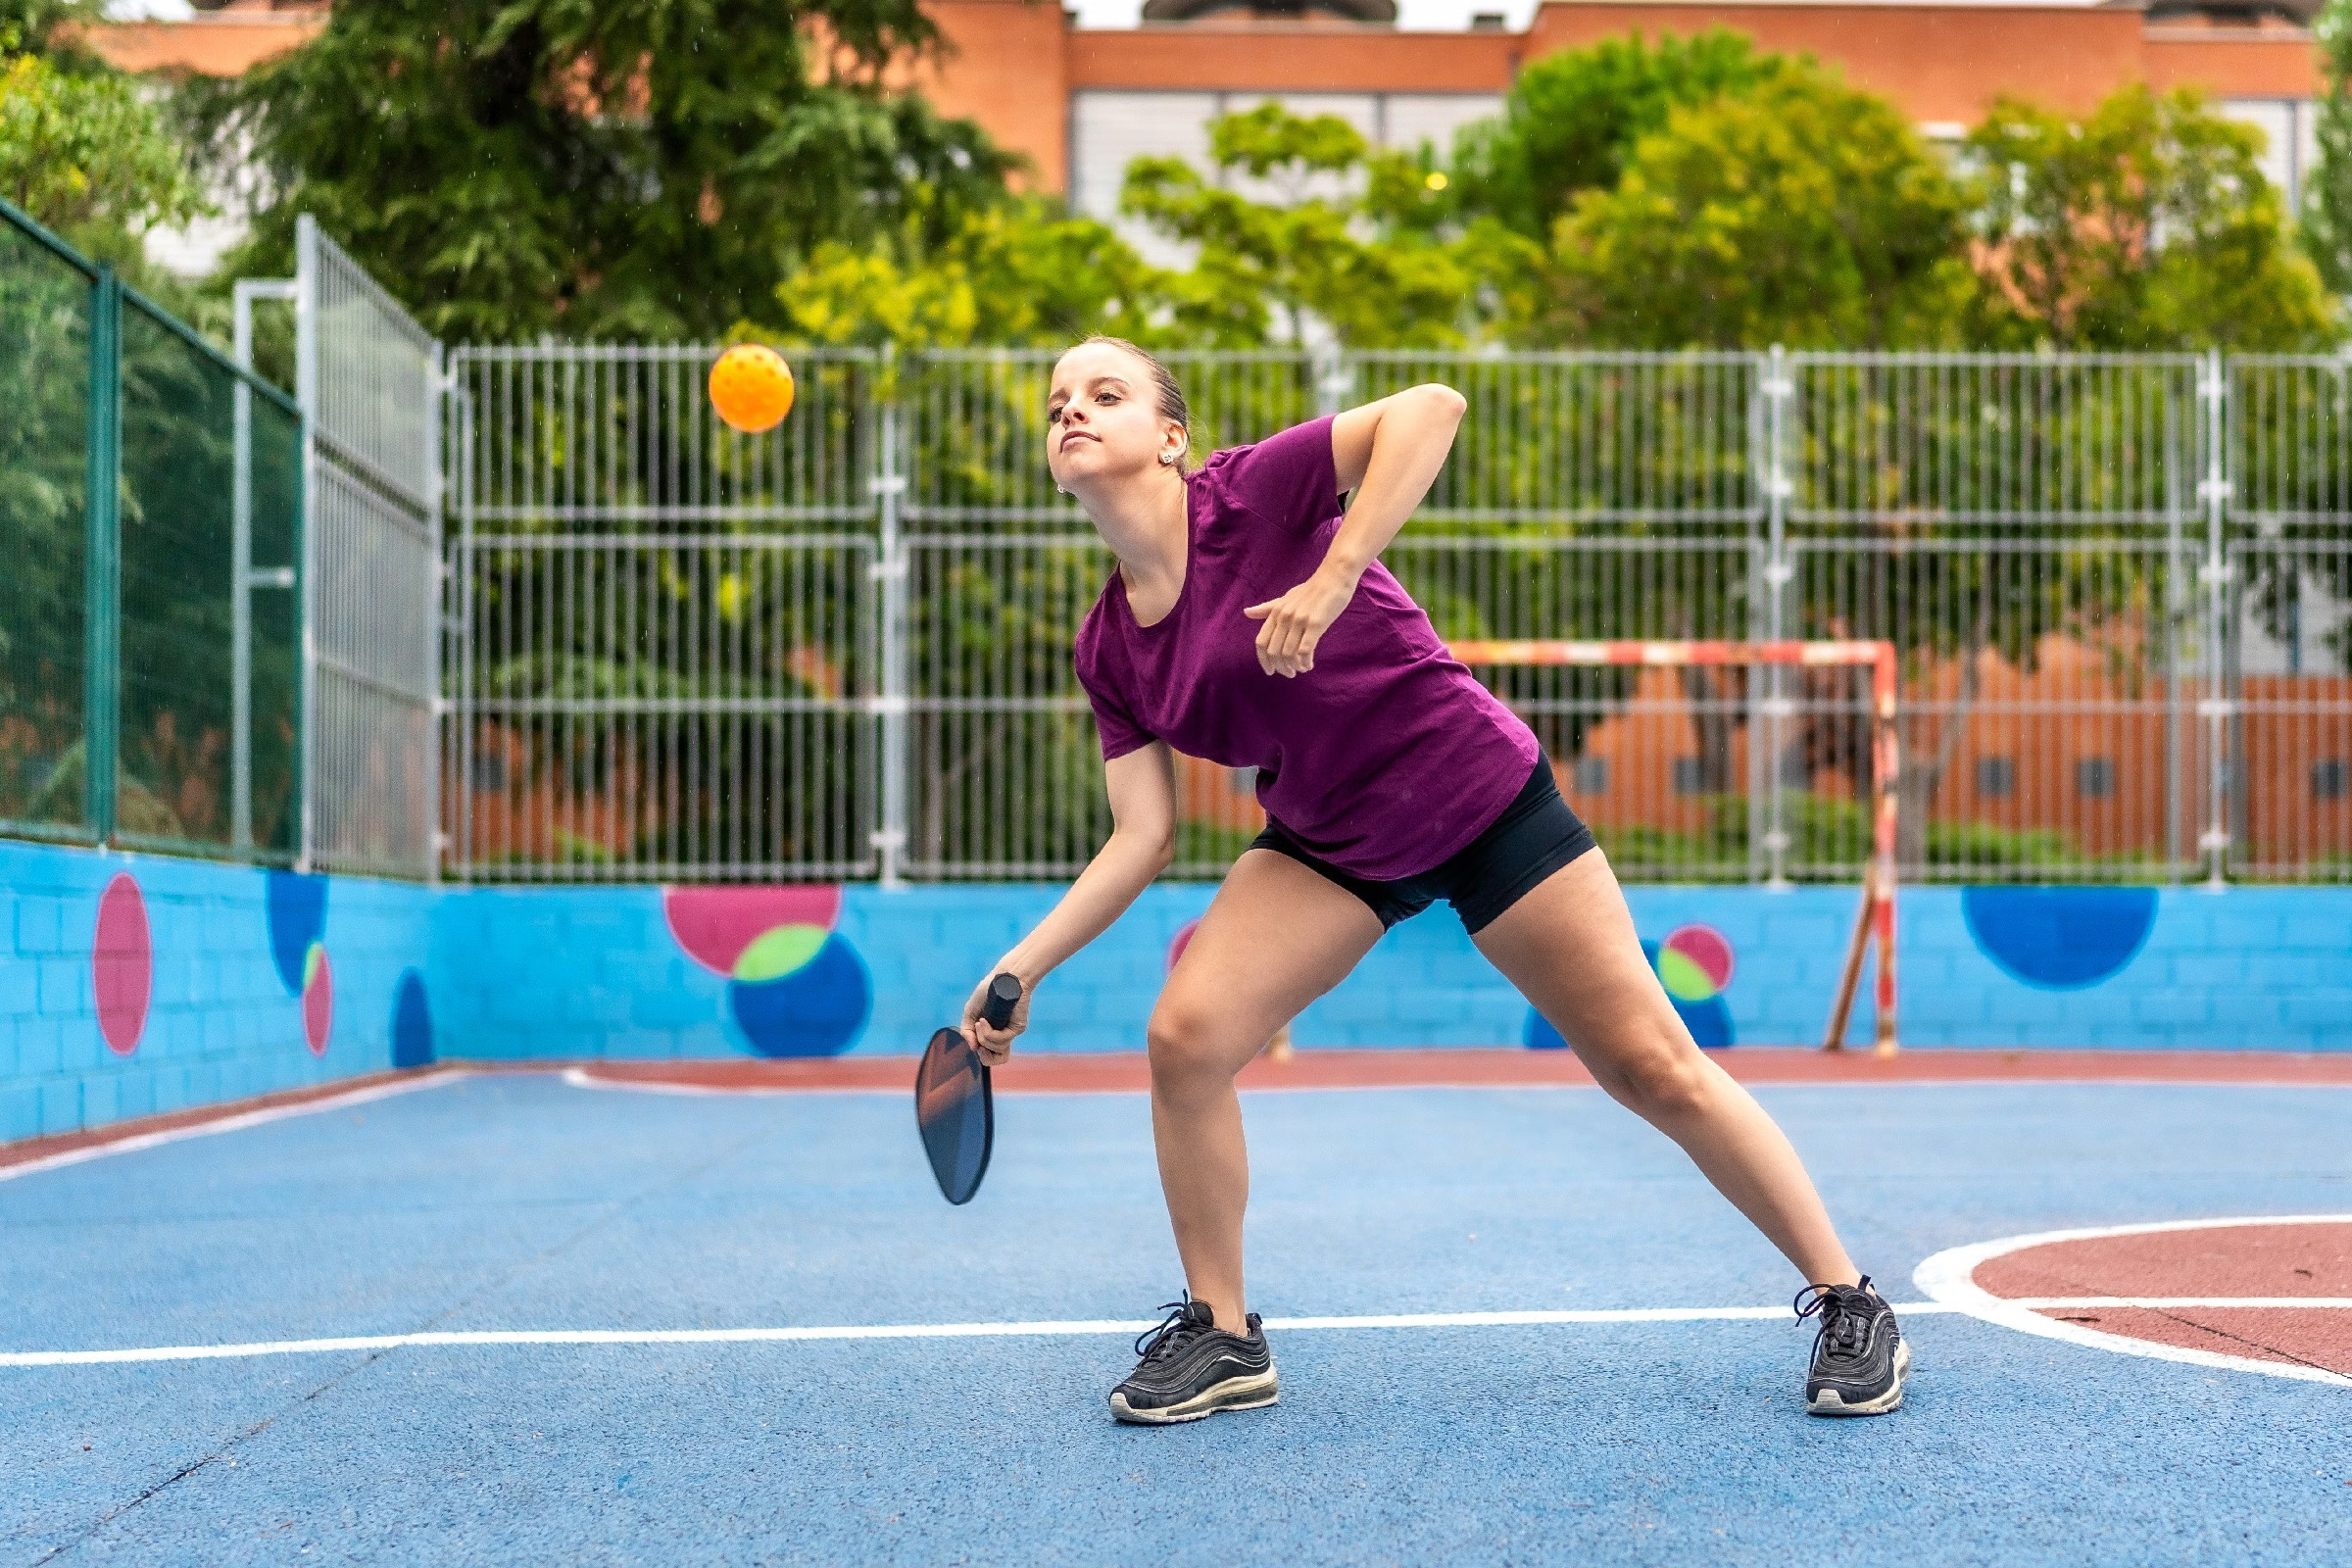
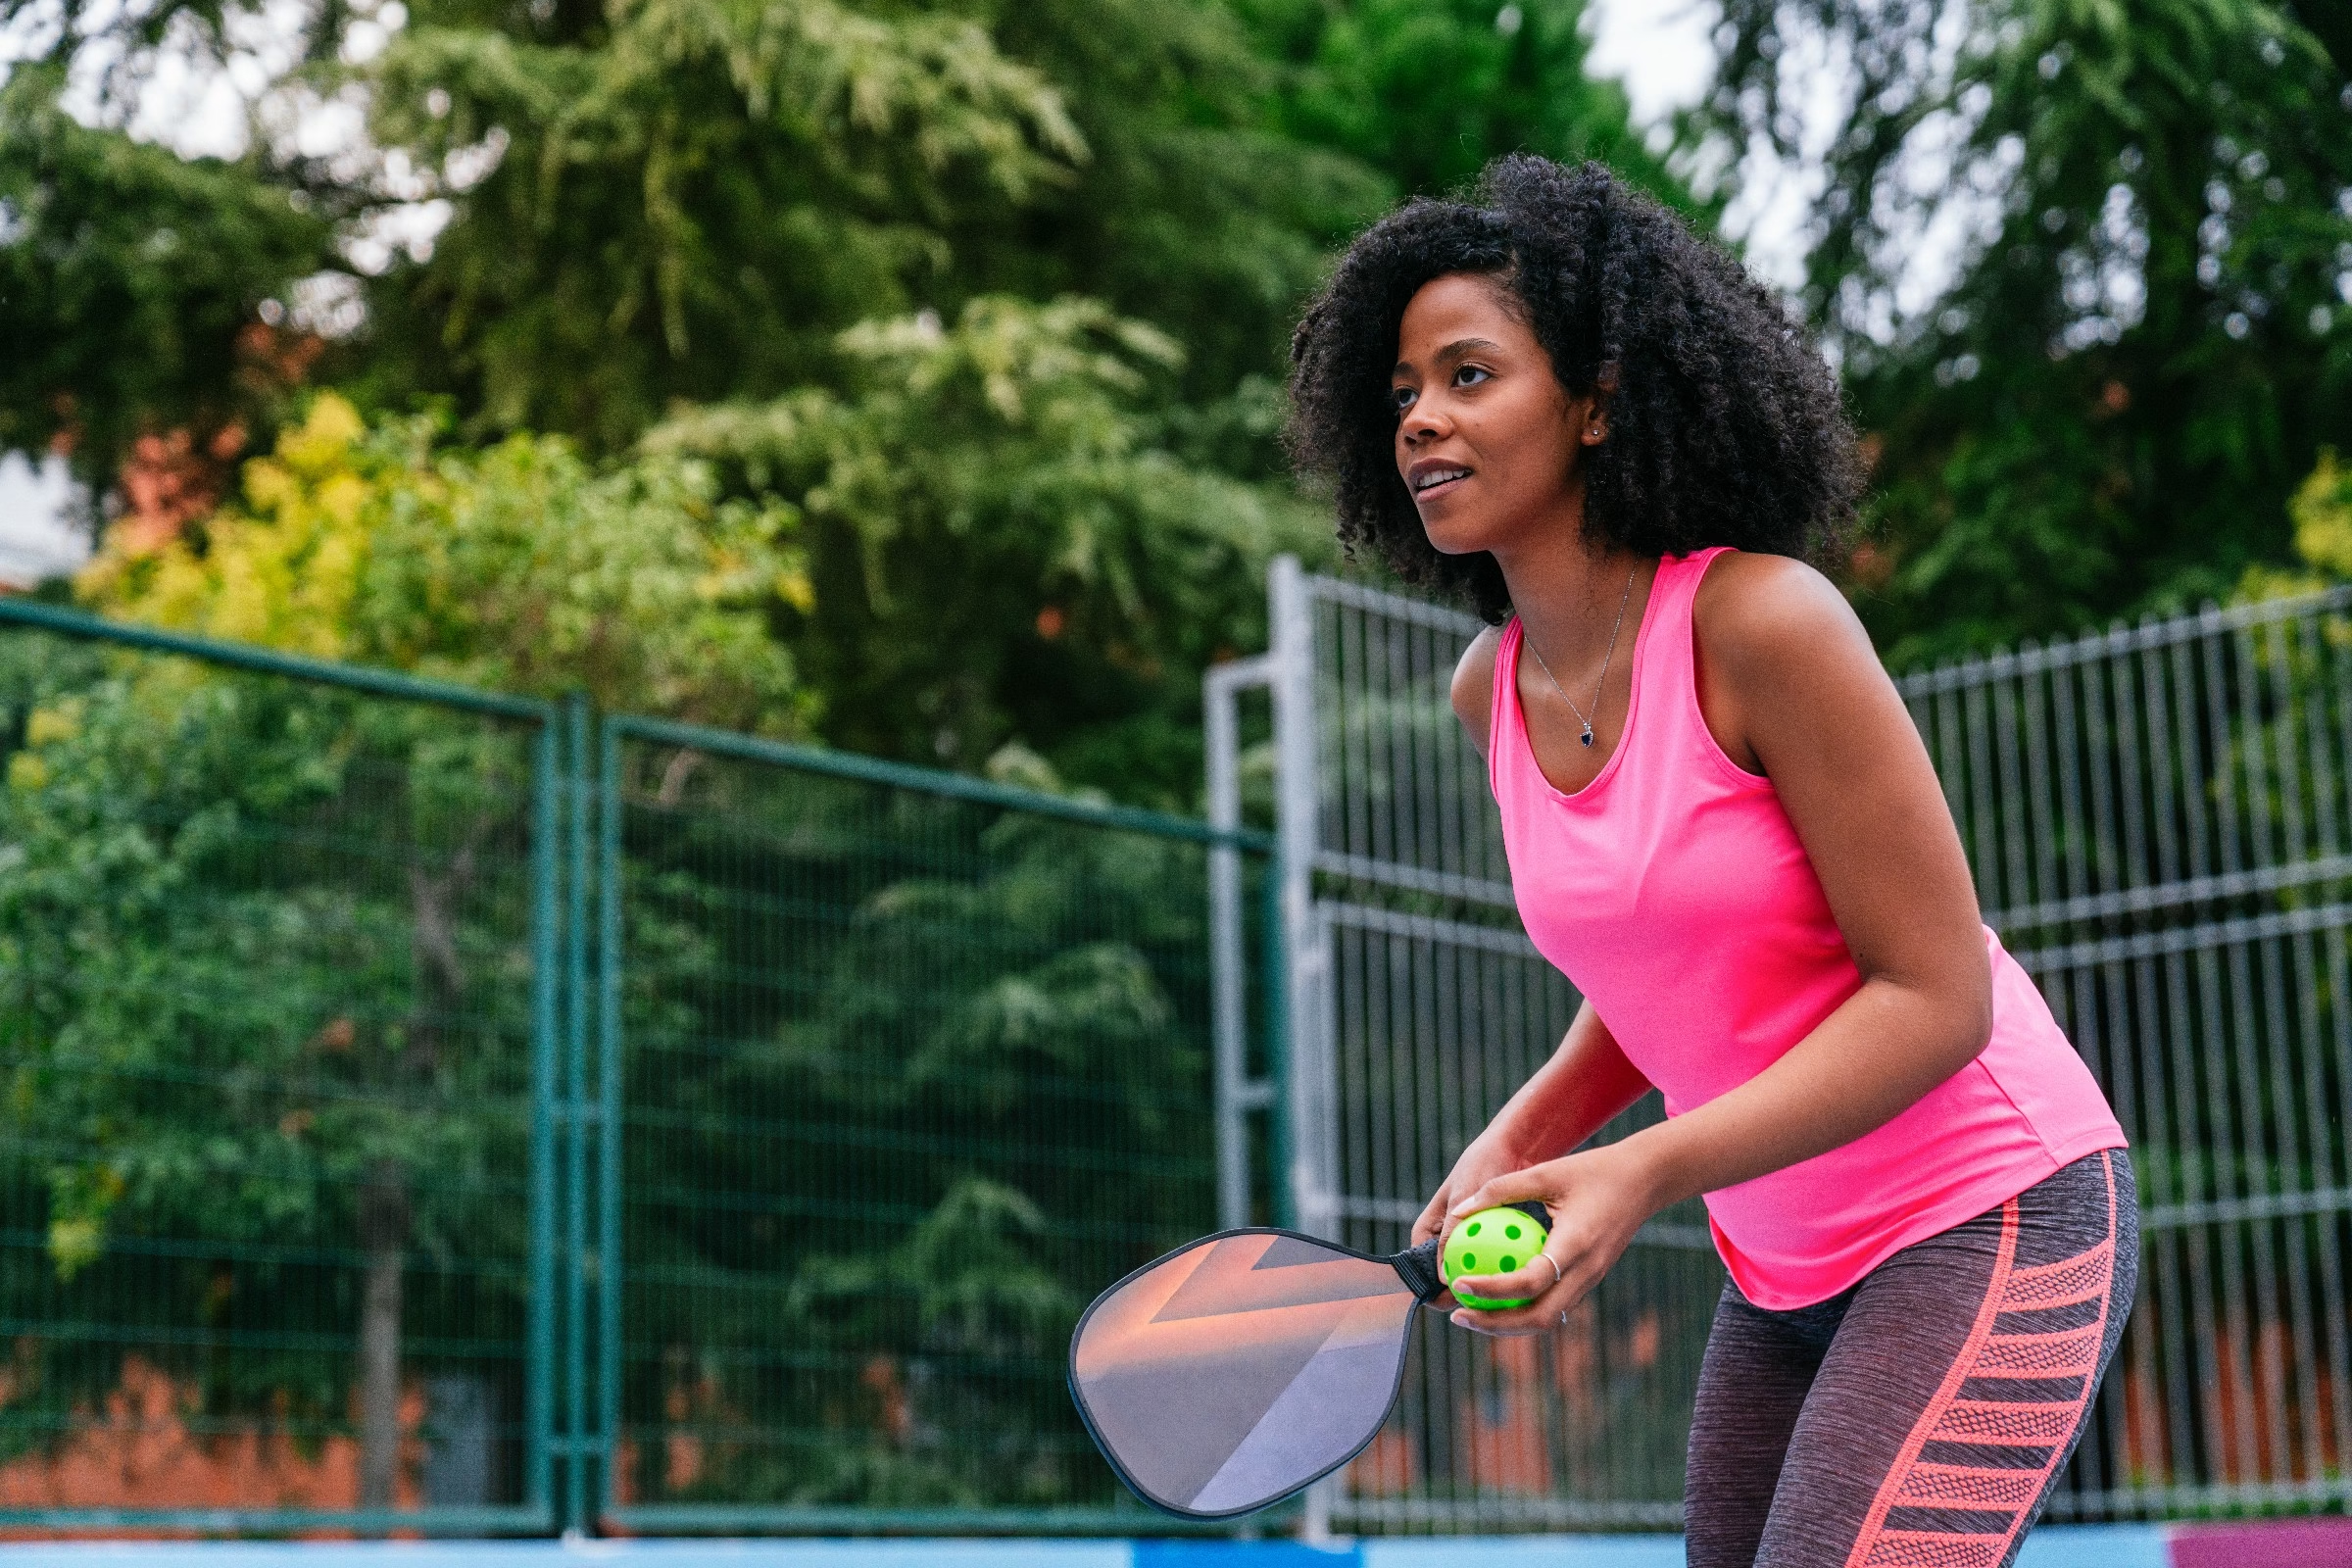
Title: Balancing Act: The Art of Lead Tape Placement on Your Pickleball Paddle
Introduction:
In the world of pickleball, where split-second decisions and precise movements can make or break a game, the right equipment can take your play too the next level.while many players focus on paddle shape, grip size, or even the intricacies of their serve, one often-overlooked detail can dramatically influence performance: lead tape. Whether you’re seeking to enhance your paddle’s power,control,or overall feel,knowing where to place lead tape is essential. In this article, we’ll delve into the various strategies for lead tape submission on a pickleball paddle, exploring the science behind weight distribution and how these subtle adjustments can lead to significant improvements on the court. Join us as we unravel the art of paddle optimization and help you find the perfect balance for your game!
Table of Contents
- Understanding the Purpose of Lead Tape in Pickleball
- Identifying Key Areas on Your Paddle for Optimal Weight Distribution
- Step-by-Step Guide to Applying Lead Tape Effectively
- Adjusting Paddle Balance for Enhanced Control and Power
- Testing and Fine-Tuning Your Paddle After Adding Lead Tape
- Common Mistakes to Avoid When Using Lead Tape on Your paddle
- Q&A
- To wrap It Up
Understanding the Purpose of Lead Tape in Pickleball
Lead tape serves as a tool for players looking to fine-tune their pickleball paddles, enhancing performance to match their unique playing styles. By strategically adding weight, players can influence various aspects of their paddles, such as balance, swing speed, and stability. A well-placed piece of lead tape not only adjusts the overall weight of the paddle but also alters its weight distribution, which can result in better control during play.
When considering where to apply lead tape,it’s essential to understand how the placement affects the paddle’s dynamics. here are some common areas for tape application:
- Top of the Paddle (3-4 inches from the head): Increases power while keeping control.
- Handle: improves stability and gives a more controlled feel during fast exchanges.
- Belly Area (middle of the paddle): Achieves a balanced weight distribution for versatility.
Incorporating lead tape can make a difference in your gameplay, but it’s important to test and find your optimal setup. The precise amount and location of lead tape can substantially alter how the paddle feels in your hand, impacting shot precision and overall comfort. Below is a simple comparison of the effects of adding weight to various parts of the paddle:
| Placement | Effect |
|---|---|
| Top | More power,slightly slower swing speed |
| Handle | Improved control,less power |
| Middle | Balanced feel,versatile performance |
Identifying Key Areas on Your Paddle for Optimal Weight Distribution
When determining the optimal placement of lead tape on your paddle,it’s essential to consider how weight distribution affects your overall game performance. The key areas to focus on are primarily the head, handle, and throat of the paddle.Each of these regions can impact how the paddle feels in your hand, how it responds to different types of shots, and even your swing speed.
For players aiming for increased power and stability, applying lead tape to the head of the paddle can significantly enhance your gameplay. This area is where you can experience a boost in the weight for better momentum during your swings. Placing tape on the top edge or the sides of the paddle head can provide a more balanced feel and help players generate additional force when making contact with the ball. Below are some prime spots for tape application in the head area:
- Top Edge: Increases power and swing weight.
- Sides: Offers enhanced stability and control.
- Bottom edge: Improves touch and finesse during play.
Conversely, if you find yourself needing better maneuverability or a quicker response, applying lead tape to the handle or throat can aid in shifting the center of gravity toward your hands. This approach allows for faster wrist action and speedy adjustments during gameplay. it’s vital to keep the tape placement balanced; too much weight in one area can hinder your paddle’s performance. Below is a brief overview of how tape placement in these areas can benefit your game:
| Area | Purpose |
|---|---|
| Handle | Increased maneuverability and wrist action. |
| Throat | Improved stability and control for quick shots. |
Step-by-Step Guide to Applying Lead tape Effectively
To effectively apply lead tape to your pickleball paddle, start by determining the weight distribution you desire. The placement of lead tape can significantly alter the balance and feel of your paddle. Begin by considering the grip area for added control, the head for increased power, or the handle for overall weight adjustment. Keep in mind that a paddle that is too heavy may effect your agility on the court, so apply the tape judiciously.
Once you have decided on the ideal location, prepare the surface by cleaning it with a damp cloth to remove any dust or debris. This ensures that the tape adheres properly. When applying the tape, cut it into appropriate lengths—about 1 to 3 inches works well for most applications. Firmly press the tape onto the paddle, ensuring there are no air bubbles and that it follows the curvature of the paddle for a seamless finish. For optimal results,consider layering the tape for additional weight,but be cautious not to exceed your comfort level.
after applying the lead tape, take your paddle for a test swing to get a feel for the changes in weight and balance. Make adjustments as necessary by adding or removing tape. Here’s a quick reference table to summarize the best practices:
| Location | Effect |
|---|---|
| Grip Area | Enhanced control |
| Head | Increased power |
| Handle | Overall balance adjustment |
Adjusting Paddle Balance for Enhanced Control and Power
To achieve optimal performance in pickleball, it’s essential to fine-tune your paddle’s balance using lead tape. This modulating approach allows players to enhance their control and power, providing a tailored playing experience. By applying lead tape strategically, you can adjust the weight distribution of your paddle, leading to improved shot accuracy and a more solid feel upon impact.
When considering where to place lead tape, focus on these specific areas for targeted adjustments:
- Top Edge: Adding tape near the top can increase power, offering a greater margin for error on high shots.
- Handle: Applying tape towards the handle can enhance control and maneuverability, making quick shots easier.
- Sides: Distributing weight on the sides can influence the paddle’s stability, reducing torque during play.
Experimenting with lead tape placement can significantly impact your game. Here’s a handy table to help you track your modifications and their effects:
| Placement Area | Effect |
|---|---|
| Top Edge | Increased power |
| Handle | Enhanced control |
| Sides | Improved stability |
Testing and Fine-Tuning Your Paddle After Adding Lead Tape
Once you’ve applied lead tape to your pickleball paddle, the next crucial step is to test it out and fine-tune your adjustments.Begin by conducting a series of practice swings to gauge how the additional weight influences your stroke dynamics. Focus on your grip, swing speed, and control. You may find that the added weight enhances stability but requires a shift in your technique to maintain fluidity in your game. Pay attention to how the paddle feels during both forehand and backhand strokes.
After initial practice, take your paddle to a court for some real game scenarios. Test it by playing with different opponents and in various conditions. This will help you better understand the paddle’s performance across different situations. During these sessions, observe the following key factors:
- Control: Does the added weight improve your accuracy?
- Power: Are you able to generate more force in your shots?
- Fatigue: Does the added weight lead to quicker exhaustion during longer matches?
utilize feedback from your gameplay to make further adjustments. If certain shots feel more cumbersome or unwieldy, consider repositioning the lead tape. As a notable example,moving the tape closer to the grip can enhance maneuverability,while placing it towards the head of the paddle might improve power.Utilize a simple table to keep track of your findings:
| Adjustment Type | Effect on Performance |
|---|---|
| near Grip | Better maneuverability |
| Near head | Increased power |
| even Distribution | Balance between control and power |
Incorporating and testing lead tape on your paddle can feel like an ongoing journey rather than a destination. Take your time to experiment with different placements and always stay receptive to how those modifications impact your play. this iterative process not only hones your paddle’s capabilities but ultimately enhances your overall performance on the court.
common Mistakes to Avoid When Using Lead Tape on Your Paddle
When applying lead tape to your pickleball paddle,it’s crucial to avoid overestimating the weight increase you desire. Many players think that adding too much lead tape will enhance their performance instantly; though, this can lead to a paddle that feels clumsy and unmanageable. It’s best to start with small increments and test the paddle’s feel and balance before committing to additional weight. A balanced paddle allows for better control and improved gameplay.
Another common error is neglecting the placement of the lead tape. It’s essential to consider where you apply the tape to achieve the desired effects. Incorrect positioning can affect both the maneuverability and the power of your shots. here are some key areas to focus on:
- At the top of the paddle: Increases power but can reduce control.
- On the sides: Enhances stability for balanced shots.
- Near the handle: Improves control for finesse shots.
Additionally, ensure that the tape is applied securely to avoid any wear or peeling during play. Be wary of applying lead tape in areas prone to contact with the ground or other surfaces, as this could lead to premature damage. If you’re unsure about the amount or placement, consider creating a temporary application with removable tape before using the lead tape. This testing method can save you time and ensure that you’re making adjustments that truly enhance your paddle’s performance.
Q&A
Q&A: the Art of Lead Tape Placement on Your Pickleball Paddle
Q1: What is lead tape, and how can it enhance my pickleball game?
A1: Lead tape is a specialized adhesive tape that adds weight to specific areas of your pickleball paddle, allowing players to fine-tune their equipment for improved performance. By strategically placing lead tape, you can enhance power, control, and stability in your strokes, tailored to your unique playing style.
Q2: Where should I consider placing lead tape on my paddle?
A2: The placement of lead tape largely depends on the effect you wish to achieve. For more power in your shots, consider placing the lead tape on the paddle’s head (the top part). If you’re looking for increased control or maneuverability,placing the tape closer to the handle can help with that. Some players even choose to balance weight between these areas for a customized feel.
Q3: How much lead tape should I use?
A3: Moderation is key here. Start with small strips, typically around 1 to 2 inches long, weighing about 1/4 to 1/2 ounce.It’s wise to experiment incrementally — less is frequently enough more when it comes to tweaking your paddle’s performance. After each adjustment, give yourself time to gauge how it affects your gameplay before adding more.
Q4: Can I place lead tape anywhere on the paddle?
A4: While you technically can apply lead tape anywhere, the most common and effective areas are the head and handle. Avoid placing tape over the paddle’s core or areas that may disrupt its integrity, like the face or edge guard. Keeping the tape neat and symmetrical also ensures that you don’t throw off the balance of your paddle.
Q5: How do I make sure the lead tape sticks properly?
A5: Clean the surface of your paddle where you intend to apply the tape. Use isopropyl alcohol or a similar cleaner to remove any dirt or oils,ensuring a strong bond. Press firmly when applying the tape, smoothing out any air bubbles to enhance adhesion.
Q6: Can I remove lead tape if my preferences change?
A6: Absolutely! Lead tape is designed to be removable. To take it off, gently peel it away from the paddle surface. If any adhesive residue remains, a bit of rubbing alcohol can definitely help clean it off without damaging your paddle.
Q7: are there any risks associated with using lead tape?
A7: While lead tape is generally safe, adding weight can alter the paddle’s balance and play style. If you overdo it, you might find your paddle unwieldy or your shots less precise. Always approach adjustments thoughtfully and give yourself time to acclimate to any changes.
Q8: Where can I find lead tape for my pickleball paddle?
A8: Lead tape can typically be found at sporting goods stores, pro shops, or online retailers that specialize in tennis and racquet sports. Look for options specifically labeled for racquet sports to ensure the correct weight and design.
Utilizing lead tape can transform your pickleball paddle from good to great, allowing for personalized adjustments that mirror your playing instincts. Happy taping!
To Wrap It Up
As we draw our exploration of lead tape placement on pickleball paddles to a close, it’s clear that the right enhancements can significantly elevate your game. whether you’re looking to boost power,improve control,or fine-tune your paddle’s balance,the strategic application of lead tape can make all the difference. Remember, each player’s style and preferences are unique, so take the time to experiment and find what works best for you.Armed with this knowledge, you’re now ready to hit the court with confidence and unleash your full potential. Happy playing!
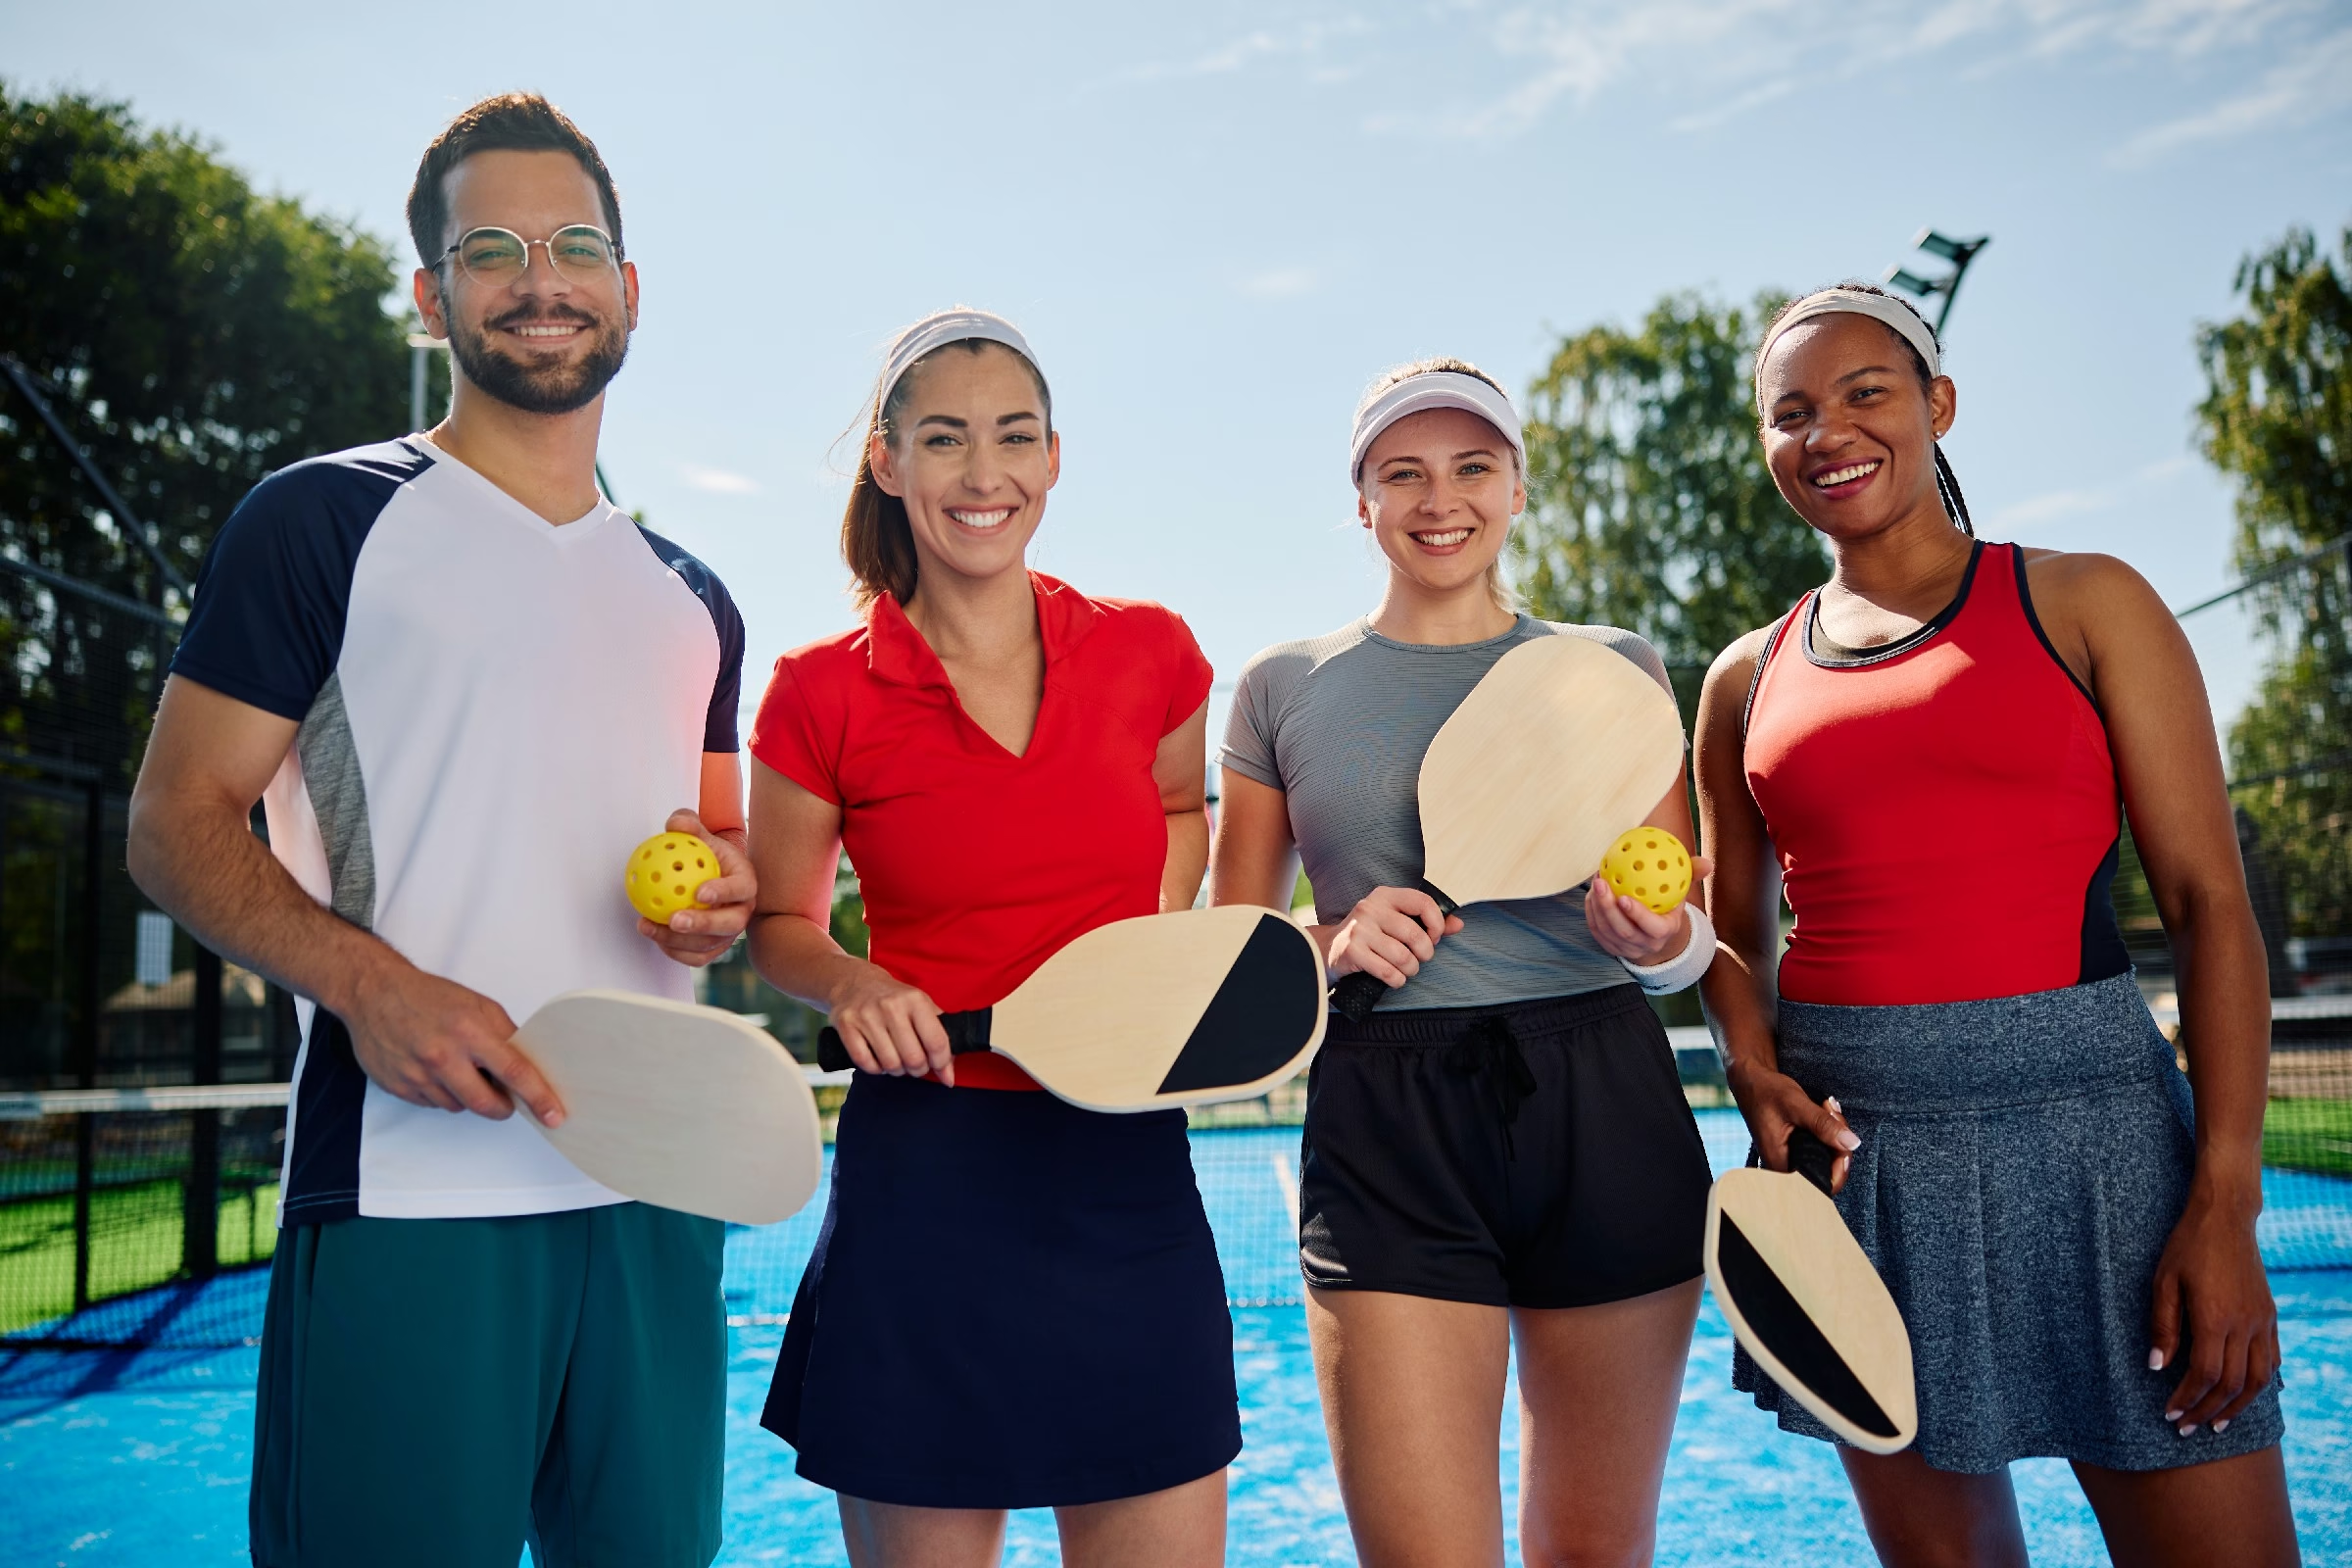
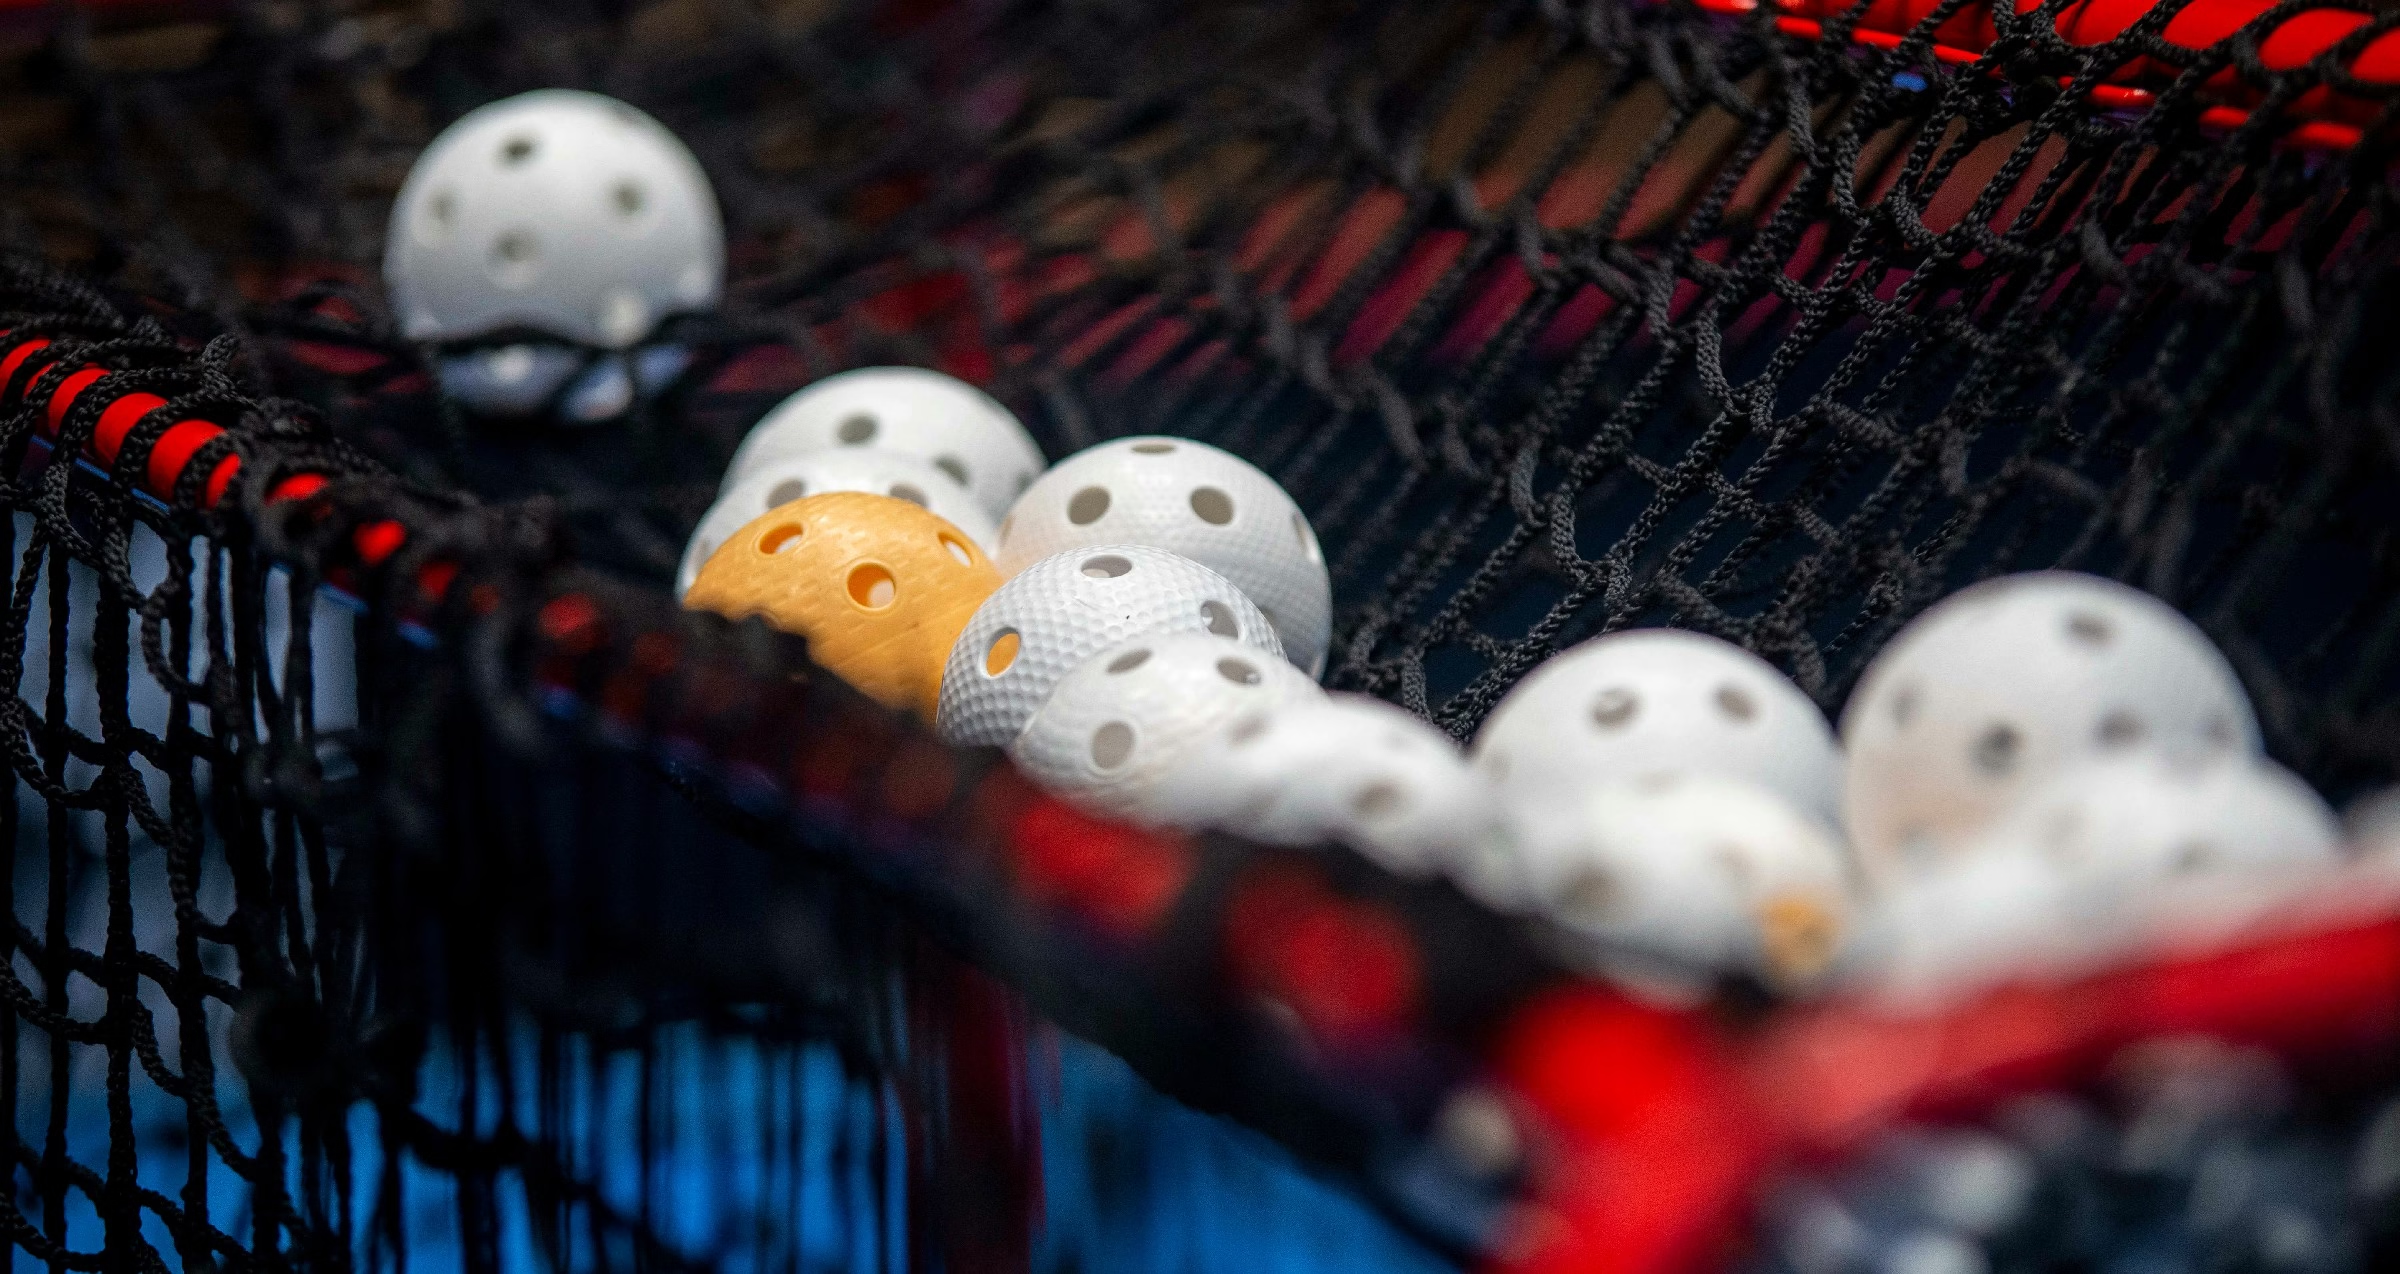
Related Posts
don woodfield pickleball pinehurst resort
At Pinehurst Resort, Don Woodfield brings the energetic spirit of pickleball to life. Nestled amidst scenic landscapes, his passion for the game fosters a vibrant community where players of all levels can sharpen their skills and enjoy friendly competition.
how to spin the ball for pickleball
Mastering ball spin in pickleball can elevate your game significantly. To achieve the desired spin, grip the paddle firmly, brush against the ball’s surface at an angle, and follow through your stroke. Practice different spins to keep your opponents guessing!

what is the measurements of a pickleball court
A pickleball court, often likened to a blend of tennis and badminton, measures 20 feet wide and 44 feet long for doubles play. The non-volley zone, or “kitchen,” sits 7 feet from the net on each side, ensuring a unique strategic dynamic.
what’s a lob in pickleball
A lob in pickleball is a strategic shot aimed high over your opponent, designed to push them back and create space on the court. By sending the ball soaring, players can change the momentum of the game and set up for the next powerful play.
who won the pickleball challenge
In a thrilling display of skill and strategy, the pickleball challenge concluded with an unexpected twist. Amidst cheers and fierce competition, Sarah Thompson emerged victorious, showcasing her deft volleys and quick footwork. The crowd erupted in applause!
why do they call.it pickleball
The quirky name “pickleball” sparks curiosity, and its origins are as playful as the game itself. Created in 1965, the sport was said to be inspired by the inventor’s dog, Pickles, who would chase the ball. A delightful blend of fun and tradition!
how to know what pickleball level you are
Determining your pickleball level can be as simple as assessing your skills. Consider factors like shot consistency, court positioning, and strategic play. Joining local matches or clinics can provide valuable feedback, helping you align with your true level.
how new is pickleball
Pickleball, often described as a blend of tennis, badminton, and ping pong, has surged in popularity since its creation in 1965. While the sport’s roots are nearly six decades old, its explosive growth in recent years has given it a refreshing newness.

who is in etrade pickleball commercial
In the lively new eTrade pickleball commercial, viewers are introduced to a vibrant cast of characters, including professional players and everyday enthusiasts. Their engaging interactions showcase the sport’s growing popularity and eTrade’s commitment to financial empowerment.

what is the ball in pickleball
The ball in pickleball is a lightweight, plastic sphere adorned with holes, designed for controlled flight and a distinct bounce. Available in vibrant colors, it enhances visibility and adds an element of fun to this energetic paddle sport.

is there a difference between outdoor and indoor pickleballs
When it comes to pickleball, the distinction between outdoor and indoor balls is more than just a matter of where you play. Outdoor balls are thicker, with larger holes for wind resistance, while indoor balls feature a smoother design for better bounce on gym floors. Your game may depend on your choice!
do you have to have 4 people to play pickleball
While pickleball is often played in doubles with four players, it’s not a strict requirement. You can enjoy a game with just two players or even engage in solo practice, making this versatile sport accessible to everyone, regardless of the player count.